Part of my recent annual service was to read the error codes stored in the Motronics. Although I had read the codes a month prior (and found that all was well) it was worth doing again and I’m glad I did – we found a random misfire code on the left bank. Intake manifold gaskets on both the 360 and F430 are prone to failure, letting in un-metered air which can cause misfires. Part of our investigation was to check the intake manifold gaskets with a boroscope.

Here’s what we saw lurking behind the intake column on cylinder 5:

That is a piece of gasket sticking out from the joint which meant the intake mainfold had to come off for investigation. Fortunately the job isn’t as bad on the F430 as the 360 since there is less to disconnect and more room underneath.
First of all kill the battery to clear the fuel adaptions and to force the throttle bodies to relearn on startup. Next the engine covers need to be removed as well as the air filter covers.
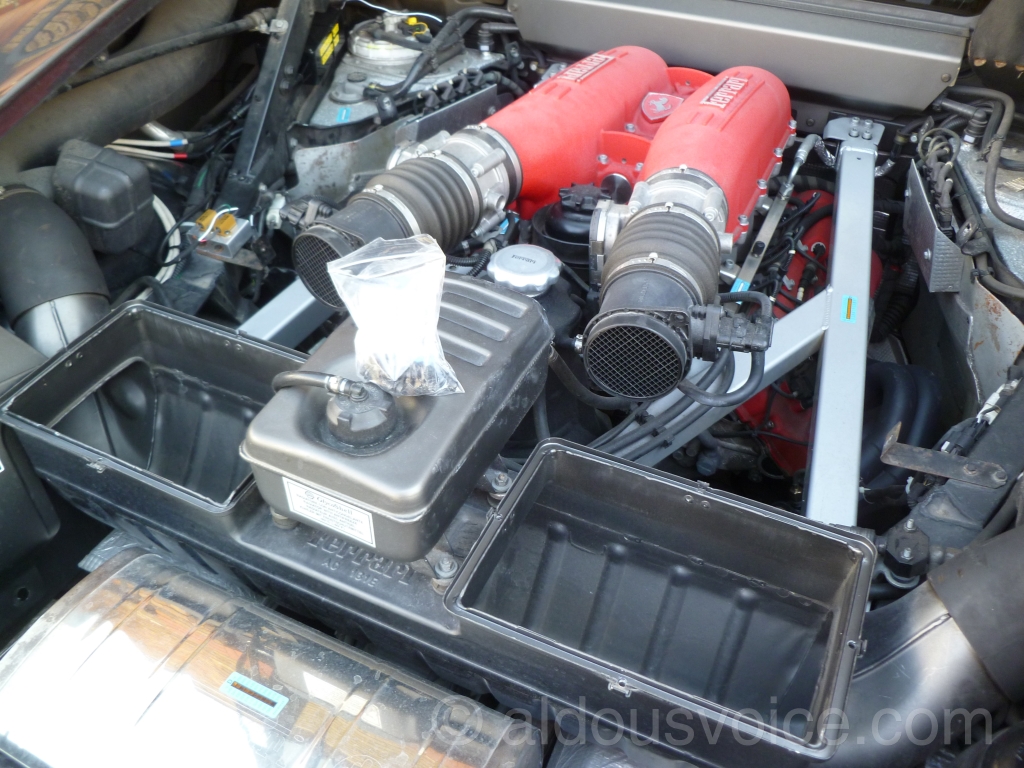
Next the MAFs and bellow hoses can be removed – there is a vacuum hose and an electrical connector on each side.

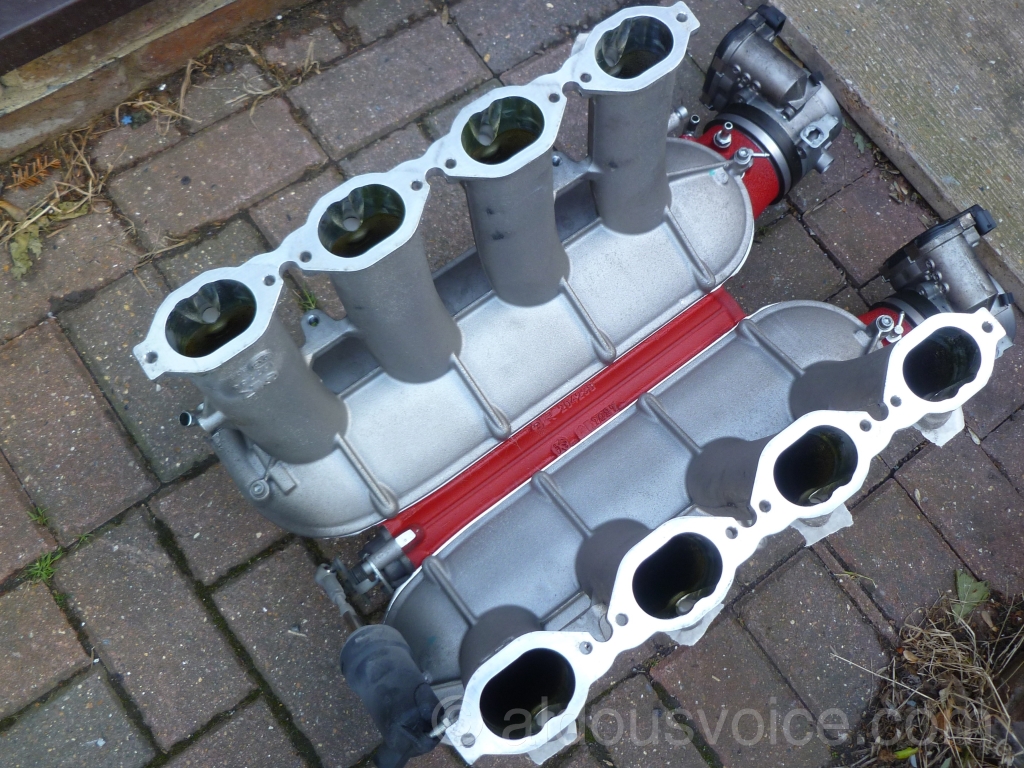
I would have removed the throttle bodies for cleaning but there was some confusion with my parts order which meant I got the wrong hose clamps so I left them on the plenum chamber.
There are three rubber hoses on each side that need to be disconnected next.

The brake booster hose needs to be removed from the front LHS of the manifold.
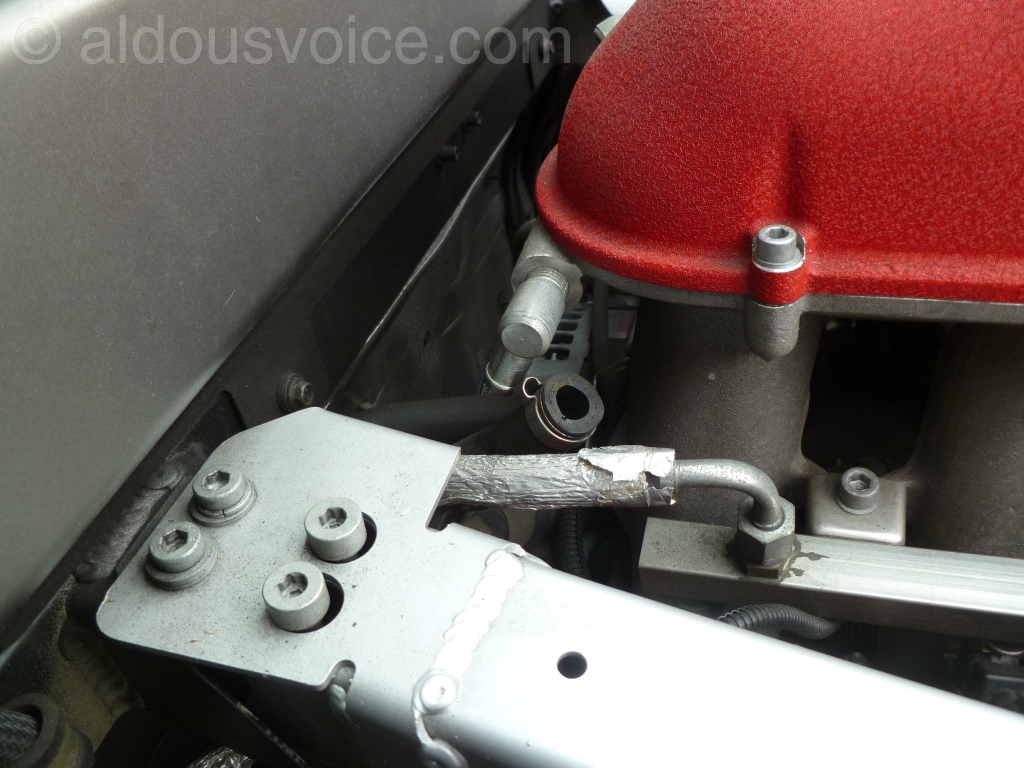
Working in the same area, unbolt the clamp holding the loom to the manifold.
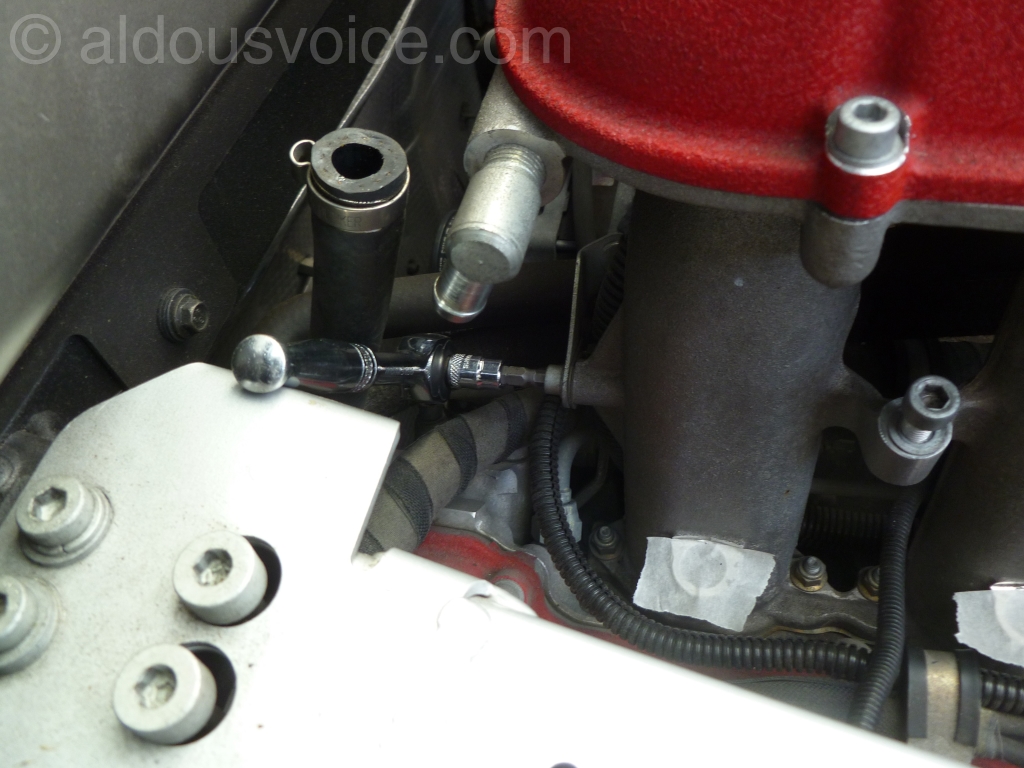
There are two earthing points that need to be disconnected – they are positioned next to the fuel rails at the rear of the manifold.

Disconnect the loom from the injectors. If they are not marked then it would be a good idea to note which one goes where.
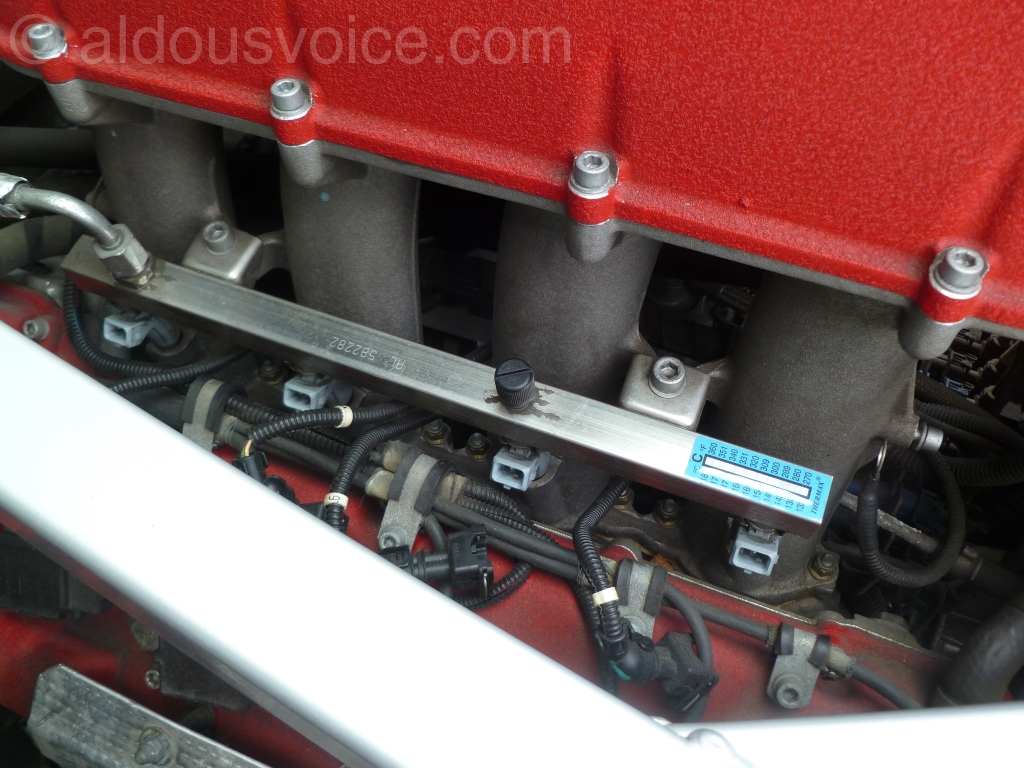
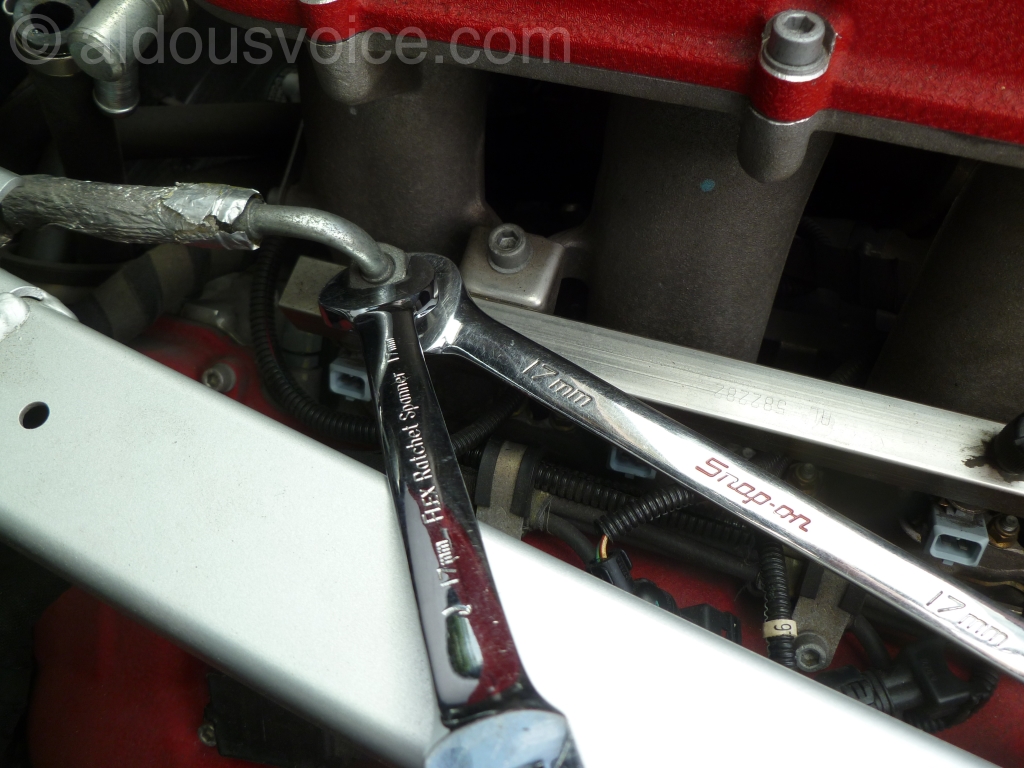
Now the fuel hoses have to be disconnected. Use two 17mm spanners – one for the nut and one to make sure you don’t rip the fitting out of the rail.
Something to catch the fuel is handy to stop it dripping on the exhaust manifolds. I also repaired the damaged silver foil with some aluminium tape to stop it deteriorating further (not pictured).

Undo the two bolts holding each fuel rail to the manifold and carefully lift them out. Make sure the ends of the injectors don’t get damaged and put them in a safe place (I propped mine up on a couple of blocks).

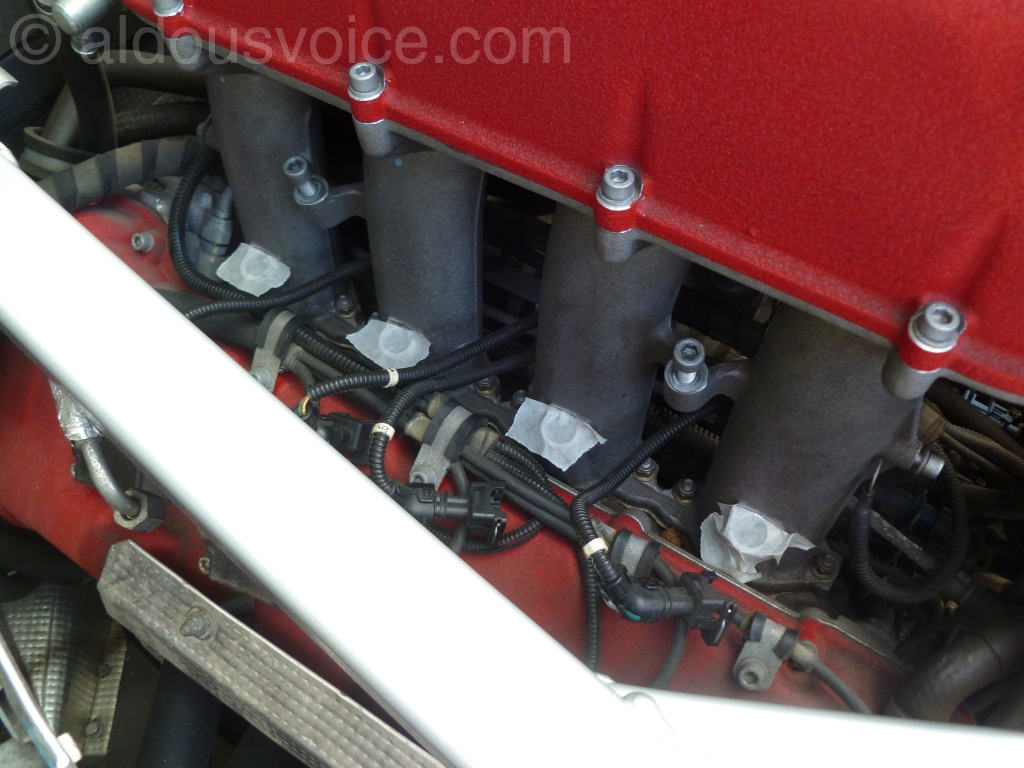
Clean (I use brake cleaner) and then tape the holes for the fuel injectors. You don’t want any debris dropping into the engine.
The final part to be disconnected is the vacuum hose that controls the compensation valve.

I had a bit of debris where the manifold meets the head – the workshop vacuum was used to hoover it up.

The 16 M8 nuts holding the manifold to the head now need to be taken off. I had a friend hold a magnetic pick up tool next to the socket to prevent the nut falling into the valley of the engine.

Before the manifold can be lifted out it is a good idea to put some blocks on the air intake so it can be rested down.

The manifold isn’t that heavy and is lifted out very easily by two people.

To my utter frustration, what we though was a broken piece of gasket sticking out was just part of the design! It’s a good job I wasn’t billing someone for my time…
Both gaskets were in reasonable order but had begun to deteriorate, especially under the injector where the fuel must soak into the paper.

The old gasket came out in pieces. I used the vacuum to ensure nothing dropped down whilst I was peeling it off.

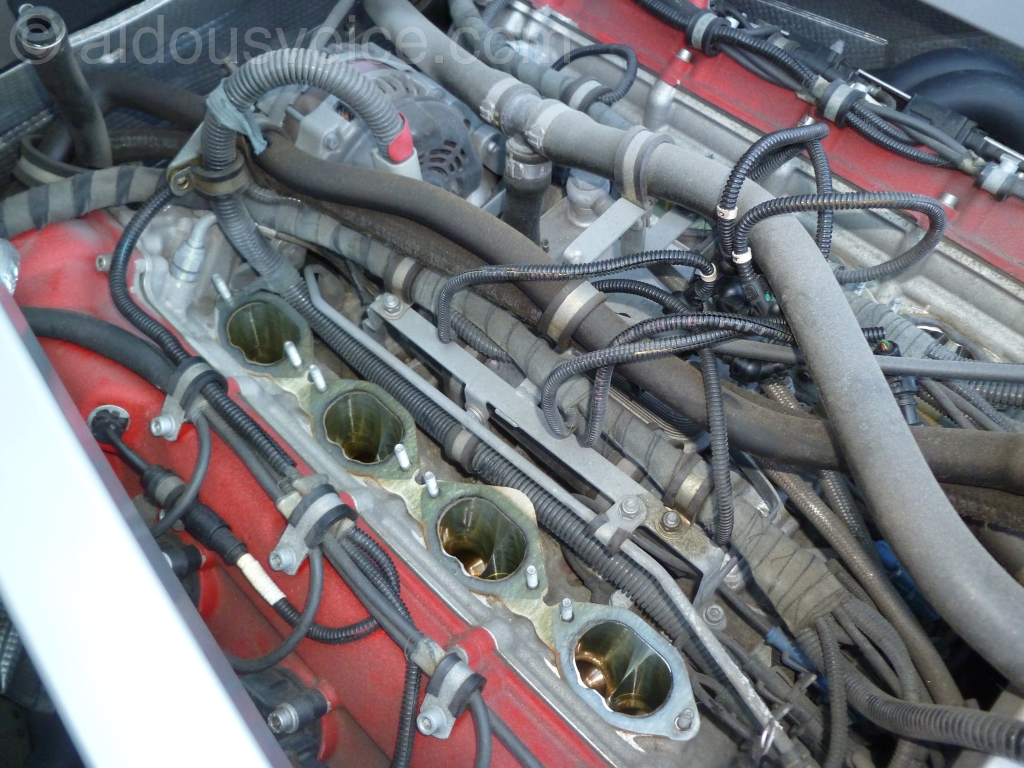
If you are going to refit the manifold immediately then then next few steps can be skipped. However, I had something else that needed to be done so cleaned up the mating surfaces on the head and covered the openings with masking tape.

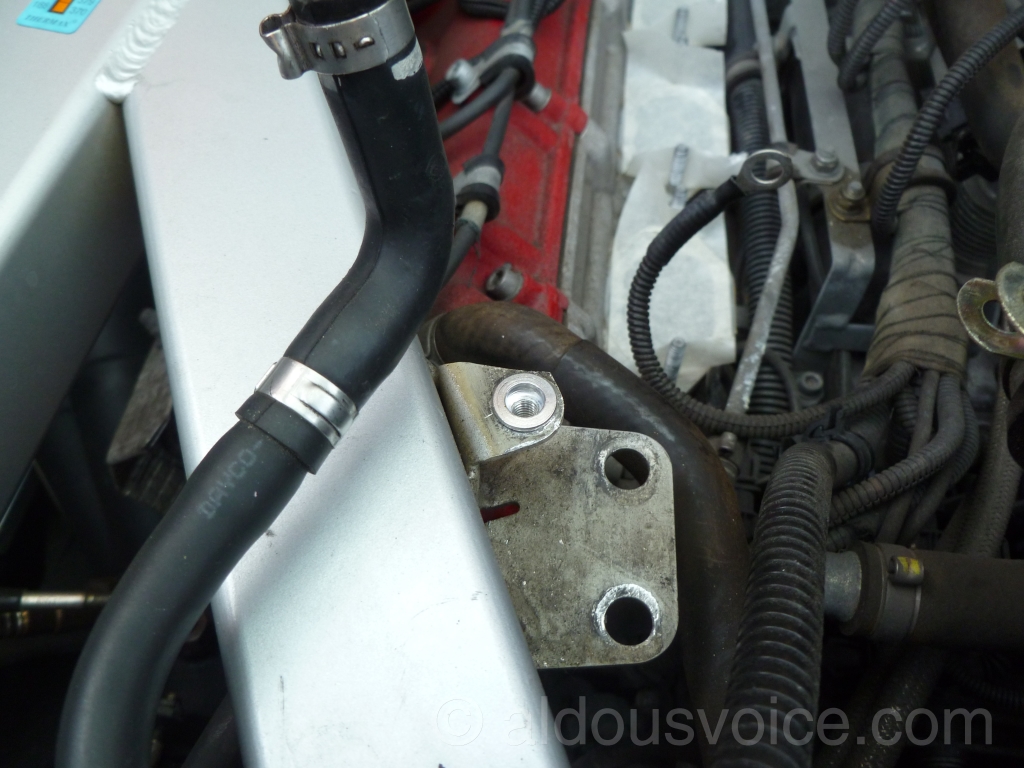
And here’s what I had to sort out – a snapped off bolt holding the panel that the power steering reservoir sits on.

The plate is held in place with six bolts and just lifts out. The rivnut had to be drilled out and again the vacuum was used to ensure no swarf went astray.

A fresh rivnut meant the panel could be re-installed.
Before refitting the manifold the mating surfaces were cleaned with brake cleaner. I also cleaned the throttle bodies as best I could with them installed (the manifold is resting on wooden blocks).
The new gaskets were installed. I then inserted the vacuum into each chamber to doubly ensure that no debris had made it’s way in.

The manifold was lifted back in and bolted up. I torqued the bolts to the prescribed 10Nm in the same sequence one would torque up a cylinder head. Although this wasn’t specified, it seemed the right thing to do.

Then it was just a matter of reconnecting everything that had been taken off. I used fresh clamps on the hoses that join to the throttle bodies.

Special care needs to be taken with connecting the hoses to the fuel rails. The securing nut needs to be positioned over the centre of the hose fitting – the last thing you want is fuel being sprayed around the engine bay.

Once everything was back together it is just a matter of reconnecting the power and going through the normal start up procedure following a battery disconnect. This job could be easily be completed in a day.
Related posts:
Other posts in this category: Engine and Drivetrain
If you enjoyed this post why not subscribe to this blog for further updates? Simply enter your email address in the box at the bottom of this page. Your details will not be shared.

Aldous
I noticed that there is no transmission heat exchanger as on the 360. Maybe you could do a write up on how they accomplish this on the 430.
Thanks again for your very informative write ups.
Alan
Hi Alan,
There is a heat exchanger on the 430 – it is different to the 360. I would recommend anyone who takes off a 360 inlet manifold to change their heat exchanger as a matter of course. However, the 430 manifold is much easier to remove and there isn’t the evidence that these are as likely to fail as the 360.
The heat exchanger on the 430 is in the valley of the engine, on top of the oil cooler. Here are a few pics.
Cheers,
Aldous.
Aldous
I’m seriously thinking of replacing mine (99 model with almost 30k miles) as a precautionary measure. Have asked the dealer to give me an estimate as at my age (almost 70) I don’t relish the thought of doing it myself even though I’ve worked on cars all my life — restored a 64 TR4 back in the 80s. Casey (tech4ferrari on FChat) works at my local dealer and he’s done quite a few. Will have the intake gaskets replaced at the same time.
Alan
How often has the coolant been changed during the life of the car? An alternative would be to switch to annual coolant changes and monitor the level of the coolant regularly as well as taking samples and checking for traces of oil.
Aldous
From 99 through 06 (0 miles through 16k) it was serviced by the selling dealer in NY. From 06 through 09 and 16k through 21k it seems as if all it had was oil and filter changes. From 09 to date it has been serviced by my local dealer (last major including transmission and cooling system service was done 4k miles ago — I’m now at 27k). I spoke to the principle Ferrari tech, Casey, at my local dealer and he said to monitor it. I guess I can check the coolant tank before every drive (I’m retired so I probably use it 2 or 3 times a week). My issue is that when it does fail it can be a major cost to fix and clean everything. I’ll see what the estimate is but the H/E is around $950 from Ricambi but my service guy said that they were available from Ferrari. I just spent $2800 to have the rear main oil seal replaced.
Thanks
Alan
BTW my name on FChat is English Rebel — I was born in Birmingham and came to the States in 1978 to build a manufacturing facility to provide CV joints to Ford and now live in the South hence my online name.
A fellow Brummie! Personally, I’d monitor the situation carefully and check the fluids that come out annually.
Great write-up and standard of work as always Aldous……..a bit of a bummer with the gasket but shared the learning and they would certainly need doing anyway at some point. It’s also great to slowly work through the weak points on any car.
It would be interesting to see how thick and what material the plates are in that gearbox oil cooler.
M
Aldous
Actually not a Brummie as we lived in Oldbury — just born at Loveday Street hospital. Interesting that on the 360 the WM recommends going in from the front via the access panel in the cockpit. I received an estimate for $2k to replace mine but that also included the intake manifold gaskets and thermostat.
Alan
My advice remains to monitor the situation – there’s no need to spend money until a problem is detected.
Hi Aldous,
How were you able to remove the rubber hoses (5th pic from the top) without removing the crimp clamps? Are you using a special tool? Were you able to reuse the old crimp clamps?
I use a straight pick to open them up but a small screwdriver will work as well.
To close them use a large pair of end cut pliers.
Aldous,
Did you write down the Bosch part number for the fuel injectors? If so, mind sharing the part numbers?
Thanks!
Isi
I’m sorry I didn’t. If you’re having trouble with your injectors then you should be able to get them cleaned.