Ferrari wheel bearings are generally quite long lasting but at the end of the day they are a consumable part. There are two main reasons that a bearing needs to be changed on a Ferrari – firstly, the bearing itself could be worn but also the ABS sensor is built into the bearing assembly. If the sensor is faulty then the bearing needs to be renewed.
The 360 and F430 share the same bearing but the part numbers are different due to the ABS sensors – make sure you order the correct part. The procedure to renew is almost exactly the same.
In this case, it was the actual bearing that was worn out. The symptoms were a droning and clicking noise that was proportional to vehicle speed. The noise didn’t change when putting the gearbox in neutral and touching the brakes didn’t have any effect. The noise appeared to be coming from the front left wheel.
Diagnosis was easy, the wheel was removed along with the brake pads (to eliminate the noise of them rubbing on the disc). Here’s what was found when the bearing was spun up (turn up the volume):
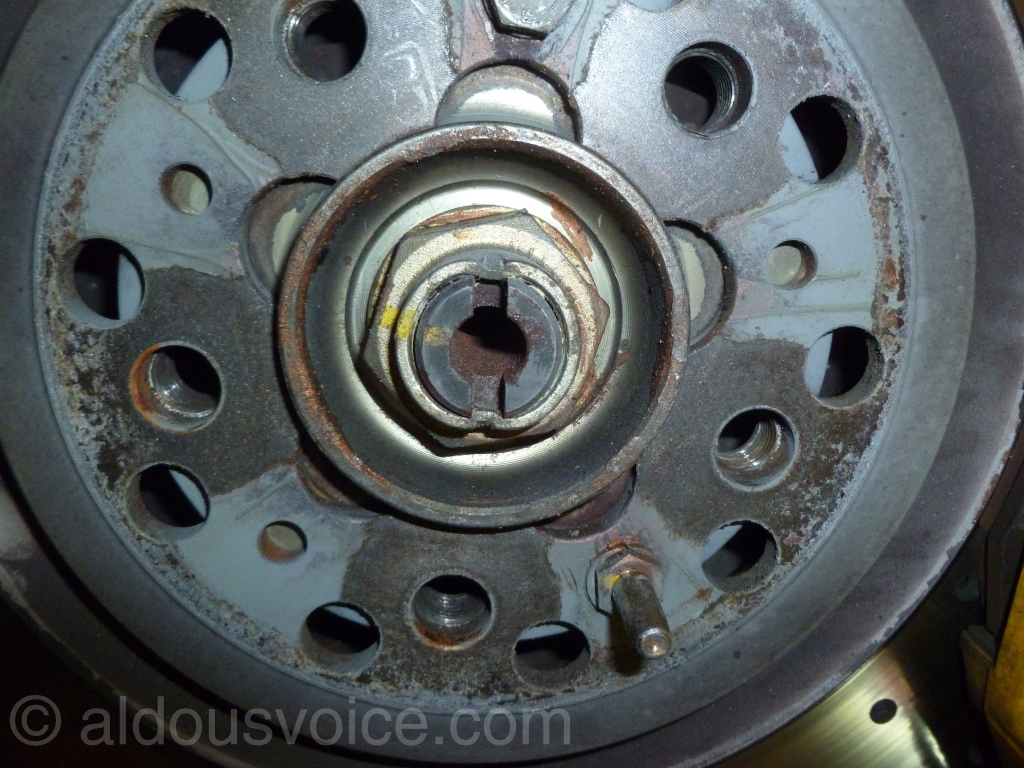
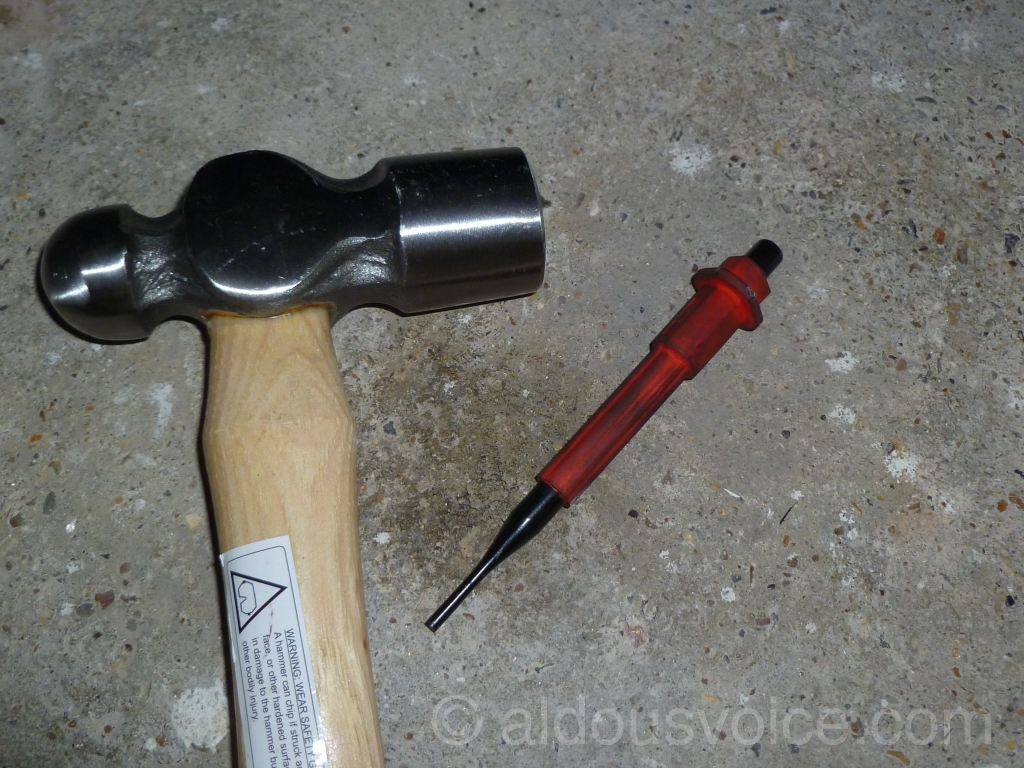
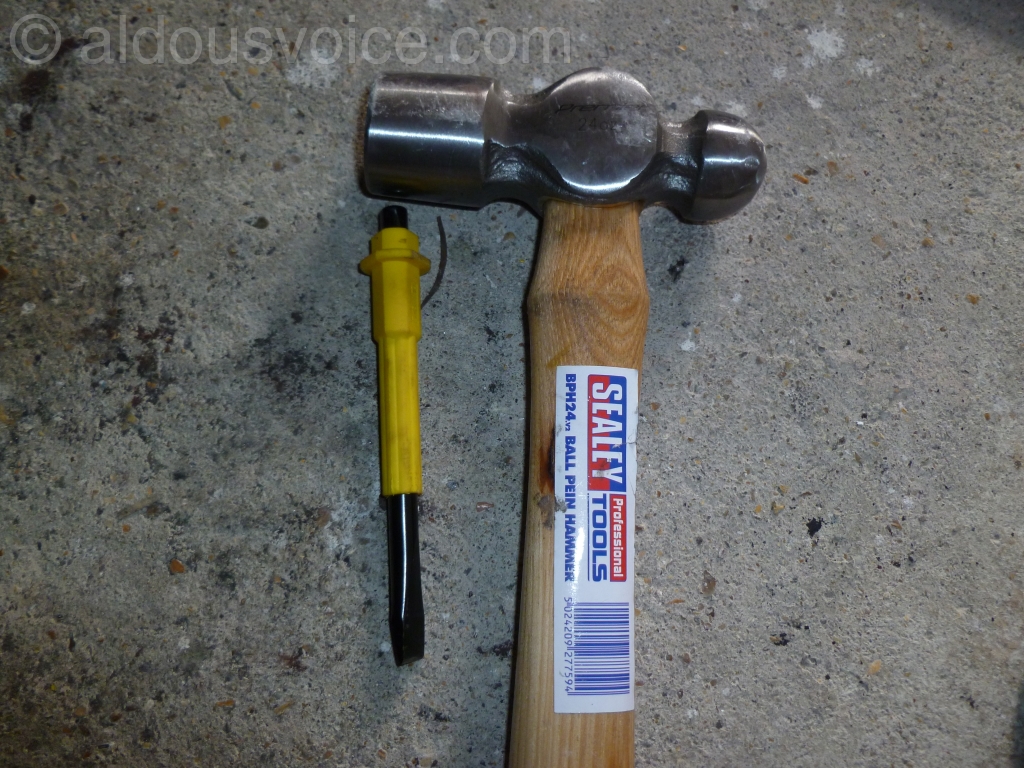
Replacement is fairly straightforward. First of all the hub nut needs to be un-staked.
I use a punch and a heavy hammer.
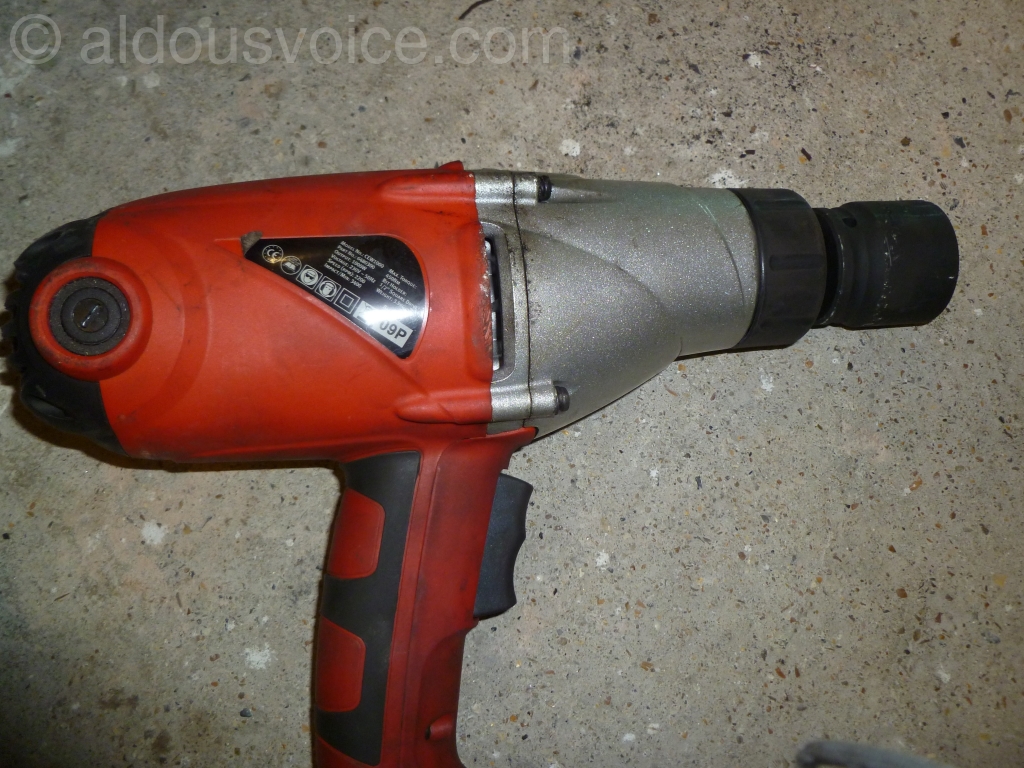
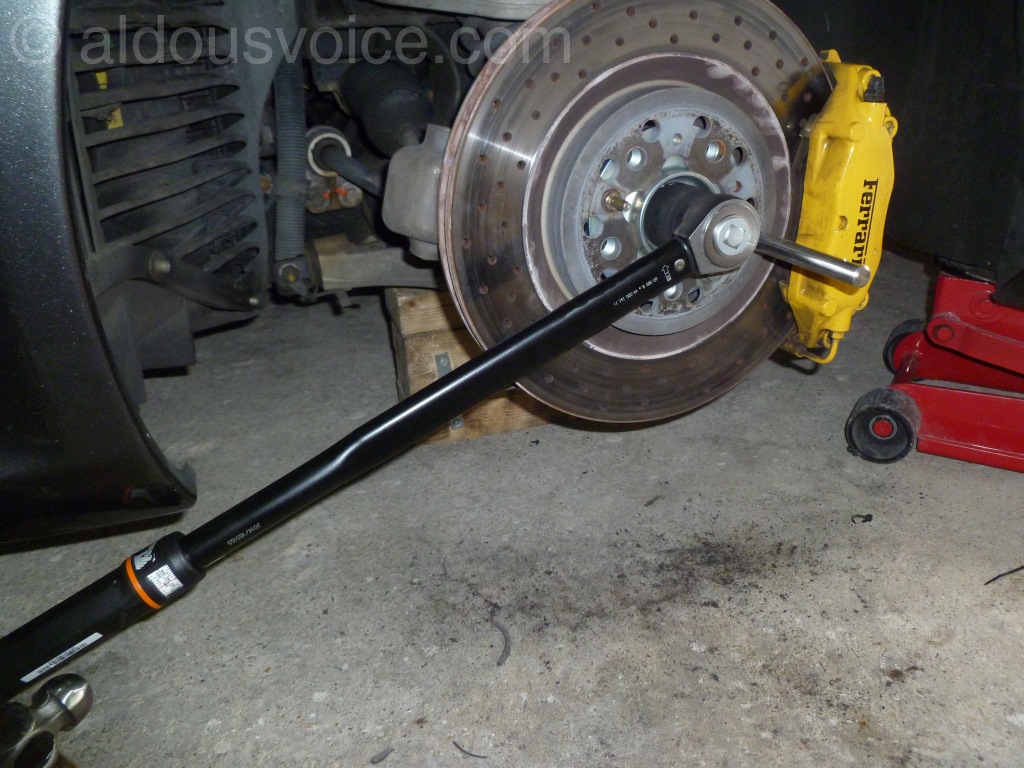
The hub nut needs to be loosened – this is much easier when the bearing is on the car. I use a high power electric impact wrench which makes short work of the nut, however a breaker bar will suffice if you have an assistant press the brake pedal to stop things from turning. You will need a 36mm impact socket.
If you are replacing the rear wheel bearing then I would recommend applying the both the hydraulic brakes and the parking brake (gearbox in neutral). You’ll need to take the nut completely off at this stage.
Loosen, but don’t remove, the two blots holding the hub to the upper and lower wishbone. You will need a 10mm hex bit for the upper bolt and a 14mm hex for the lower bolt (and a long bar as they are tight).

Next undo the bolt (10mm hex) holding the track rod end to the hub to allow the hub to swing freely.
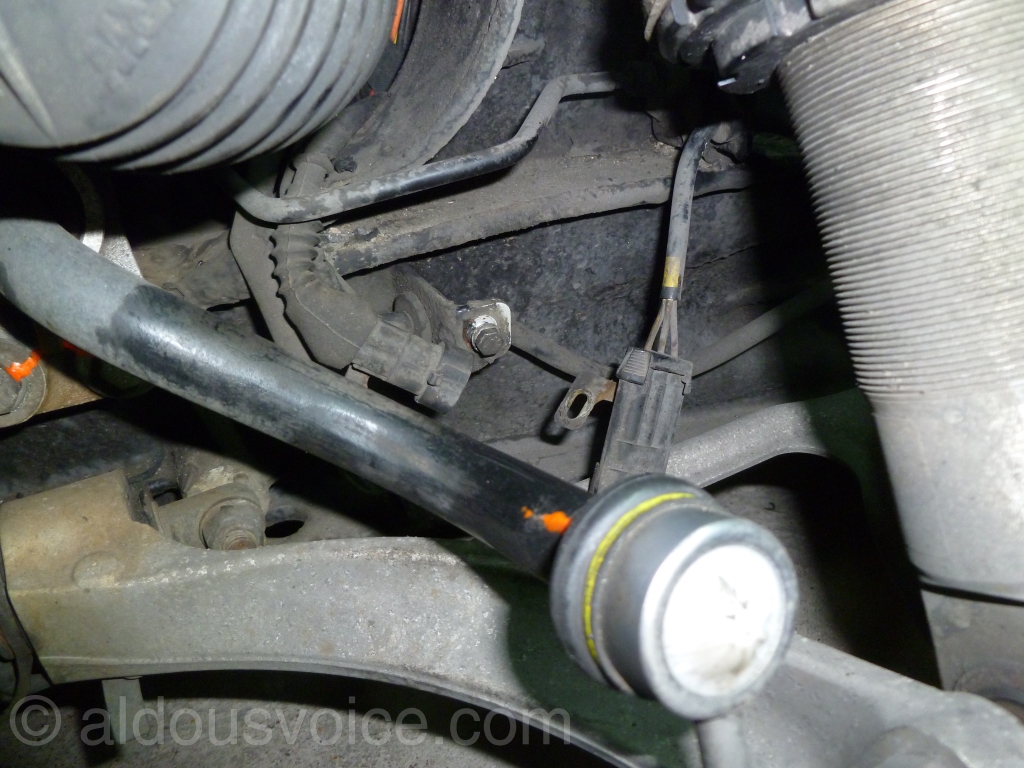
Disconnect the electrical connectors joining the ABS sensor wire and the accelerometer (if applicable) to the loom. The connectors are located near where the lower wishbone joins the chassis.
Un-clip both wires from their various attachment points and thread them through the back of the hub so they are out of the way.
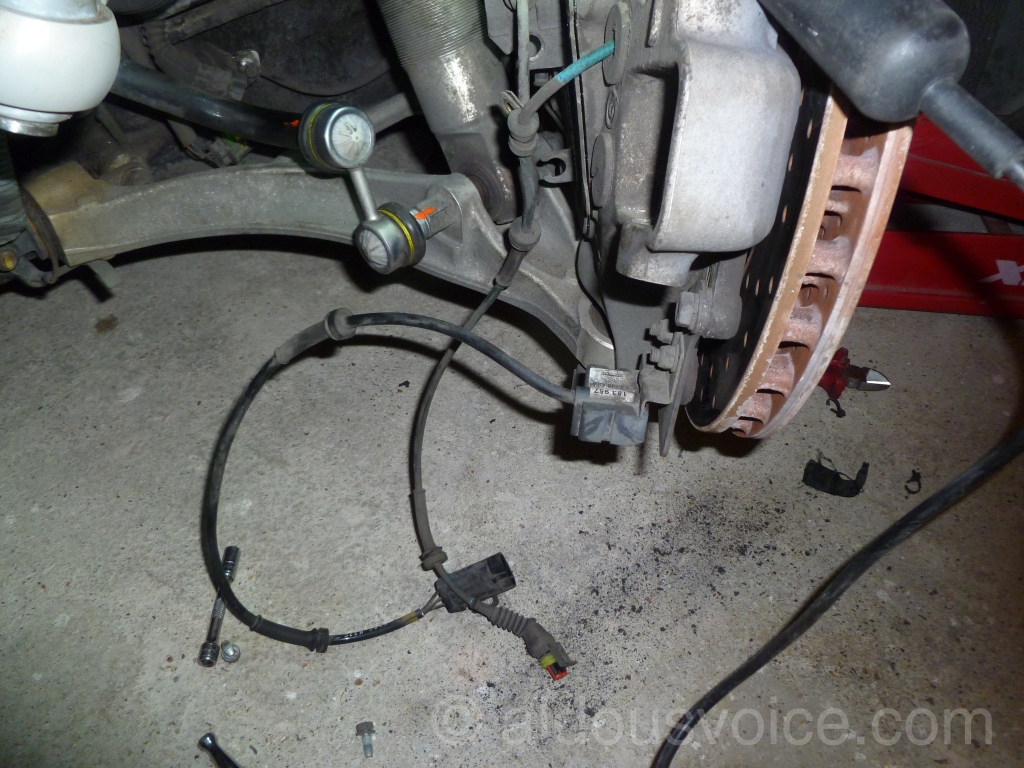
Undo the four M6 bolts holding the back plate onto the hub. This step isn’t needed for the rear bearing.

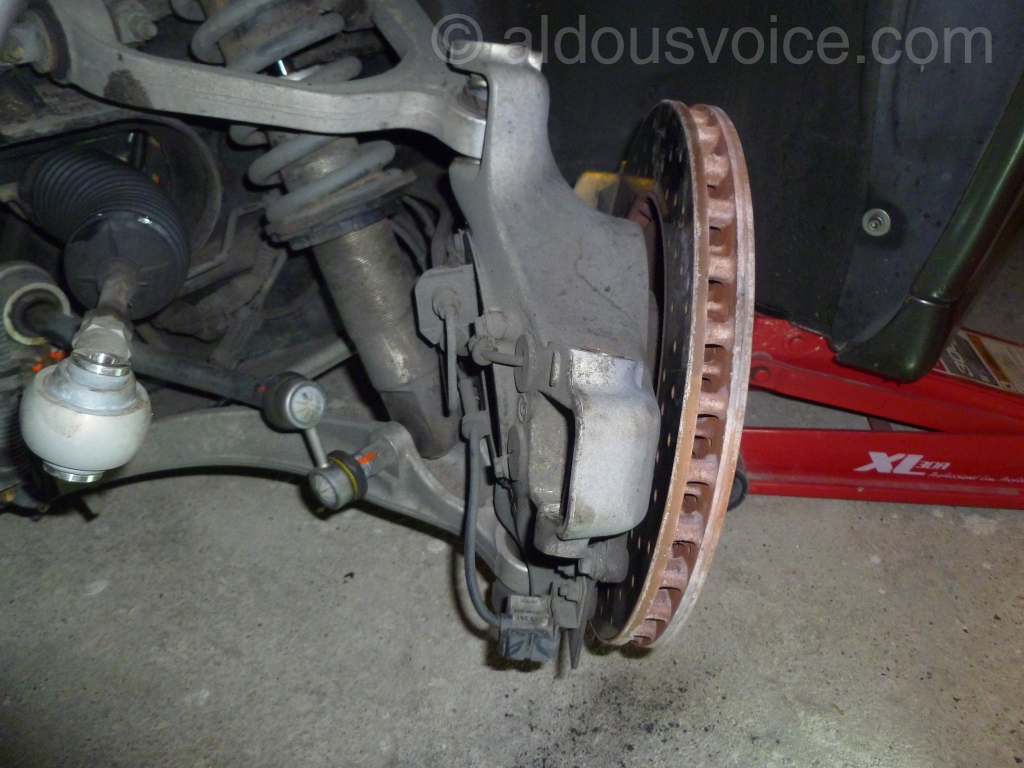
Undo the two bolts holding the brake caliper onto the hub (10mm Hex) and swing the caliper and back plate out of the way. You may need to remove one or both brake pads to get the caliper off. Have something to support the caliper on so the hose and wires do not get damaged.

Remove the brake disc.
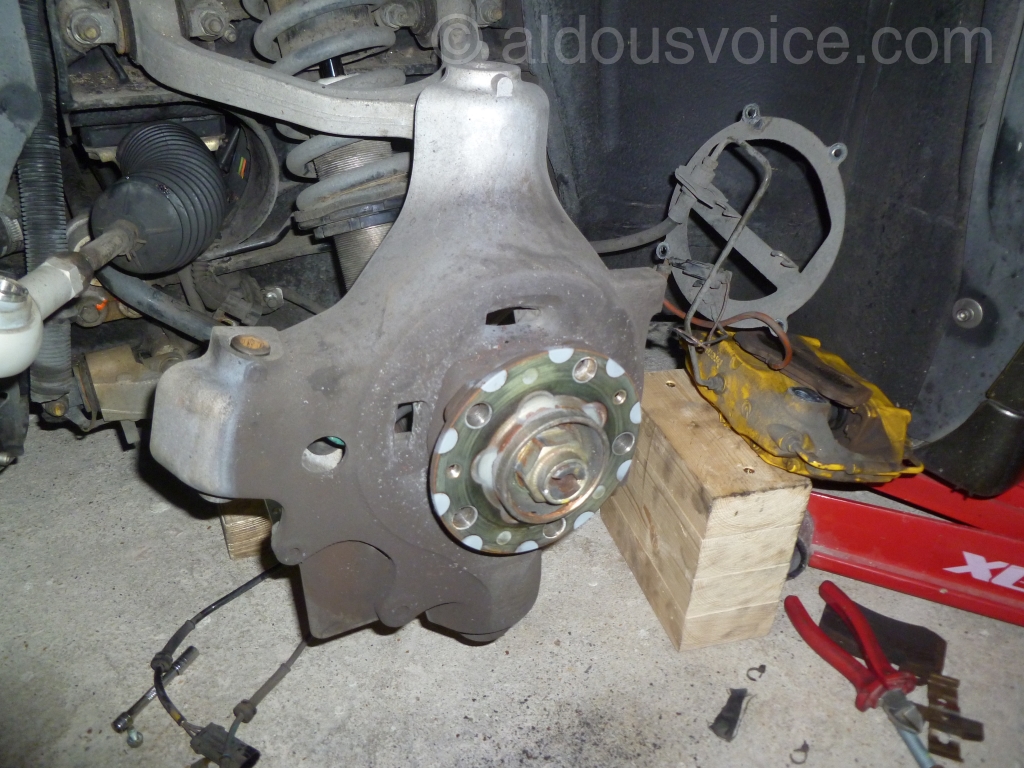
Next undo the bolts holding the hub to the upper wishbone (10mm hex) and lower wishbone (14mm hex). The hub can now be withdrawn from the car.

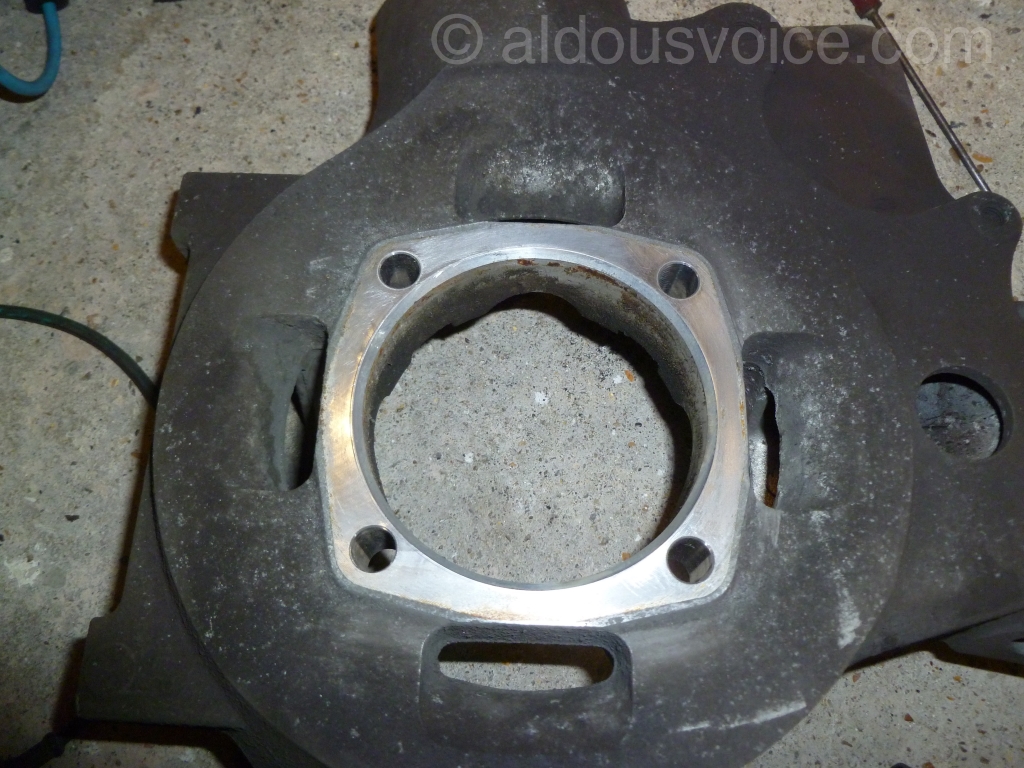
Undo the four bolts holding the bearing to the hub.

The bearing assembly can now be withdrawn from the hub.

Undo the hub nut and withdraw the central pin. If you need to stop the pin from turning you can knock off the ABS ring and clamp the back of the pin in a vice. This step isn’t needed for the rear bearing.
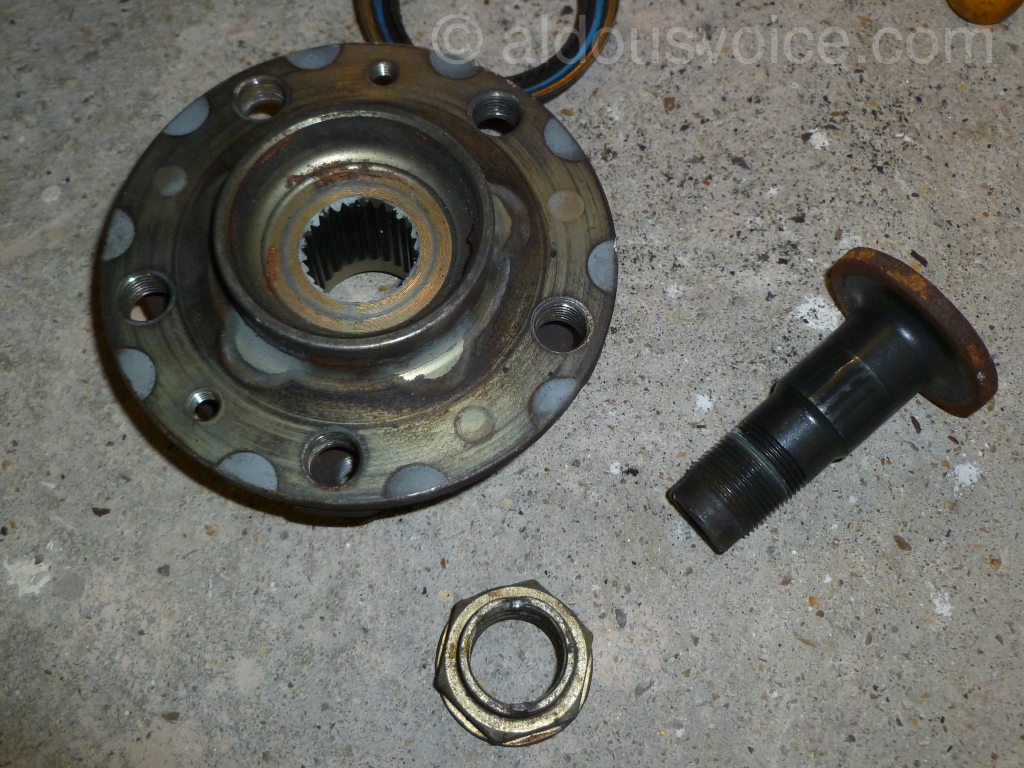
Fit the pin and a brand new nut to the new bearing. Tighten the nut as much as possible (I use the impact wrench) and put a little grease on the flange of the nut that rests against the bearing (it helps when torquing up later). This step isn’t needed for the rear bearing.
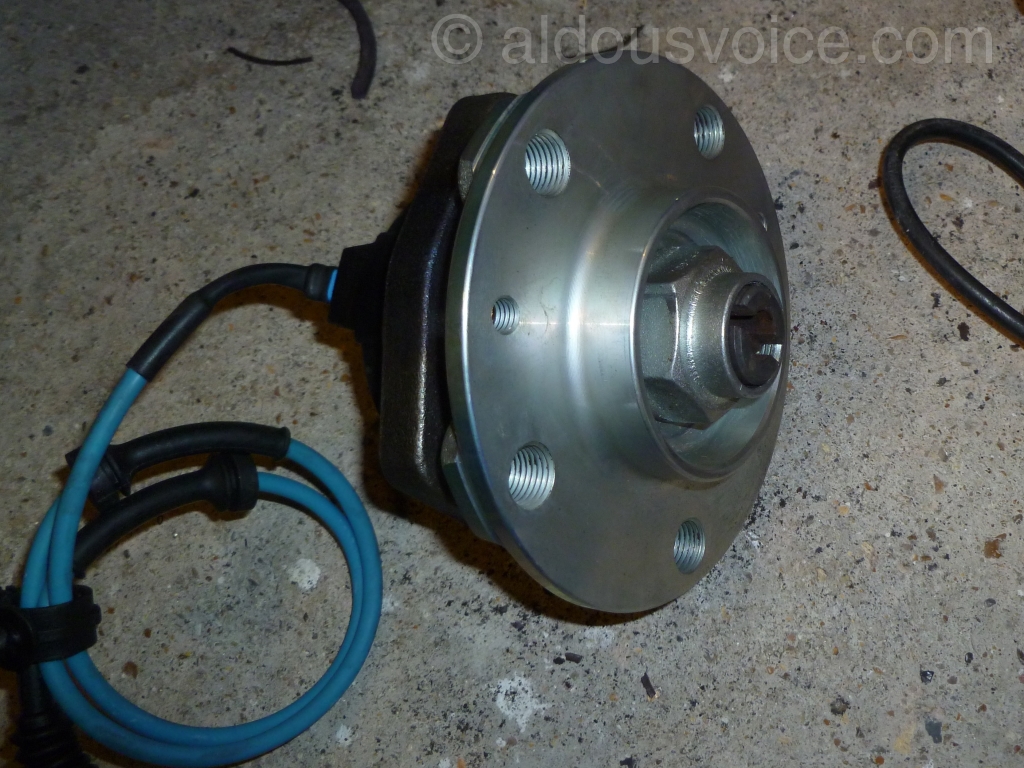
Clean up the face of the hub so the bearing assembly will sit nice and flush.
Bolt the new bearing onto the hub. I use a small amount of a medium threadlock – tighten to 65Nm.

Feed the ABS wire through the hub and re-fit the rubber grommet.

Now the hub can be re-fitted onto the car. Leave the track rod end off to allow access to the rear of the hub. If you are replacing the rear bearing then you’ll need to slide the bearing onto the driveshaft splines.
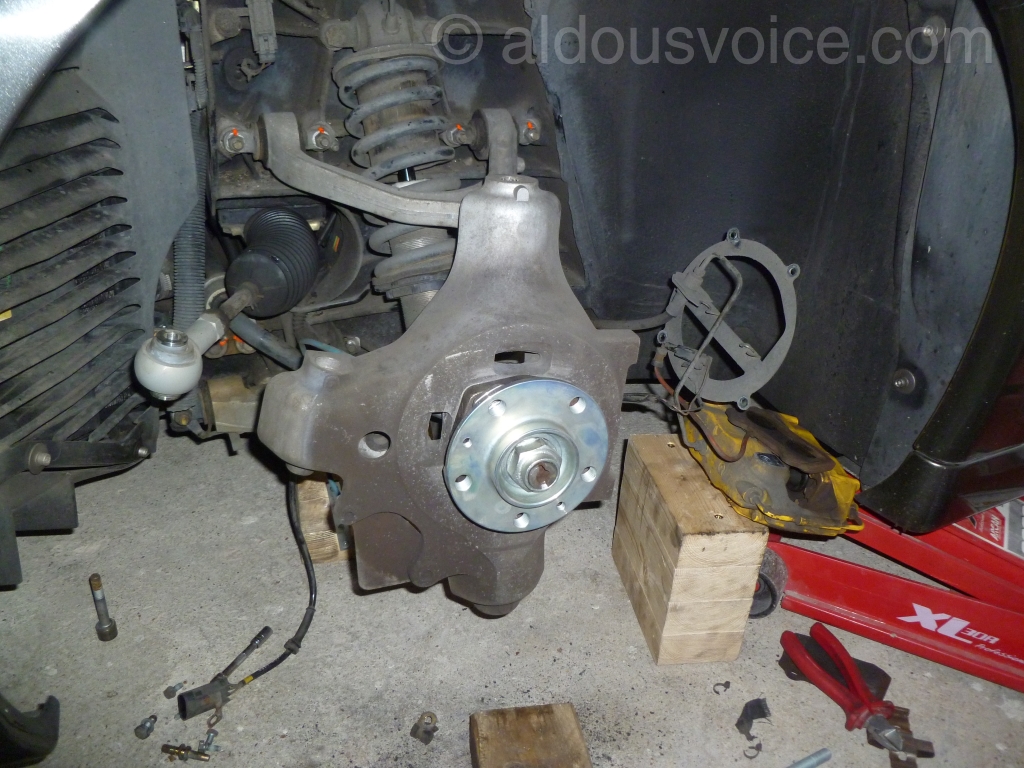
Refit the brake disc. Use a wheel hanger or wheel bolt to make sure the disc is aligned correctly (I recently worked on a car where the rear discs had been fitted wrongly which meant the bolts couldn’t be put in by hand).

Bolt up the brake caliper (torque to 85Nm) and refit the brake pads.
Refit the cables and the back plate (if you’re working at the front). Replace any cable ties that you had to remove.
Next fasten the bolt holding the track rod end to the hub (tighten to 65Nm). Torque up the upper (65Nm) and lower (85Nm) bolts holding the wishbones to the hub.
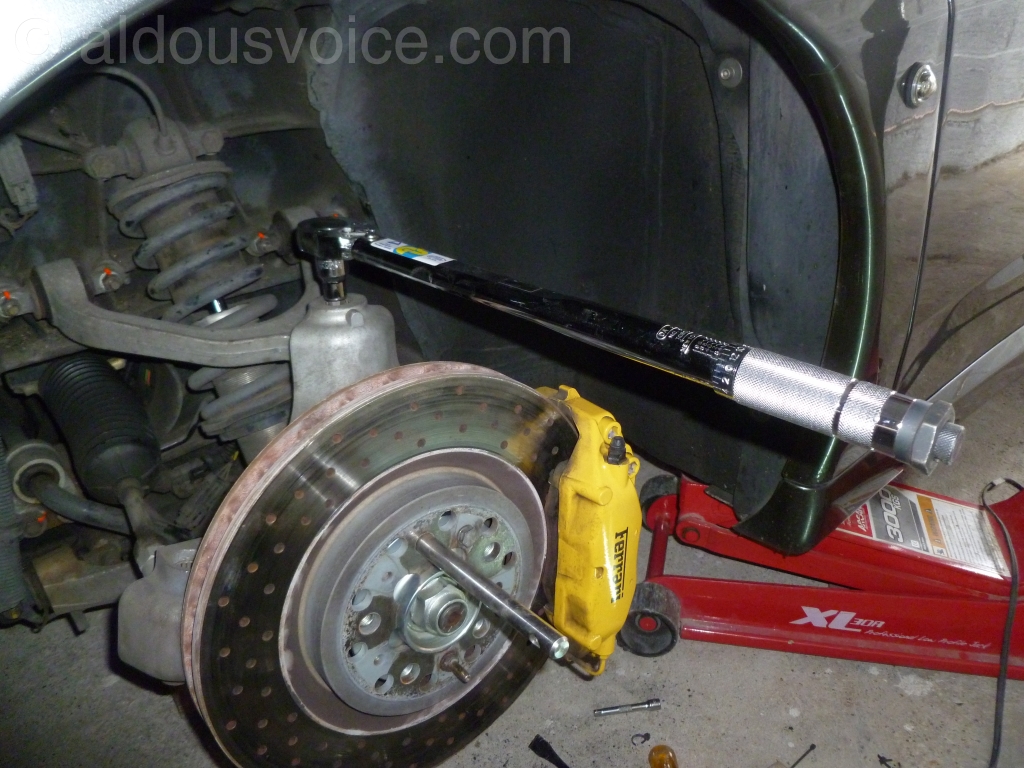
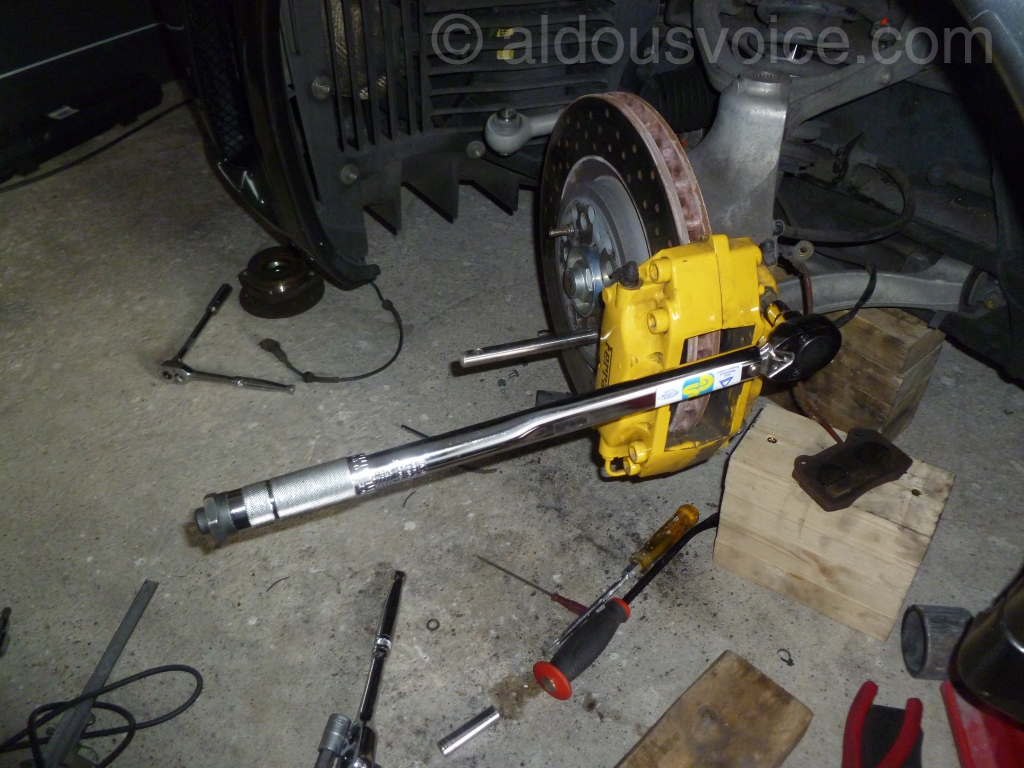
Now the hub nut needs to be torqued up. 275Nm is outside the range of most regular torque wrenches so you’ll need to find a long one from somewhere. Have an assistant press hard on the brake pedal (and apply the parking brake if working at the rear).
Finally the nut needs to be staked to stop it from turning. I use a chisel and large hammer.
It is good practice to mark the nut in order to see if it moves. I use Torque Seal anti-sabotage lacquer.

All that’s left is to re-fit the wheel and torque up the wheel bolts (98Nm).
Other posts in this category: Suspension
If you enjoyed this post why not subscribe to this blog for further updates? Simply enter your email address in the box at the bottom of this page. Your details will not be shared.

Aldous
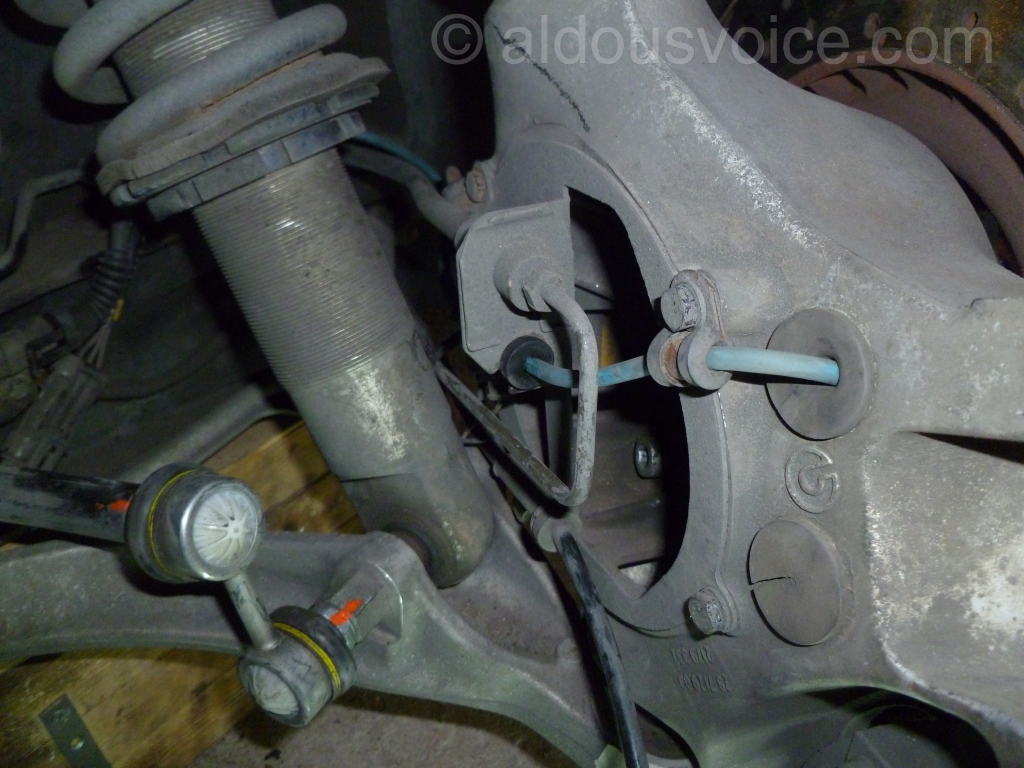
What is the purpose of the thin metal “plate” at the rear of the hub? I see wires attached but the ABS sensor is separate. Wow 275nM (which is 2012 ft lbs) that is really tight.
Alan
Hi Alan,
The plate holds the solid brake pipe in place (the pipe that connects the caliper to the flexible hose).
Yes, 275 Nm is very tight – I didn’t think I was ever going to get the torque wrench to click!
Cheers,
AV
Hi Aldous, Is it normal after replacing the bearing unit that the ABS light now comes on? The hub was replaced because the bearings were worn. I previously had no issues with the ABS system.
Cheers, Rhys
No, it is not normal. What error is the ABS ECU reporting?
I have it an an independent garage at the moment, I’ll speak to the engineer again on Monday, To read the ABS ECU does that need the SD diagnostic equipment?
Yes
It turns out there was a problem at the factory where the hub was manufactured. A worker had incorrectly been putting F430 hubs into a 360 boxes and labelled them as part #179070 (the 360 part number). I’m one of several people affected so far in the last few weeks.