A client of mine recently purchased a 987 Cayman. Unfortunately when driving it home for the first time, it threw up the engine warning message so it was brought over to me to resolve. Amongst the error codes were P1359, P1361, P1363 and P1371. The first three codes report a malfunction of the intake valve lift control on cylinders 1, 2 & 3 respectively. The last code is a general valve lift control error.
I don’t propose to go into much detail about the variable intake valve control (Variocam) fitted to modern Porsche as there is plenty of info out there already. In essence, there is an electrically operated solenoid that feeds oil under pressure to an actuator. This in turn alters the lift of the intake valves. A single error on one cylinder would point to a problem on the valve lift mechanism. Three errors on the same bank suggest a problem with the actuation circuit (as was the case here).
The first thing to do is to gain access to the valve cover by removing the wheel and arch liners. The Variocam solenoid is fitted through the valve cover between coil packs 2 & 3 on bank 1 and 5 & 6 on bank 2. It can be seen here between the two new coil packs.
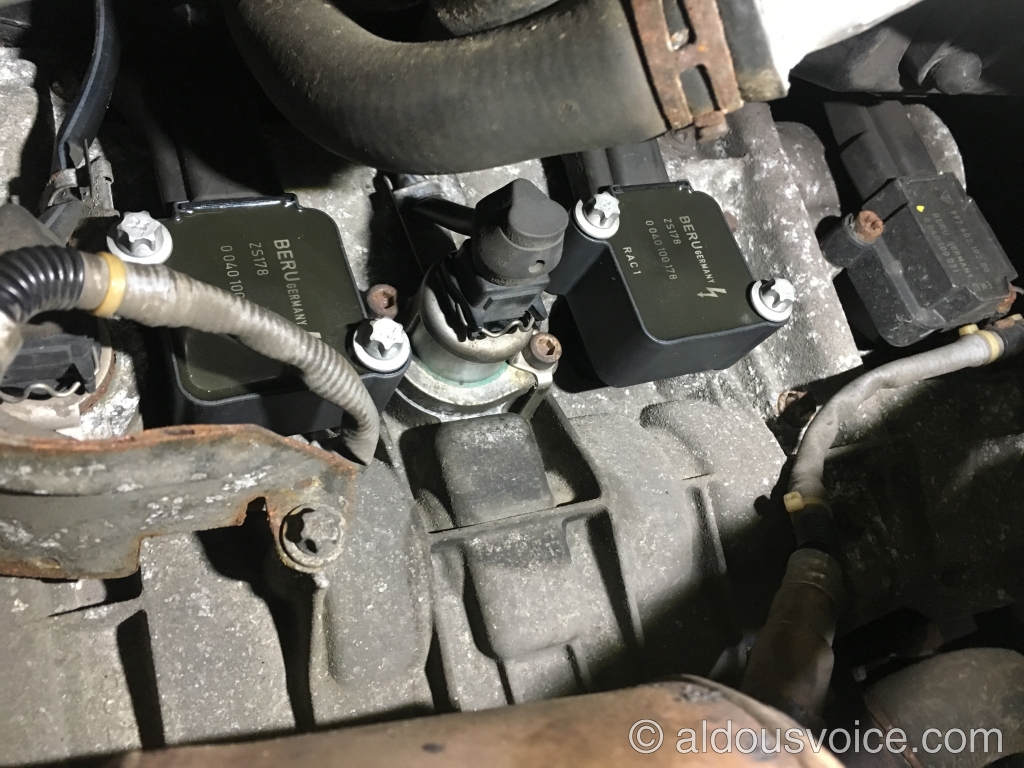
The first thing to check is if the metal bracket holding the solenoid in place is intact. These commonly rust through and allow the solenoid to become unseated.
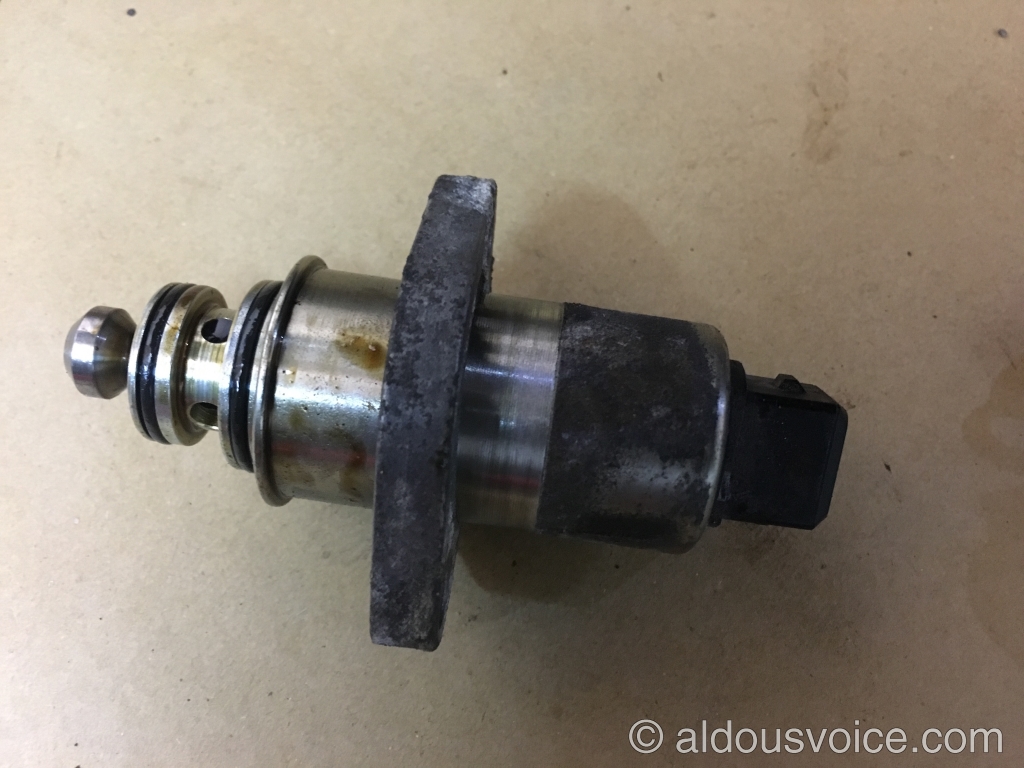
Assuming that the bracket is undamaged, the next step is to check the solenoid itself. It is removed by unscrewing the two bolts (5mm hex) and gently twisting and pulling it out (after disconnecting the cable of course). Have a rag ready to catch the small amount of oil that will dribble out.

Here’s what it looks like (part number 997.105.301.00):

The solenoid can be tested by using a power probe on the terminals. Alternatively, it is possible to swap them from side to side and use a diagnostic tool to command the DME to activate the Variocam – if the problem moves with the solenoid then it is at fault (which was the case here).
New solenoids are relatively inexpensive and, as they commonly fail, in stock at most Porsche service centres. I recommend changing both sides – if one side has gone the other wont be far behind.
Here’s a picture of a new solenoid next to a used one – note that they come supplied without the fittings:

In order to remove the sealing sleeve, push it forwards to get it away from the corrosion at the terminal end…
All the corrosion will need to be polished off else there is a risk that the seal will become damaged when the sleeve is pulled off. It is best to lubricate the seal with a little engine oil to aid removal.

Here are the component parts shown together:

The new solenoid can be built up with the sleeve and bracket, again use some oil to lubricate the seal.

Clean all the corrosion from the valve cover and from the face of the sleeve to ensure a tight seal.
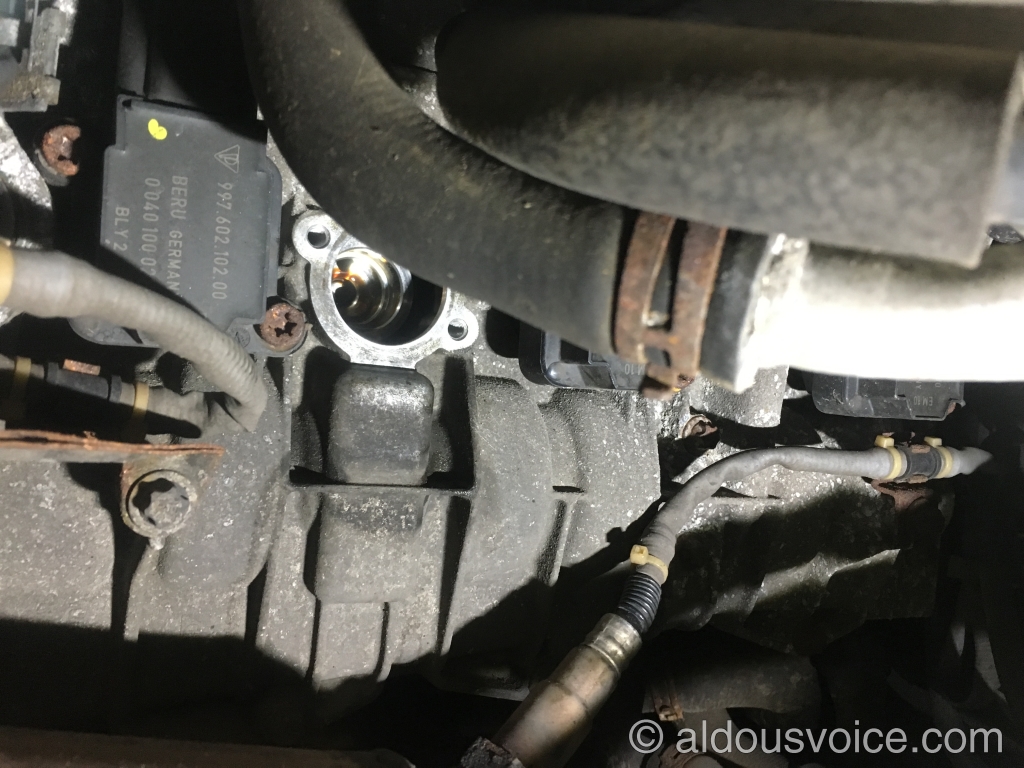
Then it is just a matter of installing it in the valve cover and connecting it up. Clear the errors from the DME and take the car for a test drive to check the repair is good.

Other posts in this category: Engine and Drivetrain
If you enjoyed this post why not subscribe to this blog for further updates? Simply enter your email address in the box at the bottom of this page. Your email address will not be shared.
