The Ferrari 360 has a fairly basic system for adjusting the aim of the headlights. The mechanism is made from plastic and, due to the age of the tipo, becoming more prone to failure. This article will discuss how the mechanism works, the mode of failure and my method of repair.
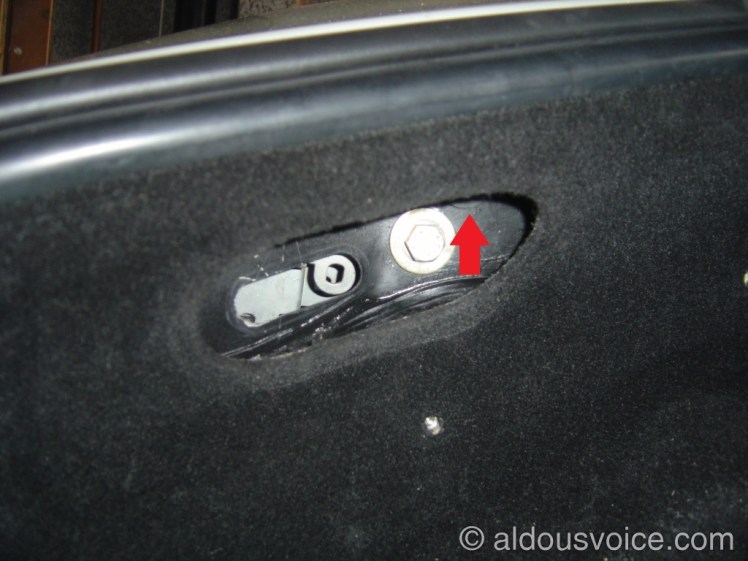
The headlight aim can be adjusted from inside the front compartment. Behind an oval shaped rubber grommet on each side of the car there is a smaller grommet (arrowed below) which reveals the end of the adjuster. The adjustment is made using a 6mm hex bit turning clockwise or anticlockwise as required.
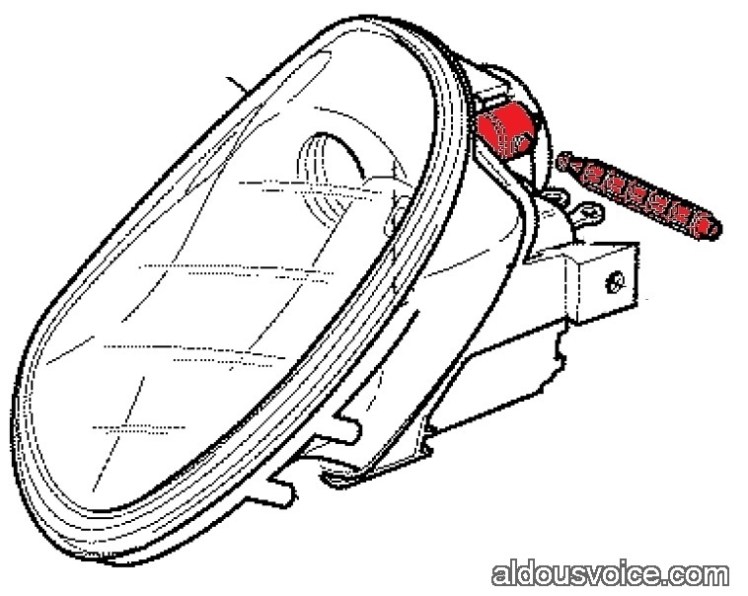
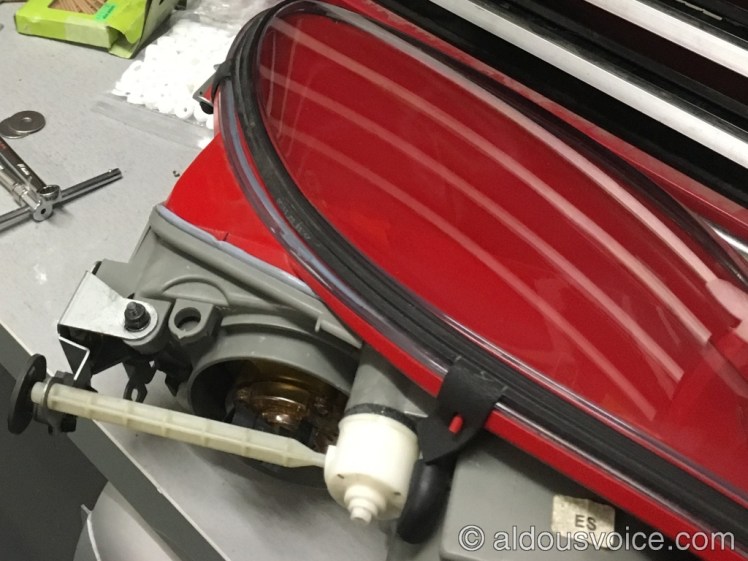
The hex bit goes into the end of the long rod shown in the diagram below. The other end of the rod attaches to the red cylinder also shown below. A couple of bevel gears turn the motion through 90 degrees.
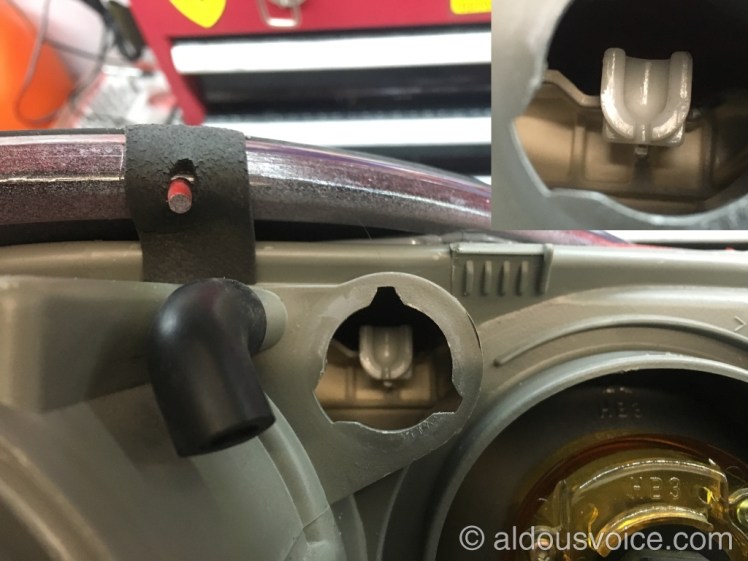
Both the low and high beam reflector units are fixed to each other. They are also fixed to the bottom of the headlight unit with a hinge. At the top of the reflectors there is a socket (shown in the picture below).
The cylindrical adjuster has a threaded rod running through it which has a knuckle at the end. This knuckle fits into the socket. As the rod is wound backwards and forwards it tilts the lights up and down.
If the adjuster is wound too far out the knuckle will pop out of the socket. If your headlights are pointing at the ground, and turning the bar with the hex doesn’t have any effect, then this is what has happened.
The cylindrical adjuster can be twisted and removed from the main unit. However, the aging plastic is very brittle and it is guaranteed to shatter into a thousand pieces. They are not available as a spare part and I’ve not been able to cross reference the part from another car. New headlights list at around £5k for the pair.
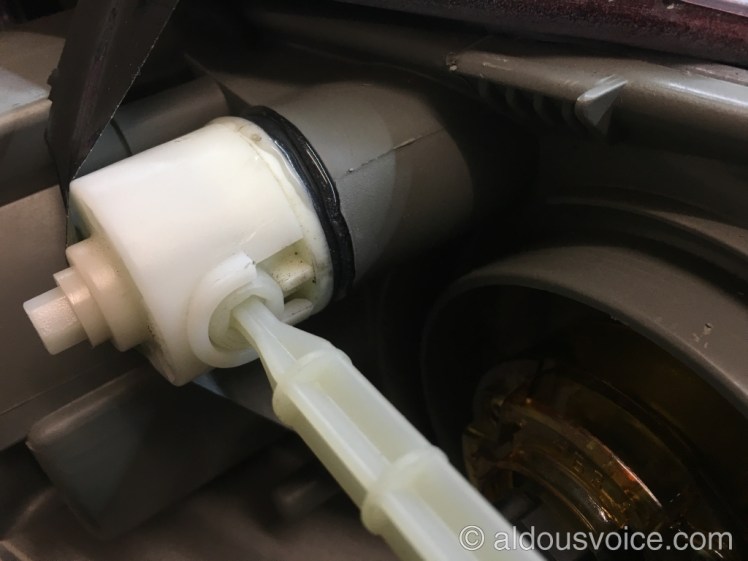
Here’s a picture of a broken adjuster once it has been removed from the unit:

The repair is fairly simple. Start by positioning the rod such that it is extended enough to be able to slide it into the socket but the adjuster will also fit against the headlight. Next use some two part epoxy resin to glue the rubber washer to the adjuster:

Once the glue has gone off the rubber washer can be glued to the headlight unit (again using epoxy). The bar will need to be fitted at the same time and some tape is need to hold everything in place.
I like to glue the the adjuster to the headlight via the washer as the bond to the rubber isn’t perfect. It is enough to hold everything in place but weak enough should the adjuster need to be removed for any reason. Once the glue has gone off the headlight is now ready to be installed back in the car.
Other posts in this category:
If you enjoyed this post why not subscribe to this blog for further updates? Simply enter your email address in the box at the bottom of this page. Your details will not be shared.

My mechanical level adjustment parts are missing. Where can i buy two of these? They don’t have a part number and i don’t want to replace the whole headlight assembly. Were these parts used by any other automakers?
Thank You, Rob.
They aren’t sold separately. Sorry