The official maintenance program calls for the air conditioning system on a Ferrari to be serviced every two years. This takes the form of removing the gas, changing the filter and filling with fresh gas. However, this is often overlooked and cars are more often than not running around with old gas and filters. The filter, also called a receiver or dryer, has an important job to do – it catches any debris in the system and also removes moisture (the latter being the enemy of the air conditioning pump). In my opinion it makes sense to change the filter and gas periodically than risk the pump failing.
In modern V8 Ferraris the filter is located in the front boot – these pictures are from a 360 I worked on a couple of weeks ago. The carpets and vapour barrier need to be removed to gain access.
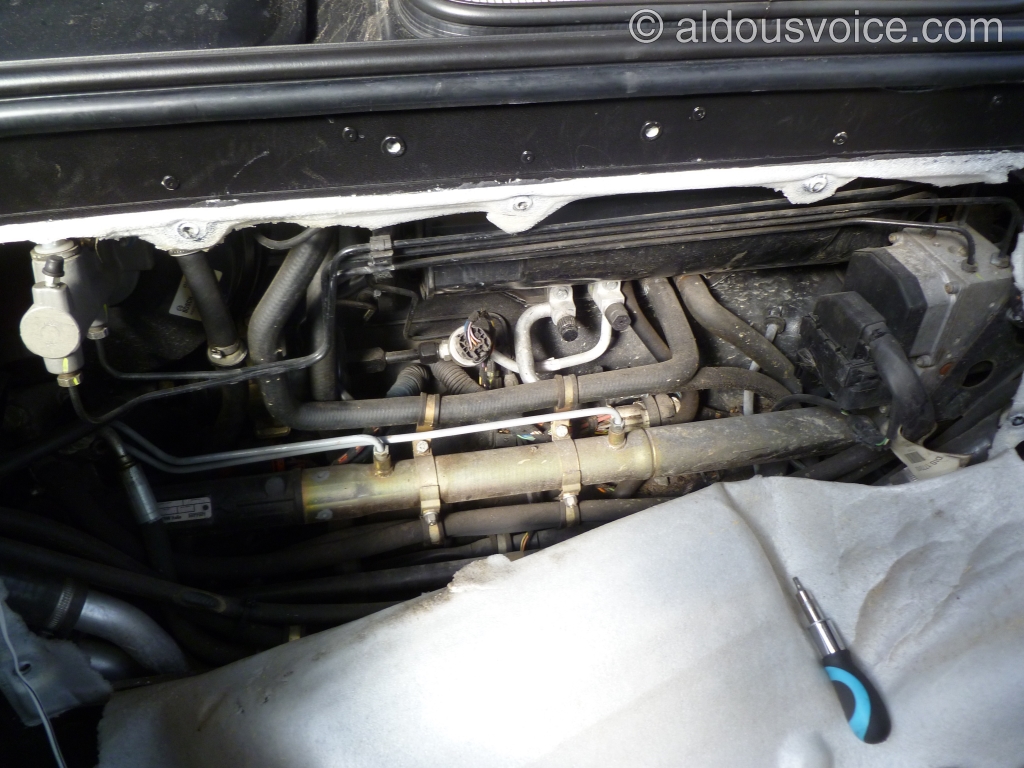
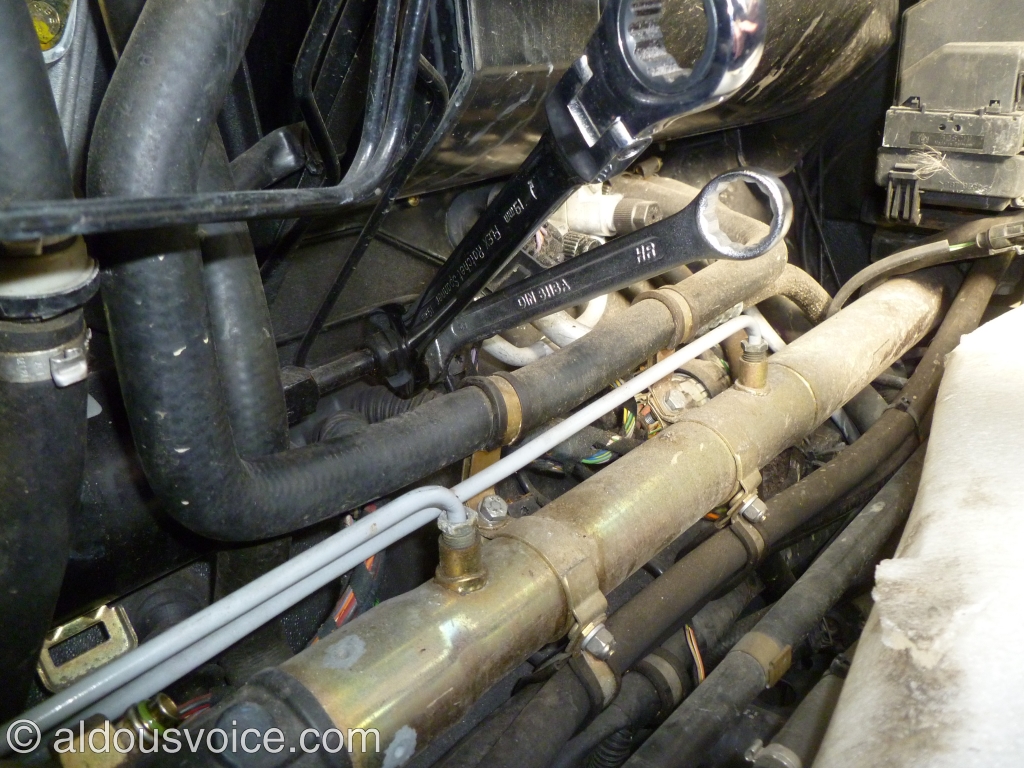
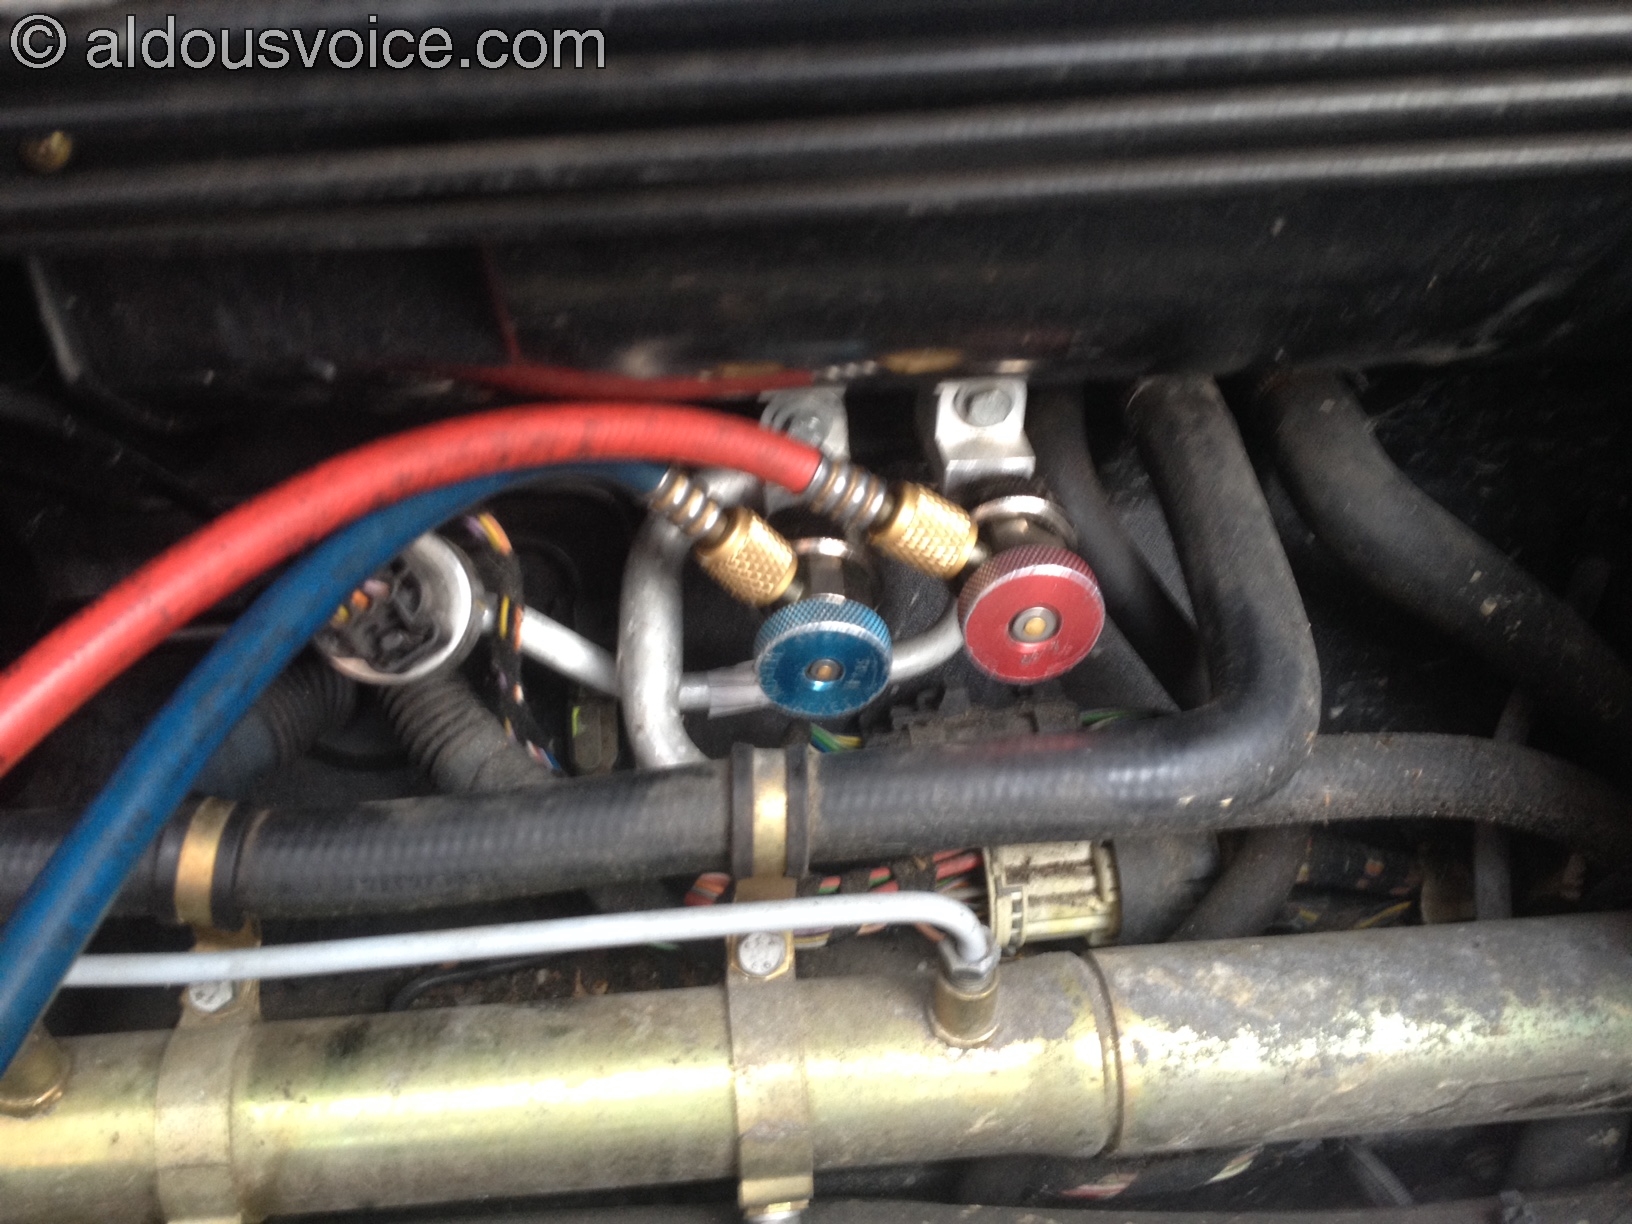
This area also provides access to the two valves (shown in the centre of the picture above). The refrigerant needs to be safely extracted from the system before work can commence. Please note that it is unlawful in the UK (and many other countries) to deliberately release refrigerant into the atmosphere. In this case it wasn’t necessary due to a mistake made by someone who had worked on the car previously (more later).
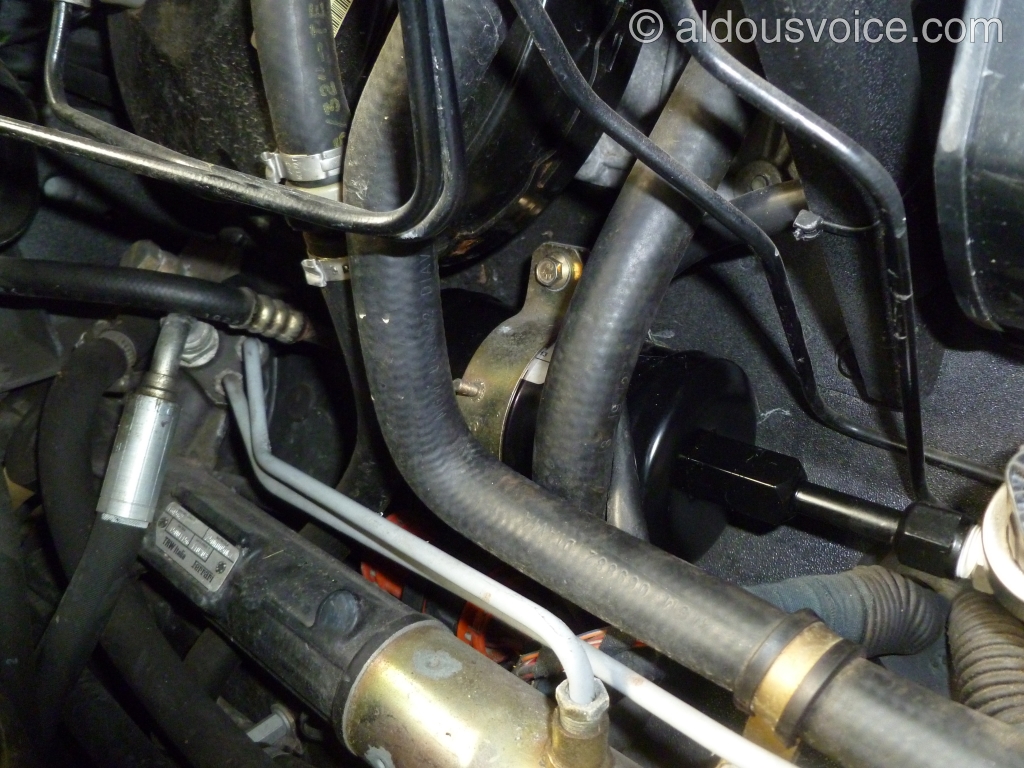
Here is the filter (it is the big black cylinder held in place with the gold band behind the hoses). They are dated so it is very easy to make a visual check on the age of the filter.
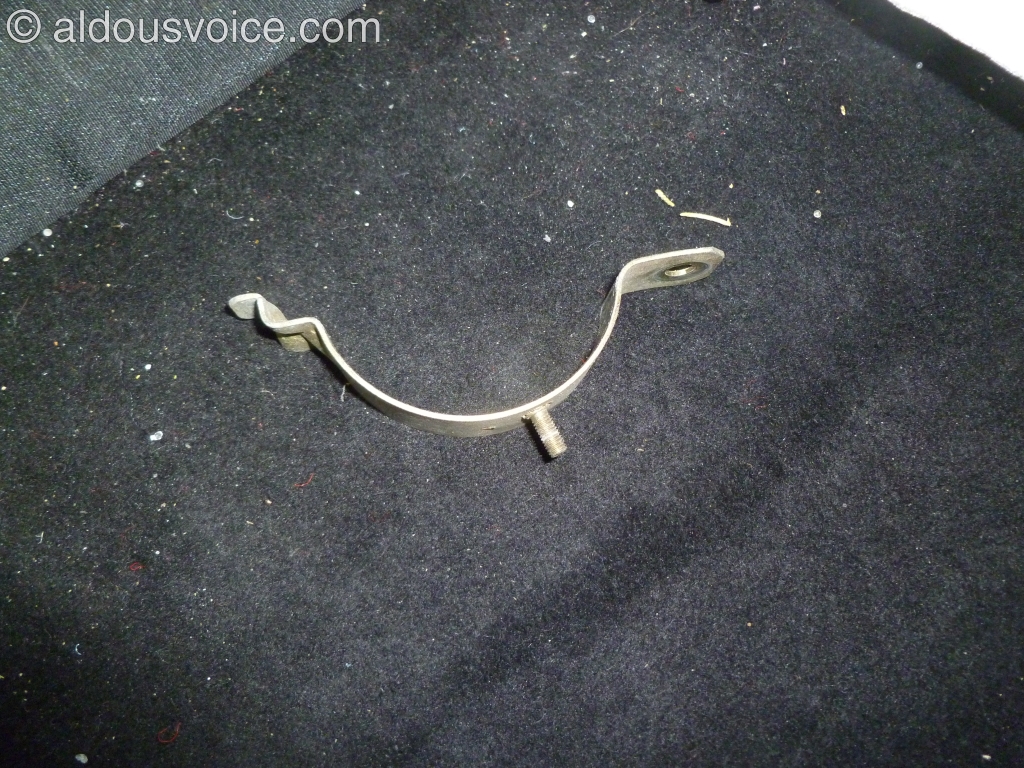
The filter is held in place with a bracket. To release simply undo the single bolt with a 13mm socket on an extension.

The bracket can then be withdrawn from the car.
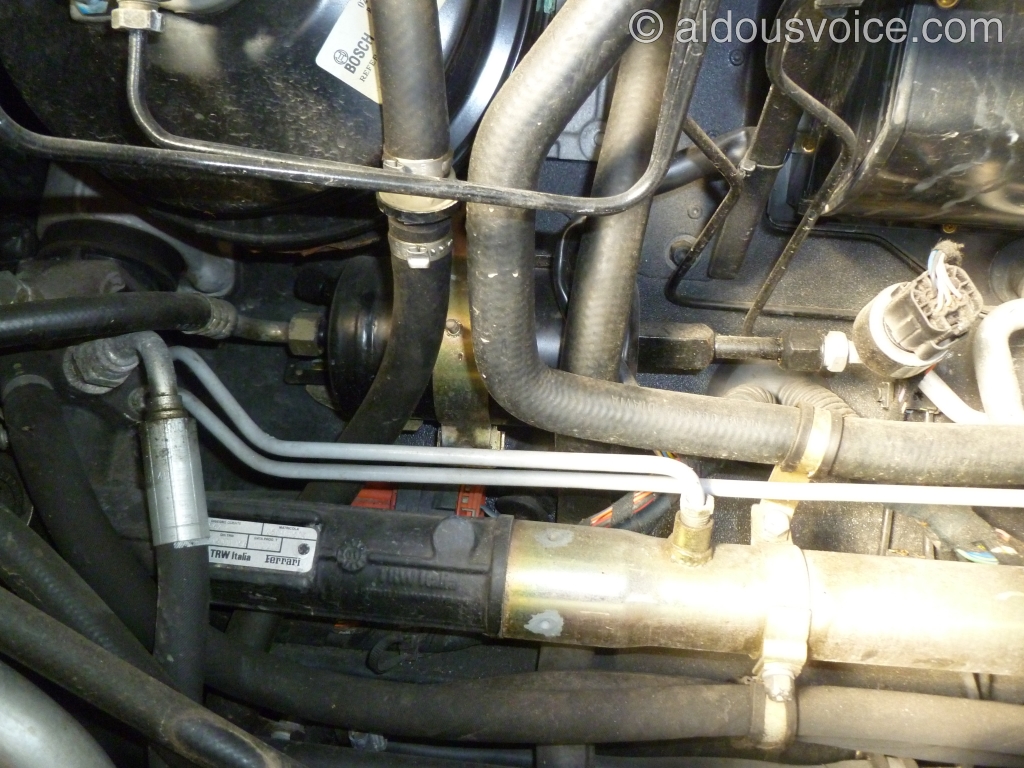
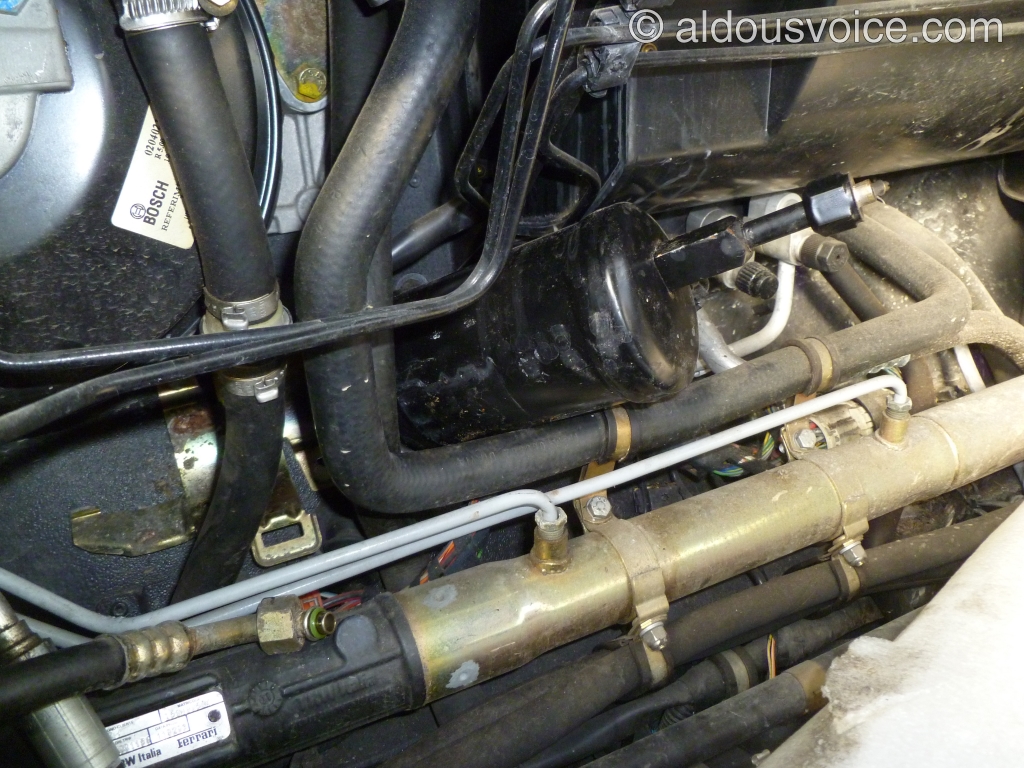
One end (LHS) of the filter is attached to a flexible hose whilst the other (RHS) is fixed to a rigid pipe. I like to remove the flexible hose first. On this filter there is a square block that a spanner can be fitted to in order to keep it steady.
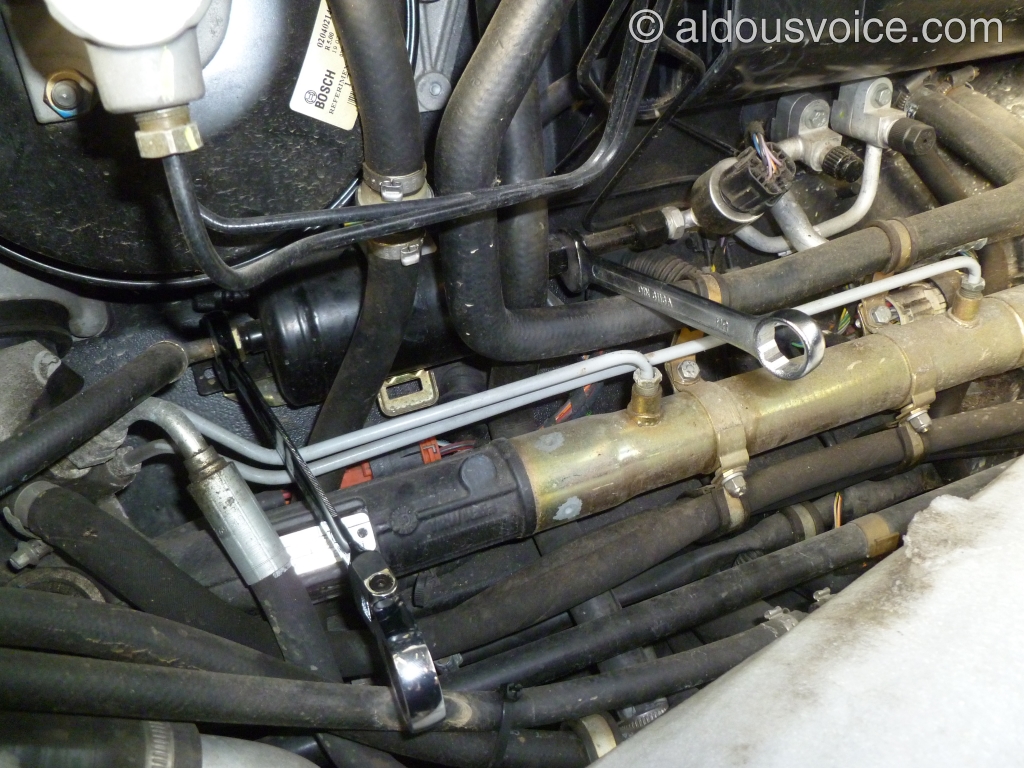
Next the rigid pipe can be removed using two spanners. Care must be taken here as the filter is made from steel and the pipe from aluminium. Bimetallic corrosion can occur if the filter is particularly old.
The filter can then be removed from the car by easing it past the water hoses.
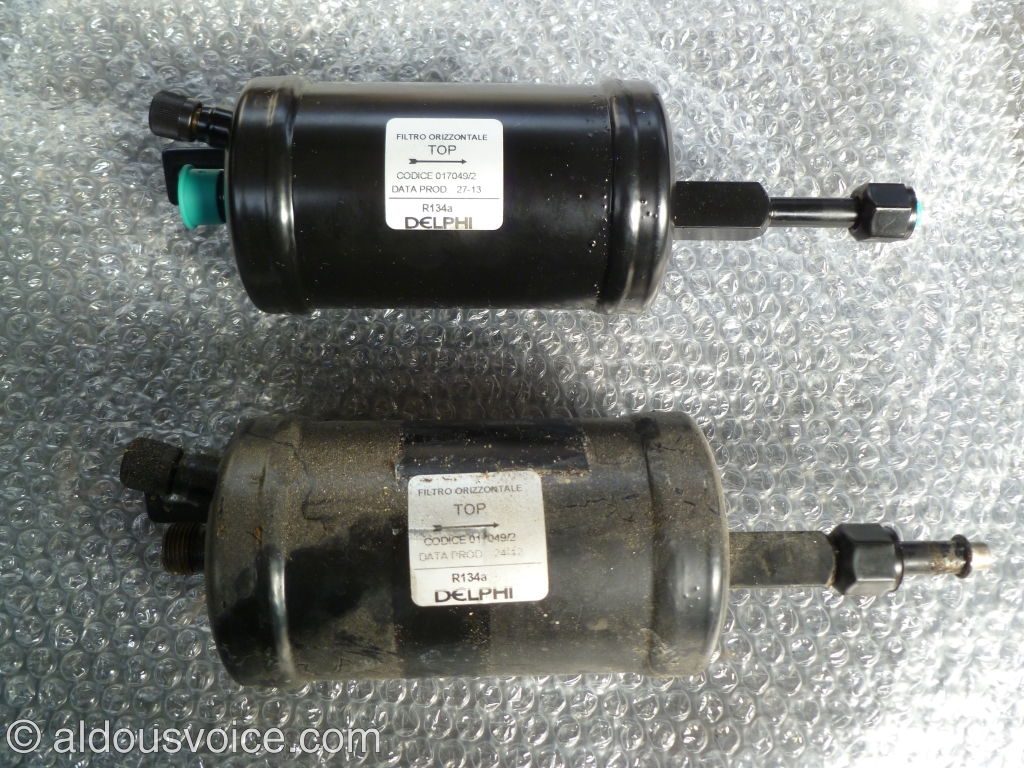
Here are the old and new filters side by side. Note that if the filter has not been changed for a long time then it will stink inside.
Fitment is the reverse of removal. Use fresh o-rings (one on the filter and one at the flexible hose). Some PTFE tape on the aluminium pipe thread will go some way to preventing bimetallic corrosion.
Once the filter is secure then all that is left is to recharge the system and refit the vapour barrier and carpets.
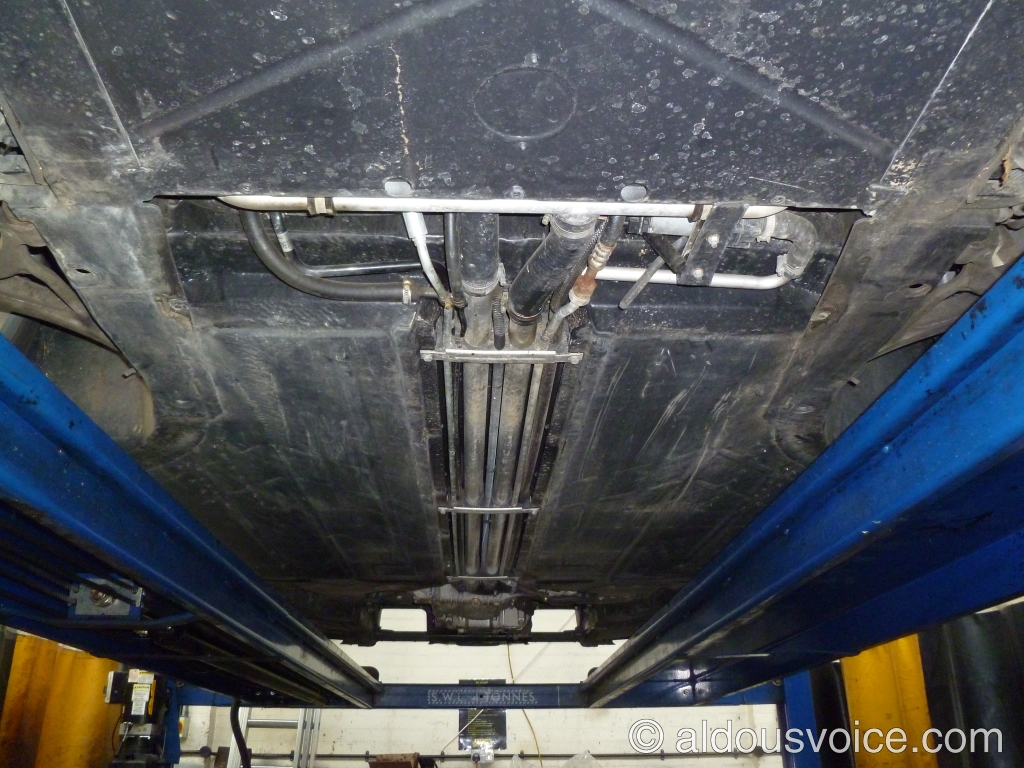
However, this wasn’t the end of the job on this particular 360. The prior week I had been performing some routine maintenance on the car, part of which required the undertrays to be removed. Some utter cretin (whom we suspect to be a well known main dealer) had fixed the centre undertray to the front undertray with three self tapping screws. One of these screws had pierced an air conditioning pipes but had sealed itself in. When I removed the screw the system discharged the gas and dye all over me. The pipe could have been welded but this owner is very fastidious and opted for a new part.
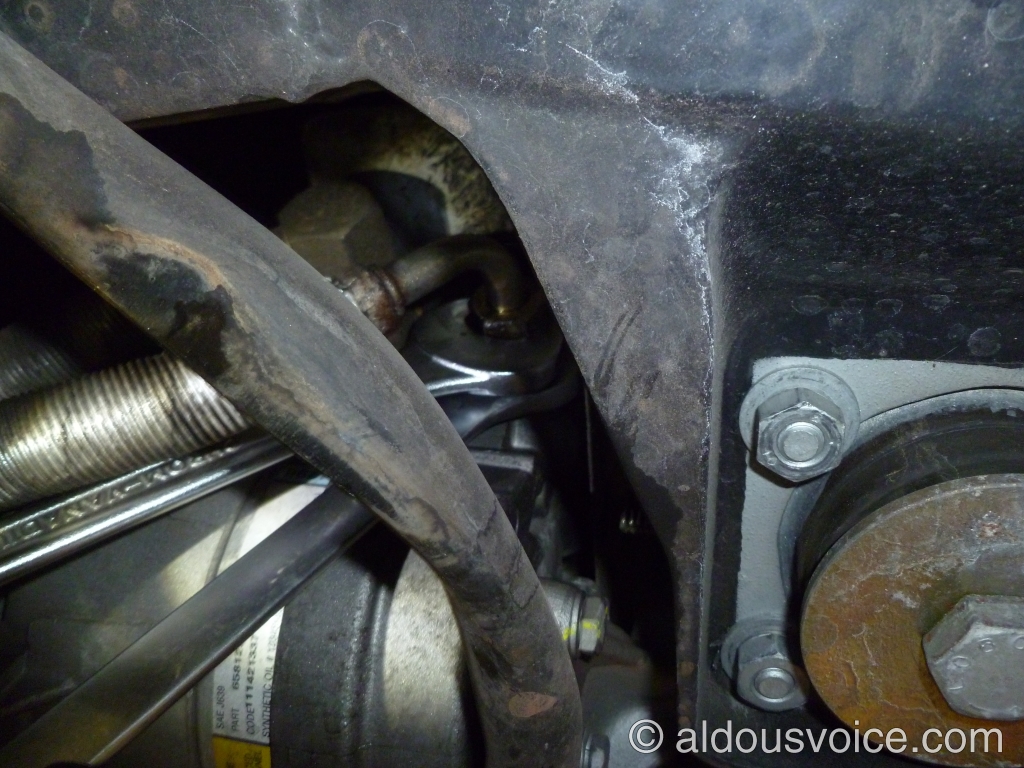
To gain access all three undertrays need to be removed (it was a long pipe).
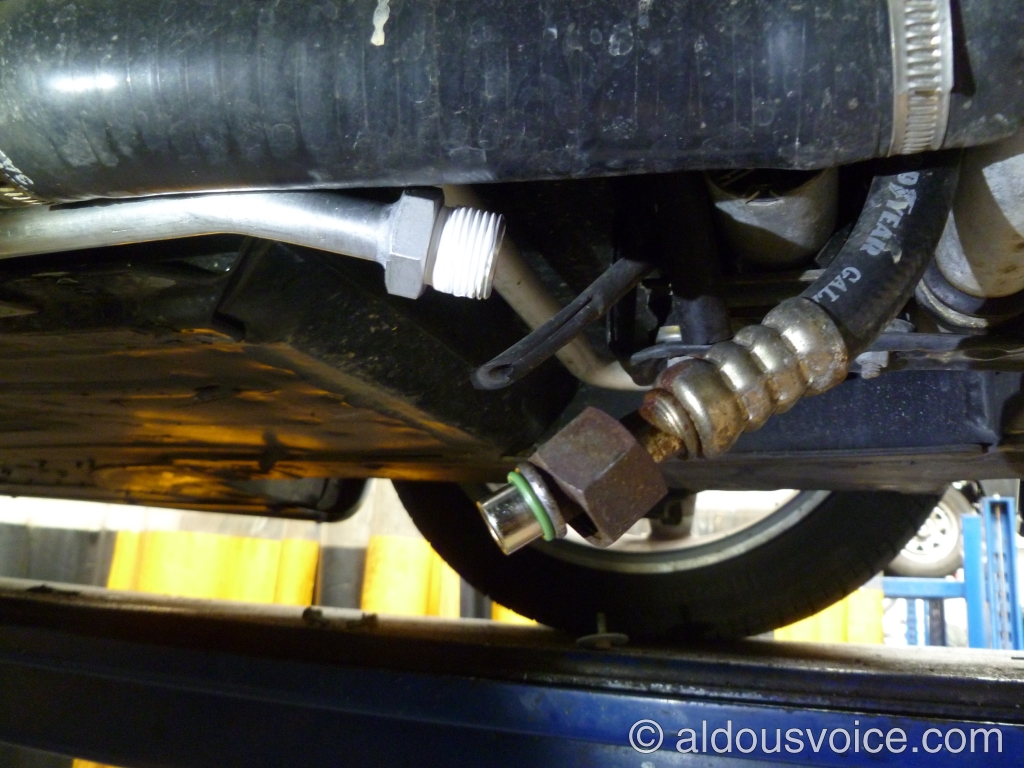
Here is the offending screw (I screwed it back in two stop any moisture or debris getting in whilst the replacement was ordered).
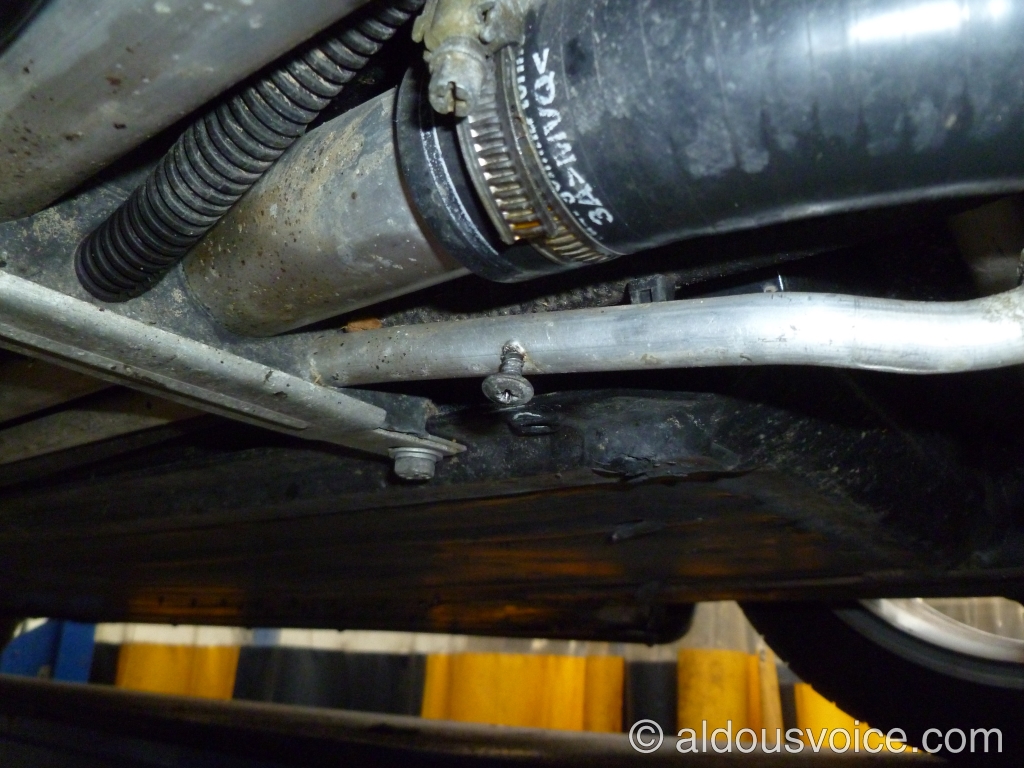
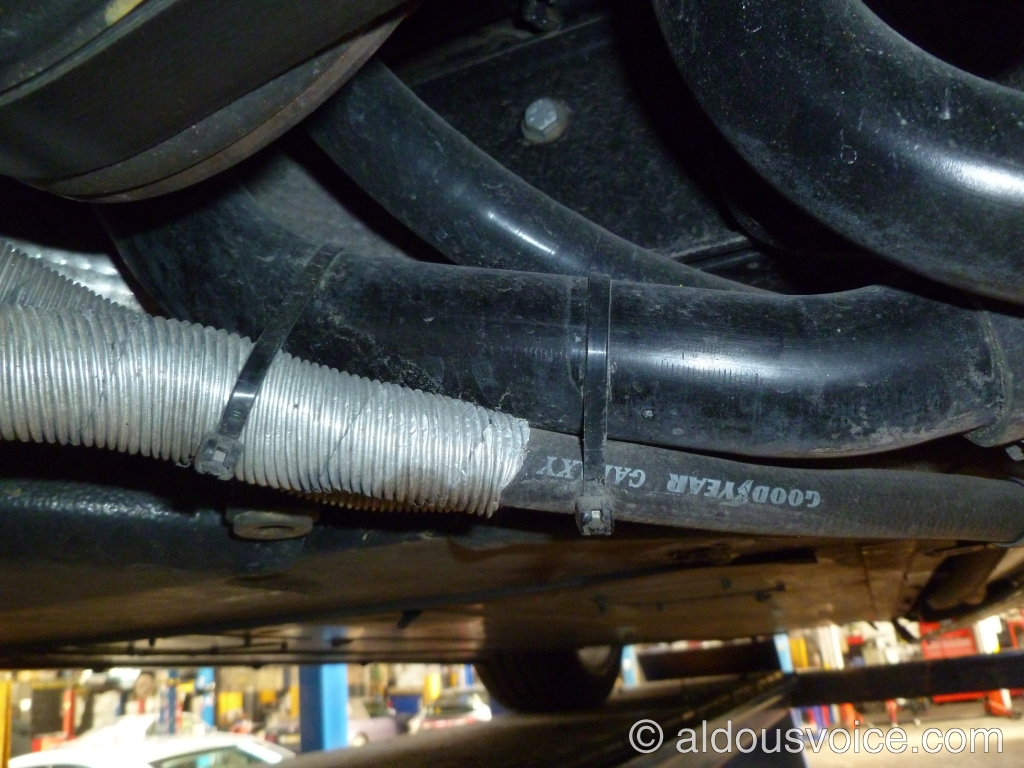
The front end is attached to a flexible hose – again, there are dissimilar metals so there is a likelihood of corrosion. Two spanners will do the job.
Despite being a 12 year old car the fitting came off quite easily.
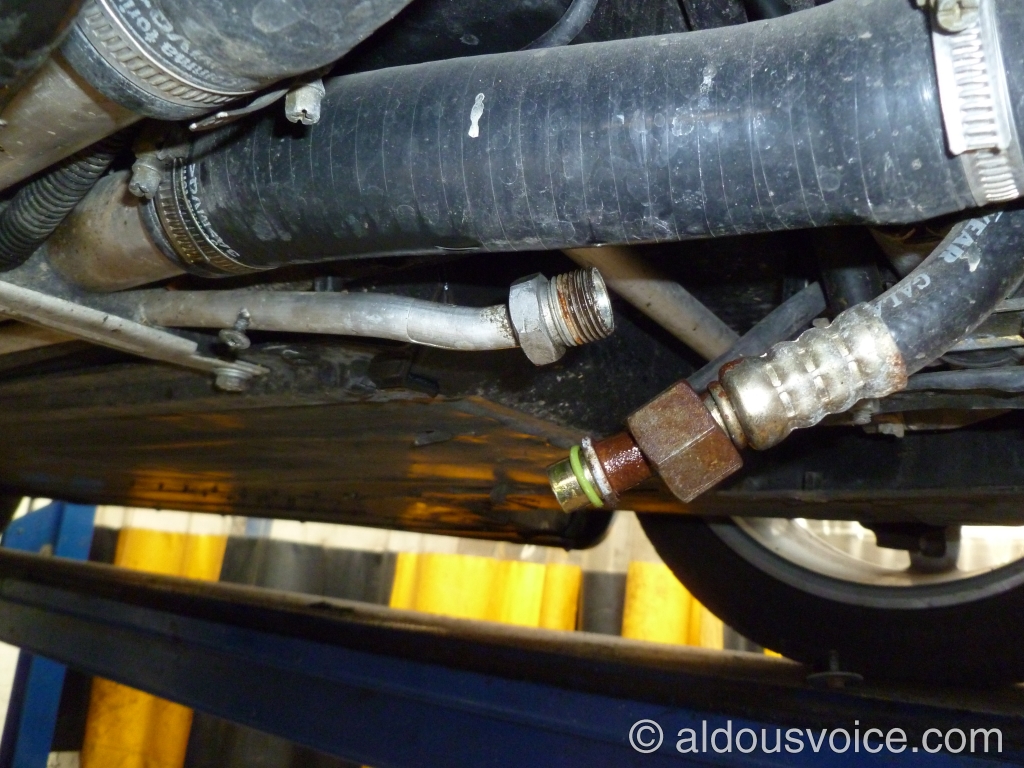
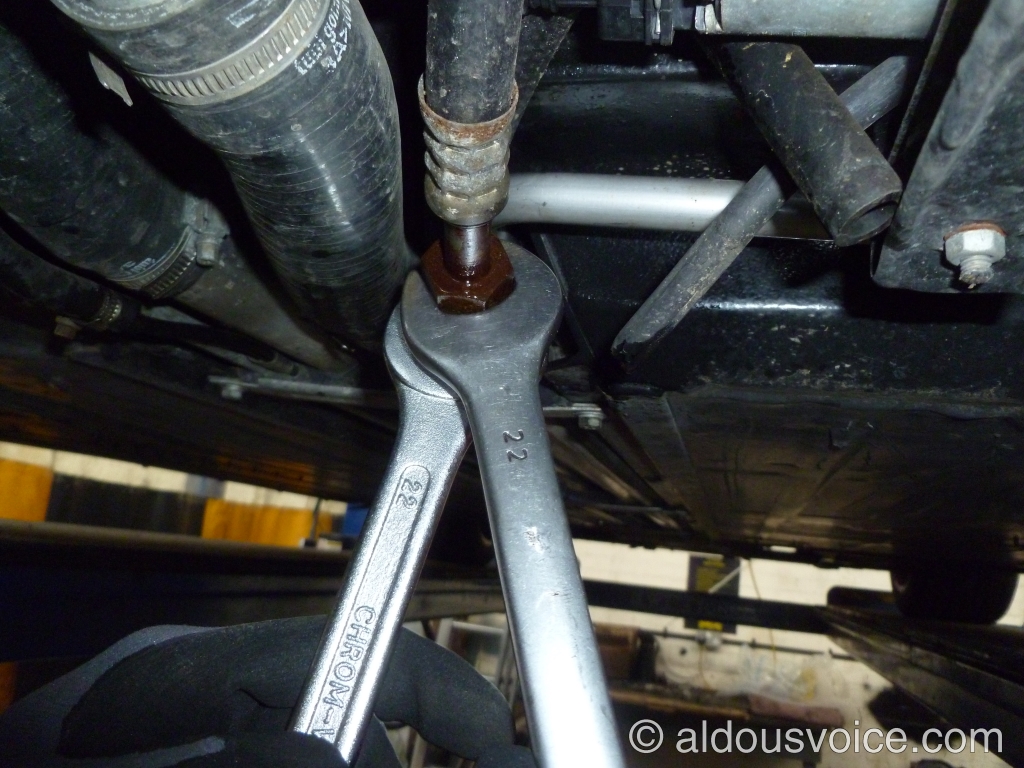
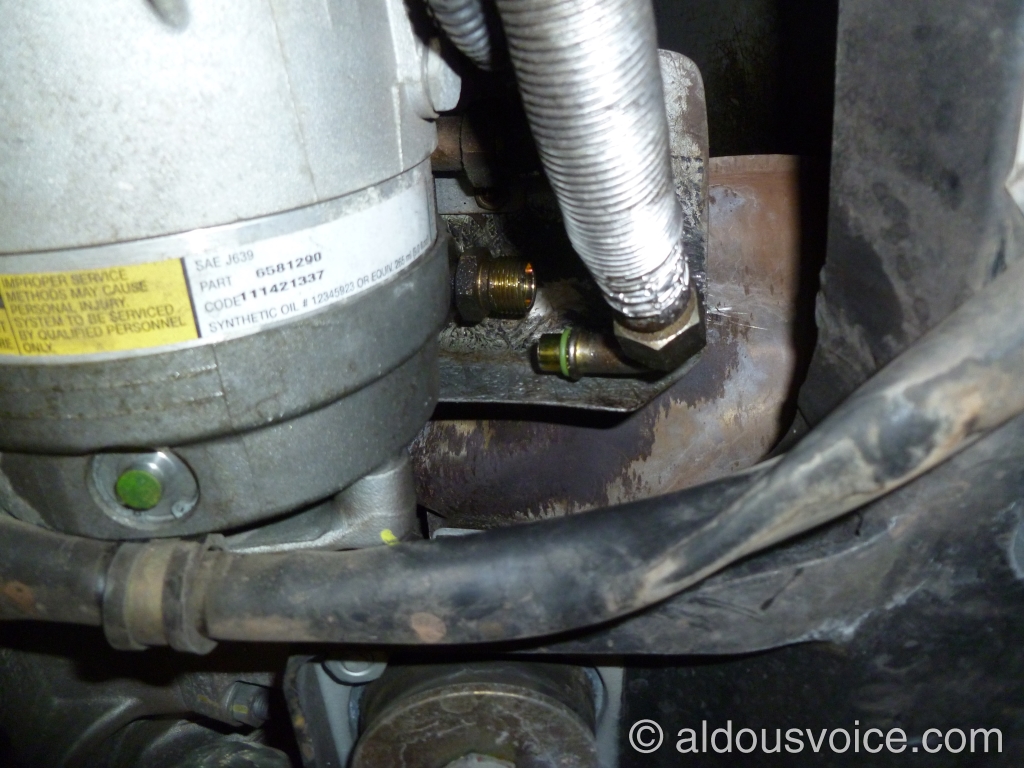
The other end is attached to the compressor. Two spanners are needed, one to hold the fitting at the compressor and the other for the pipe itself.
This end also came out quite easily despite the age.
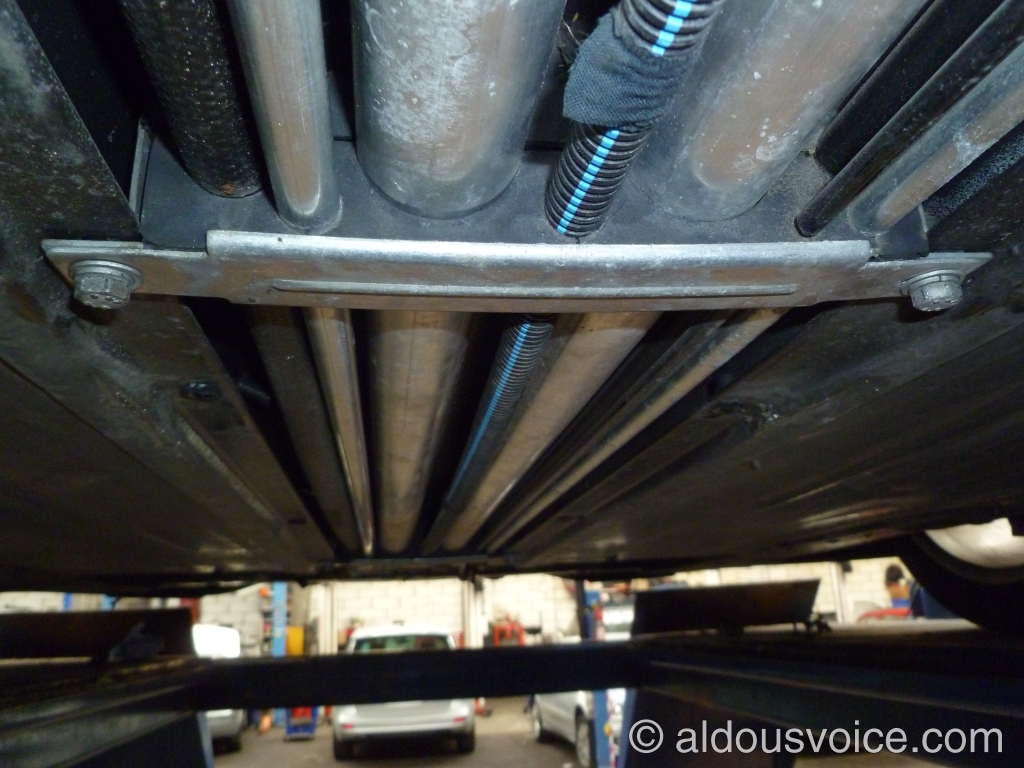
The pipe is affixed to the car with these rubber blocks. Undo the M6 screws with a 10mm socket that hold the brackets in place.
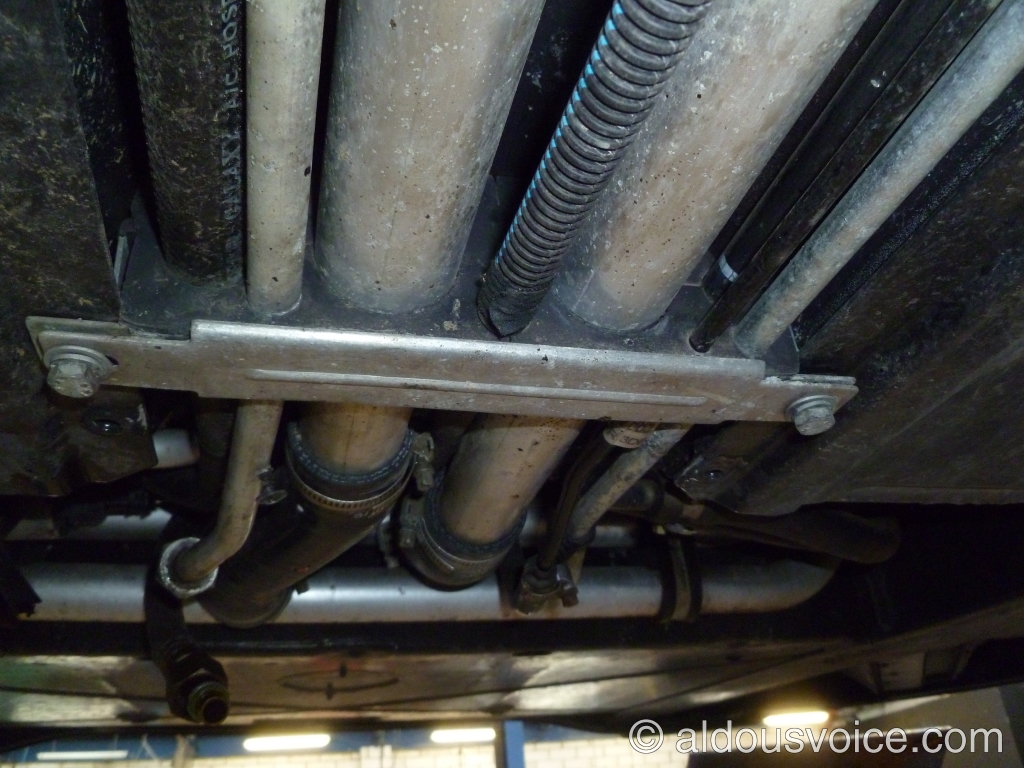
Once the brackets are out of the way the pipe can be eased through the slit in the rubber blocks.
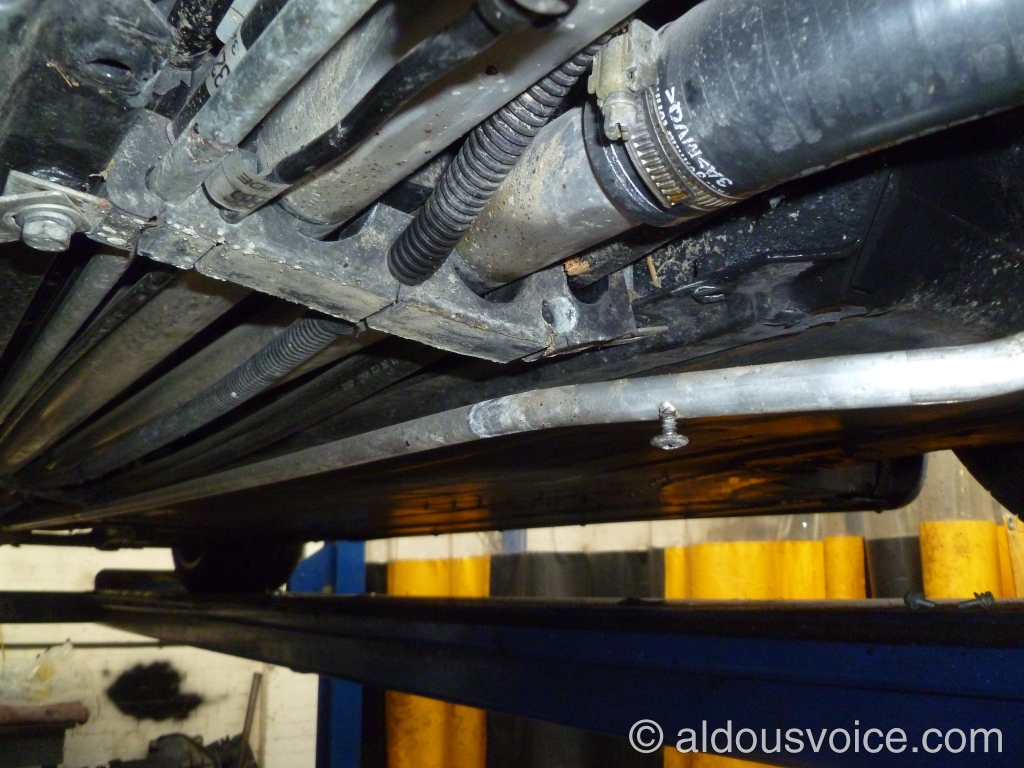
There are a couple of zip ties to deal with before the pipe can be removed from the car.
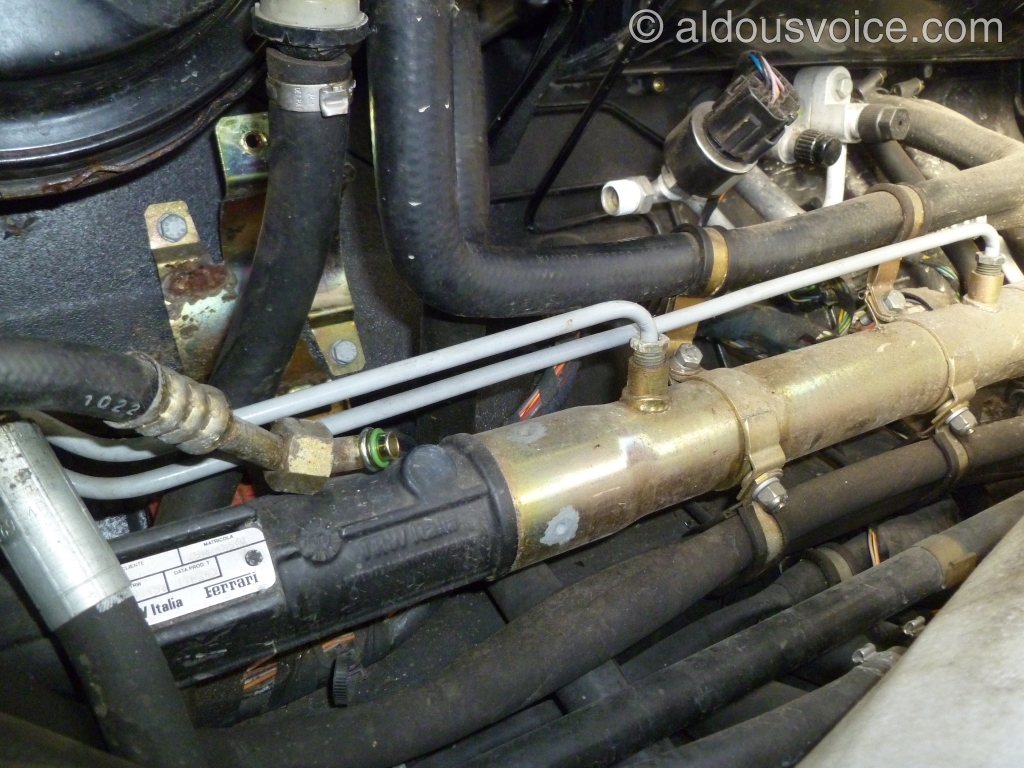
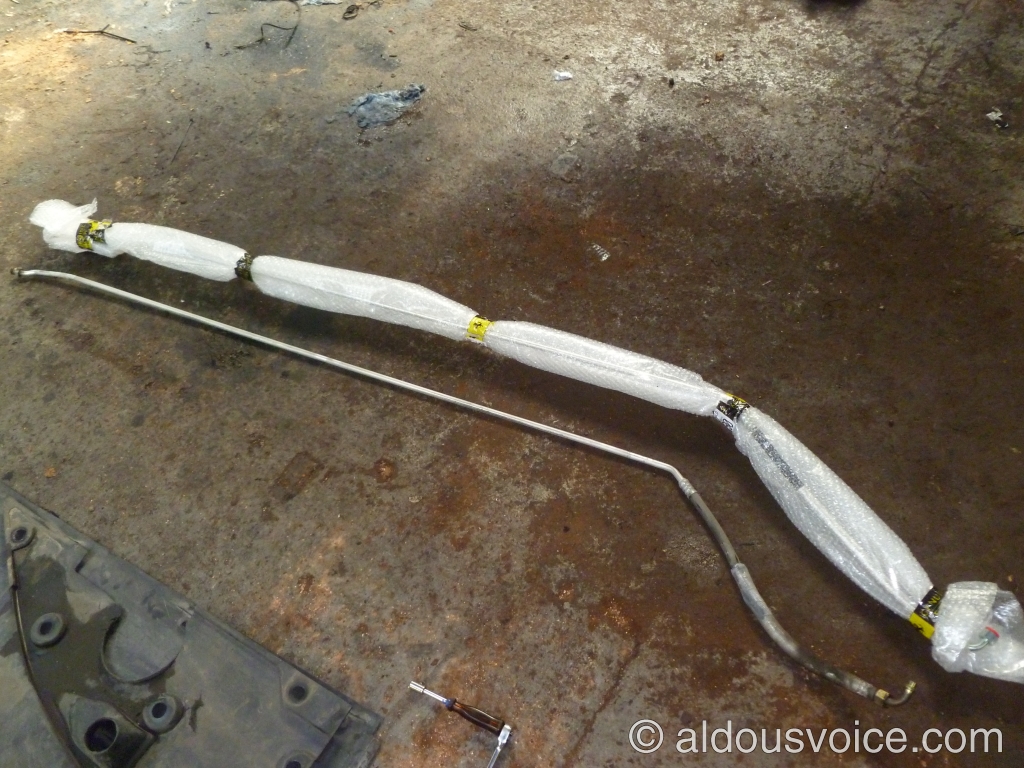
New and old:
Once the new pipe is loosely fitted in the rubber blocks the compressor end can be fitted. New o-rings were used throughout.
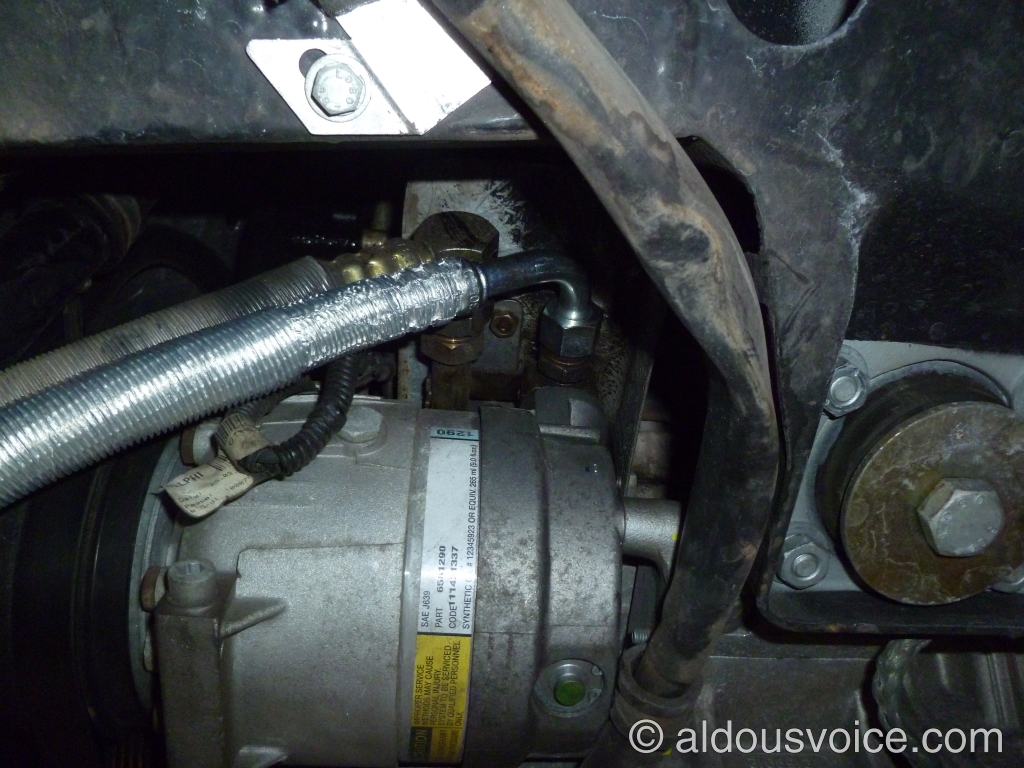
At the other end some PTFE tape on the threads was used to guard against corrosion.
To finish off the brackets were refitted, zip ties replaced and the under tray buttoned up.
All that was left was to fill the system with refrigerant.
Other posts in this category:
If you enjoyed this post why not subscribe to this blog for further updates? Simply enter your email address in the box at the bottom of this page. Your email address will not be shared.

Hi Aldous
Great post, my A/C died and I need to get it checked. This post is definitely very helpful!
Keep up the great work.
Danny
Thanks for sharing useful information
Hi Aldous how do you check the oil level in the compressor, regards Mike