A common issue with front bumpers is the tabs that hold the bumper to the under tray break. This allows the under tray to drop, allowing moving air to push it further down and flap around. This sequence of photos was taken on an F430 bumper but the procedure is exactly the same for a 360 bumper.
First of all the bumper needs to be removed. See these posts for instructions:
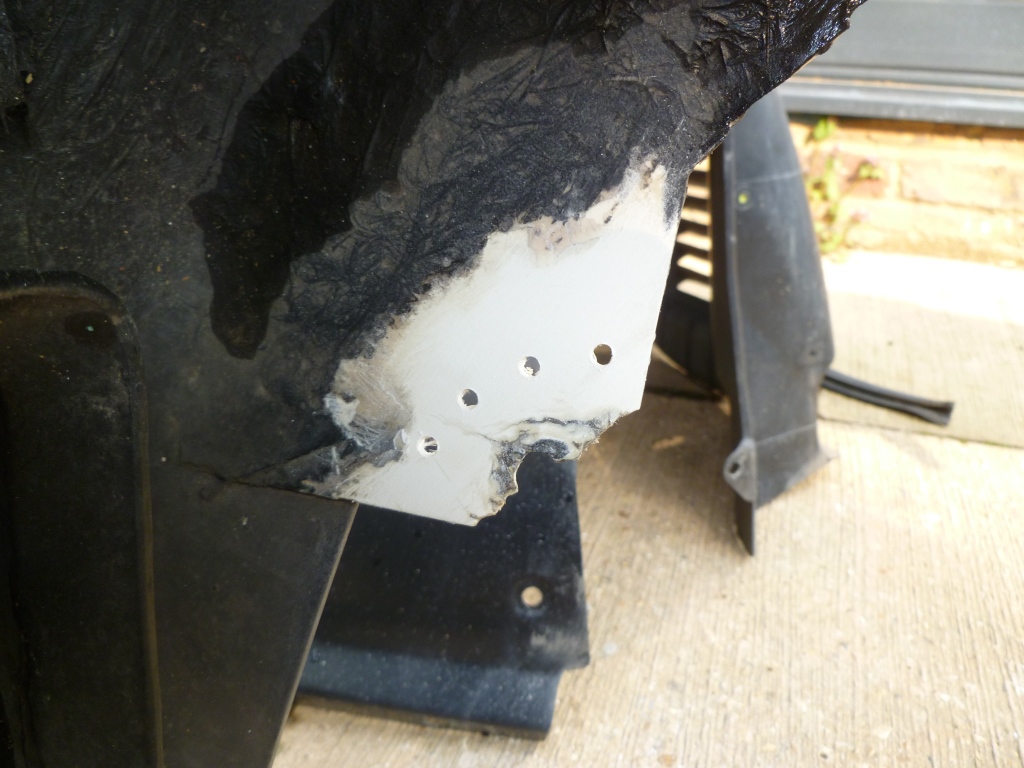
Here’s a picture of common damage to the tabs:

In this case the bumper had been poorly repaired in the past. The tabs had been re-fibreglassed but no thought had been given to the adhesion of the new material to old. A light tug on the tab allowed it to come free.

The area around the tabs needs to be clean and rubbed down with a coarse grit paper (I use P40). Drill through the existing part of the bumper near to the tab.
Lay the bumper down normally and place some wooden blocks with masking tape under the areas to be worked on. Rub a little car body wax onto the tape so the resin doesn’t stick to it.

Now cut the fibreglass mesh into pieces suitable for the area to be built up. Make sure you have plenty of layers as the resin compacts the mat down – if there aren’t enough fibres the new material will be too brittle to hold up to the strain the bumper undergoes.

Now it’s time to mix the resin with the hardener. Lay one layer in place at a time and impregnate the mesh with the resin using a paint brush, making sure the resin soaks all the way through the mesh. When covering the holes drilled into the bumper make sure the resin goes all the way into the holes and poke some fibres in there as well. Build all the layers up until you have a 4 – 5mm thick tab and plenty of mesh over the bumper.

Wait for the resin to go off and then remove the wooden supports. Check that the resin has gone all the way through the holes – these are going to provide a strong attachment between old and new material.

Trim the tabs to size (I use a resin cutting disc on a dremel). Finally drill the new holes and fit new spire clips – the F430 uses an M6 clip which I buy from Speedy Fasteners. The 360 uses a self tapping spire clip which is commonly found.

Related posts:
Other posts in this category:
If you enjoyed this post why not subscribe to this blog for further updates? Simply enter your email address in the box at the bottom of this page. Your email address will not be shared.
