I decided to swap out the spark plugs in my new (to me) F430. The car had spent the entire winter being moved between my house and one a few doors down (due to building work). It had only been driven when the car over fuels on start up so I wanted to get fresh plugs in for the start of spring.
The spark plugs are NGK PMR8B – the same as fitted to the 360. Obviously you need eight.
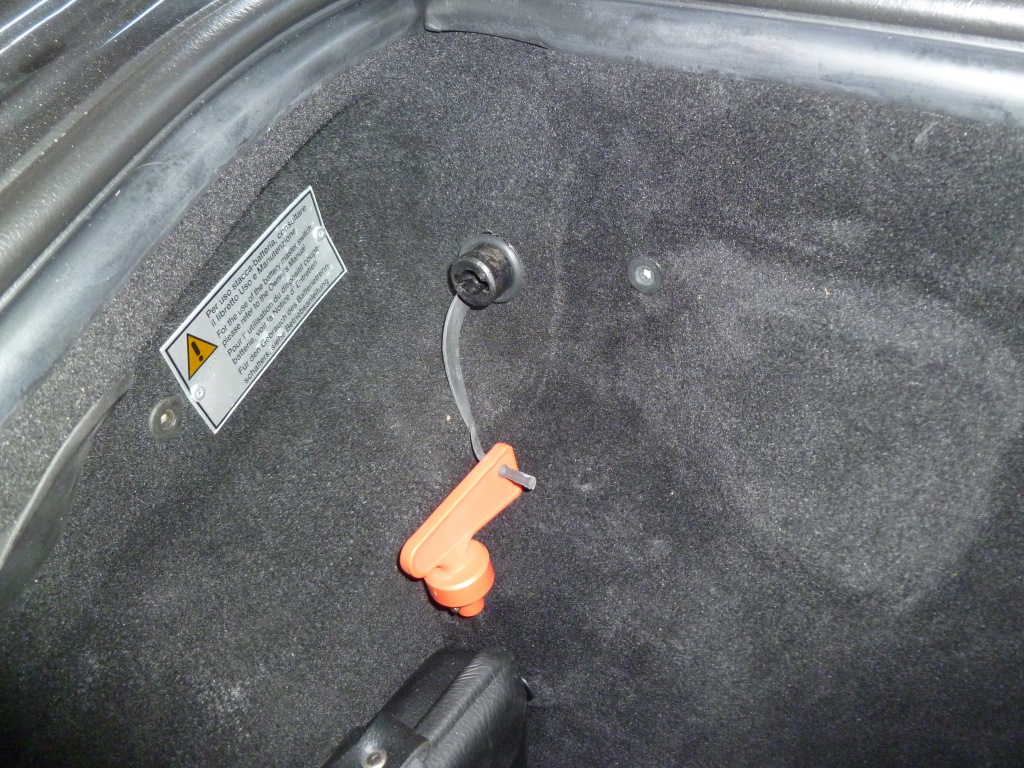
First off disconnect the battery using the isolator switch in the front compartment. Although there’s no need to disturb any wiring, I prefer to err on the side of caution. Also, resetting the ECU’s forces them to re-learn their adaptive parameters taking into account the new plugs.
Next you need to remove the side cover panels in the engine bay. Start with the small right hand one – it is held in place with four hex head bolts.
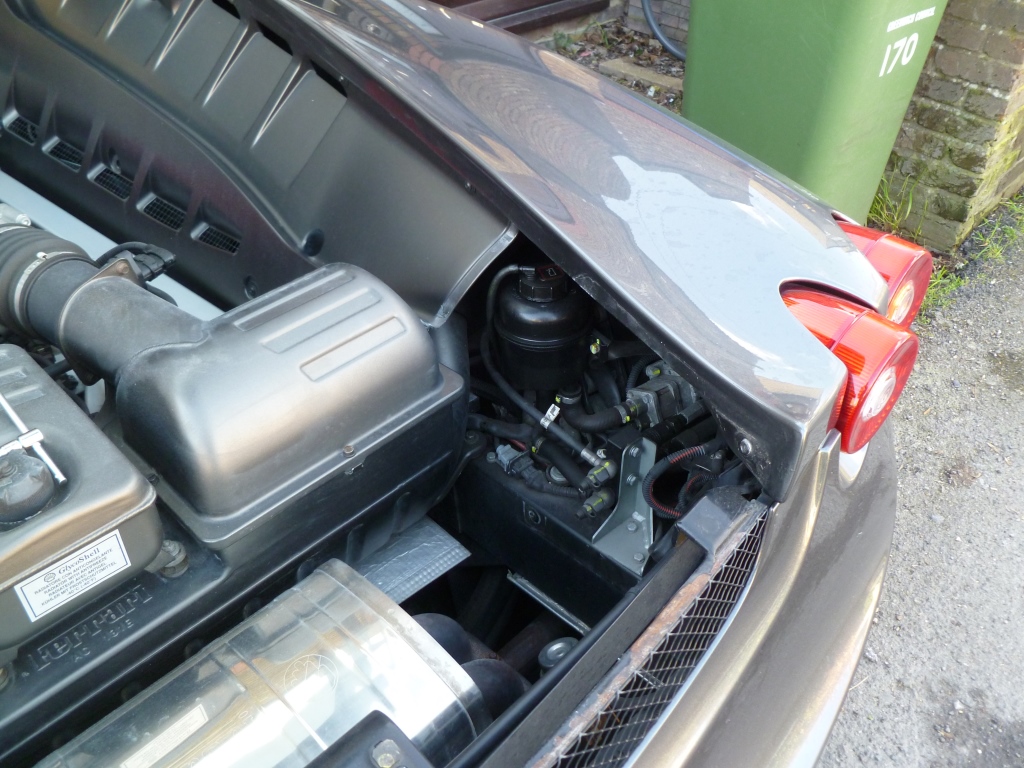
On the other side the panel cannot be removed due to the emergency fuel flap release. Undo the four bolts and move it backwards a touch to give the front panel enough room to be removed.
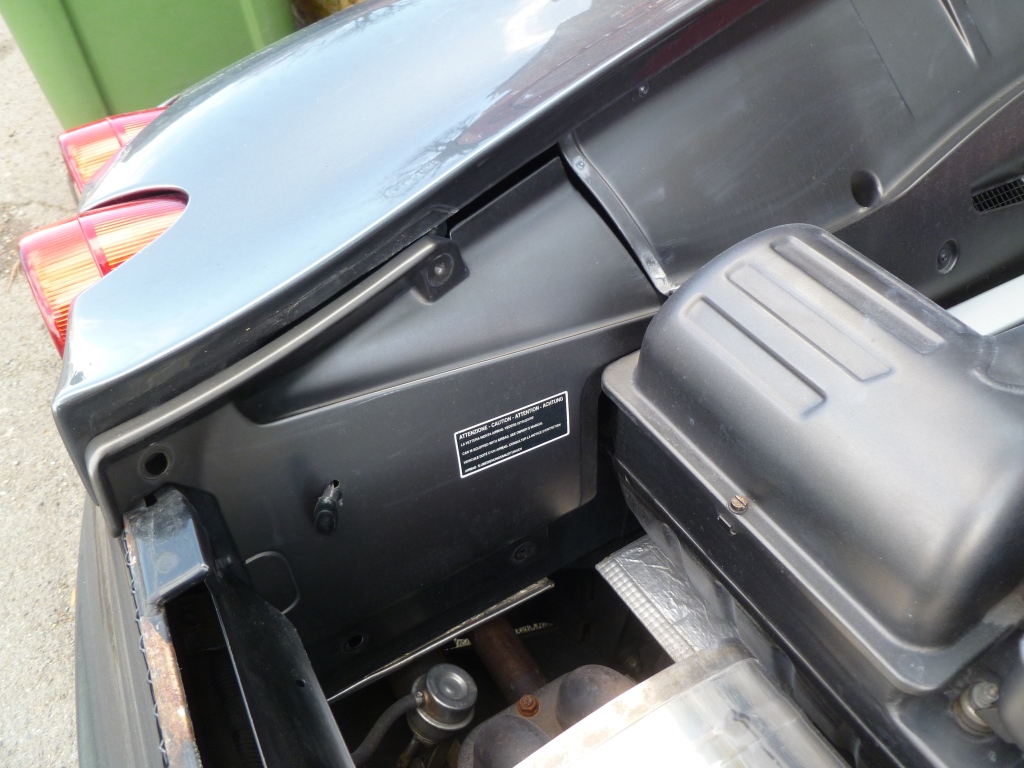
Now undo all the bolts (x8) holding the large covers in place. The cover gas struts will stop you from withdrawing the panel.
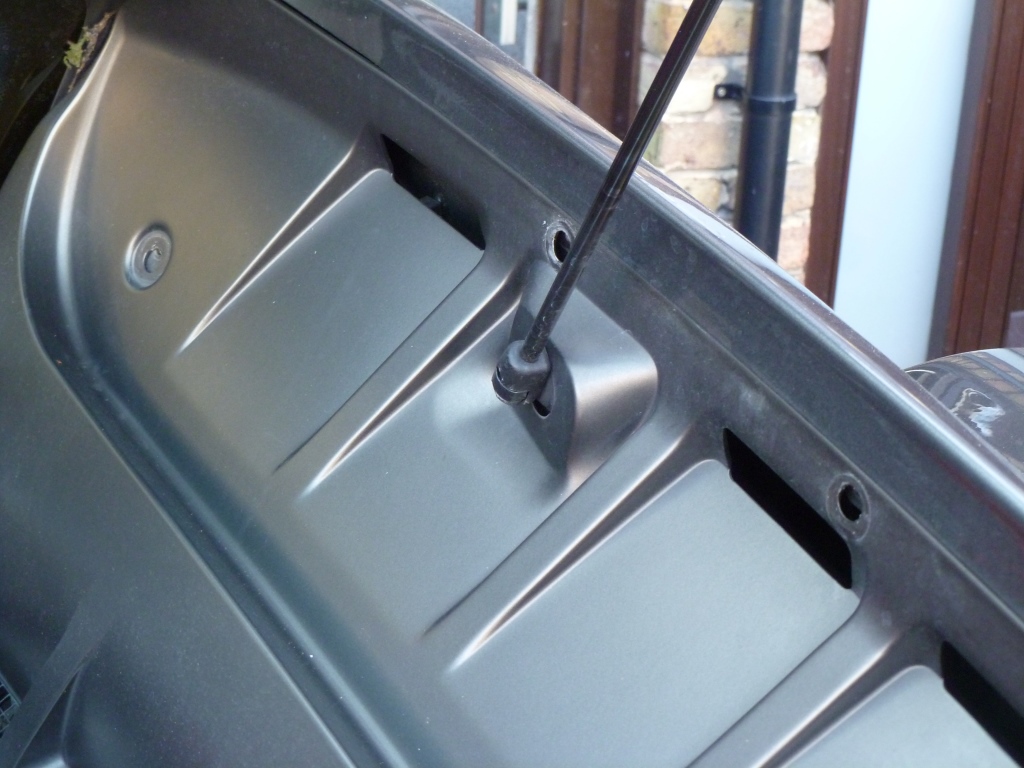
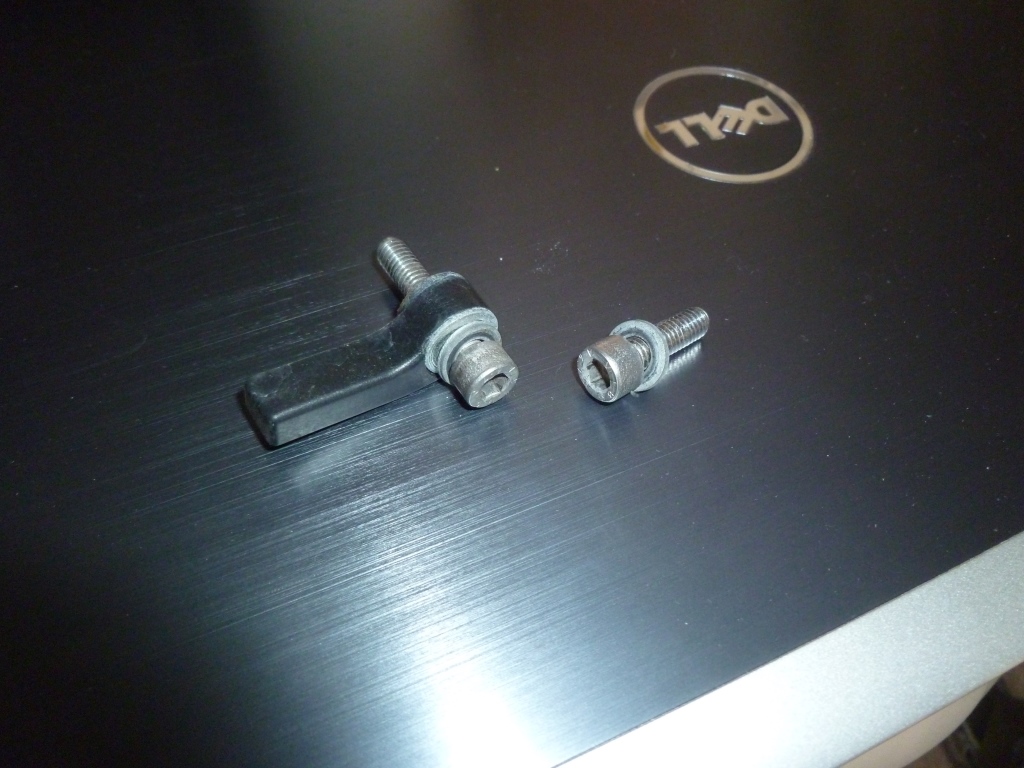
Prop up the cover and use a small screwdriver to release the strut. This will allow you to remove the cover.

Once the over is out of the way re-fit the strut to prevent the cover from falling down.
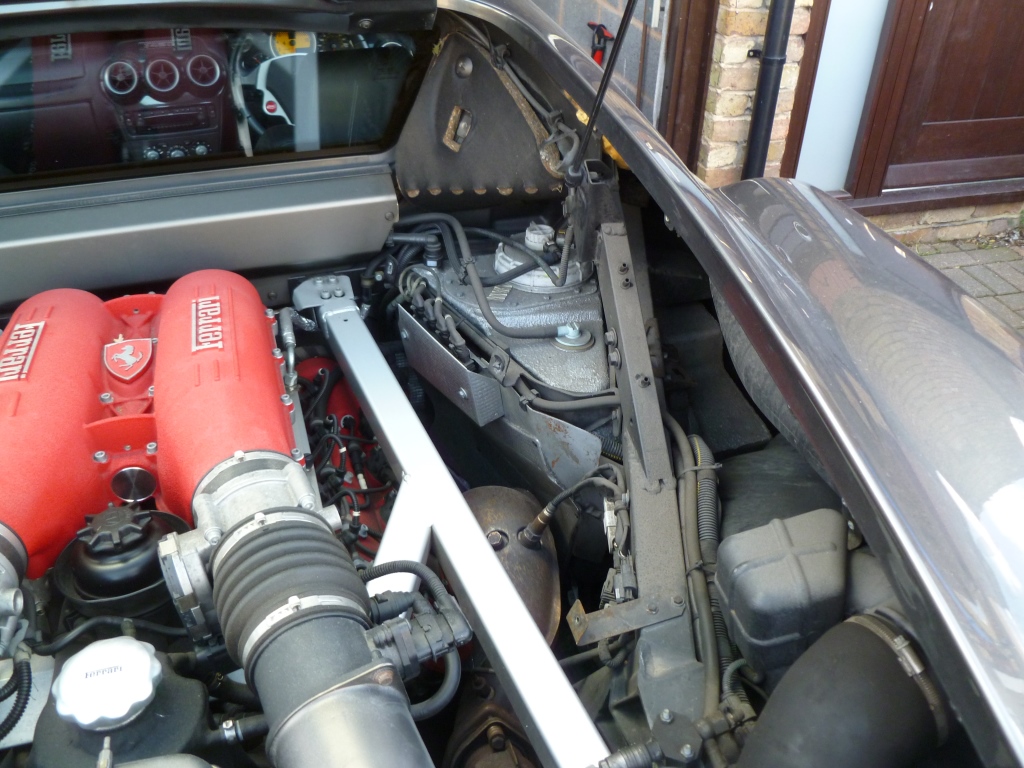
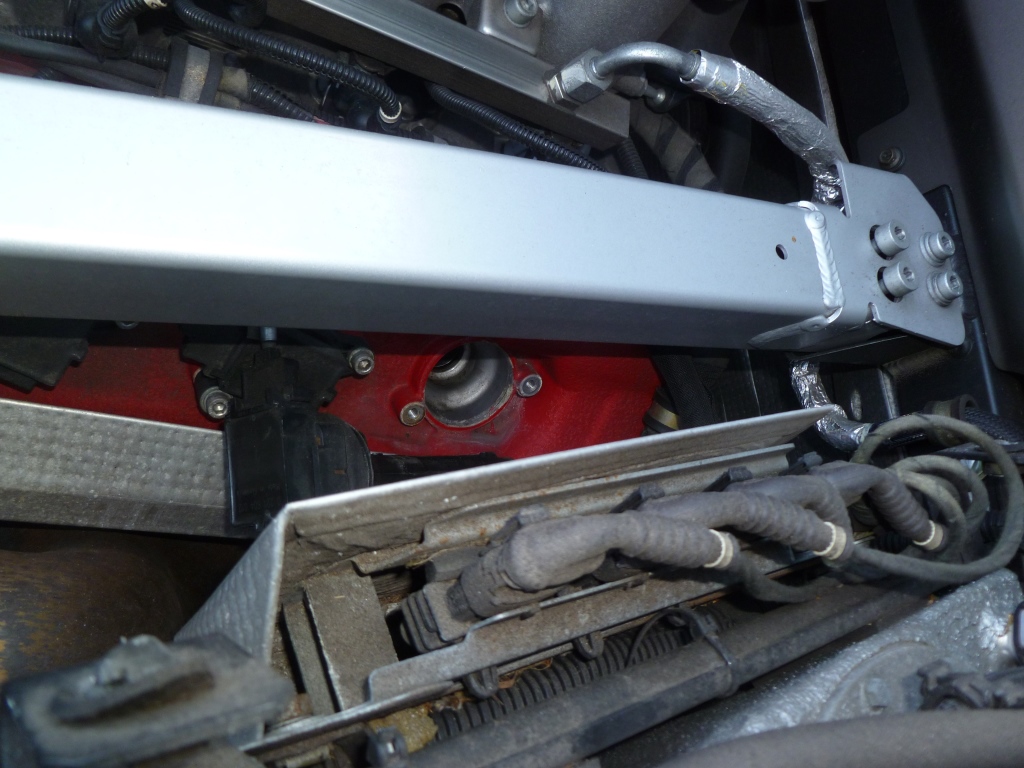
You will now have plenty of access to the top of the cam covers.

I work one cylinder at a time. Early coils are held in place with two hex head bolts, one of which has a plastic cover which fits over the coil. Later coils simply pull off.
Move the coil out of the way (no need to disconnect it from the loom).
The coils are made by Bosch.

To remove the plug you need a thin walled 10mm park plug socket (the 10mm refers to the spark plug thread diameter). You will also need a socket extension bar with a locking end (so that the socket doesn’t stay attached to the new plug when you fit it). I used a short stubby socket due to the lack of space.

I check the electrode gap of both the old and new plugs – all should be within the tolerance of 0.6mm to 0.7mm.
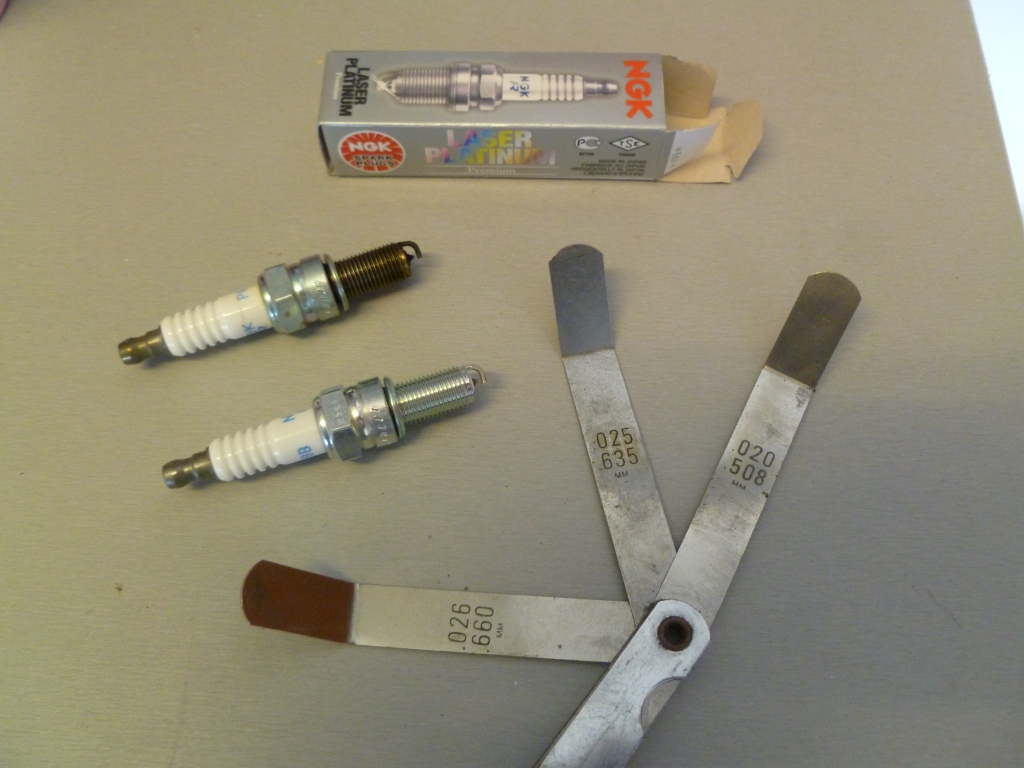

I like to thread the new plugs in by hand (without a wrench) until they nip up – this prevents any expensive cross threading accidents.

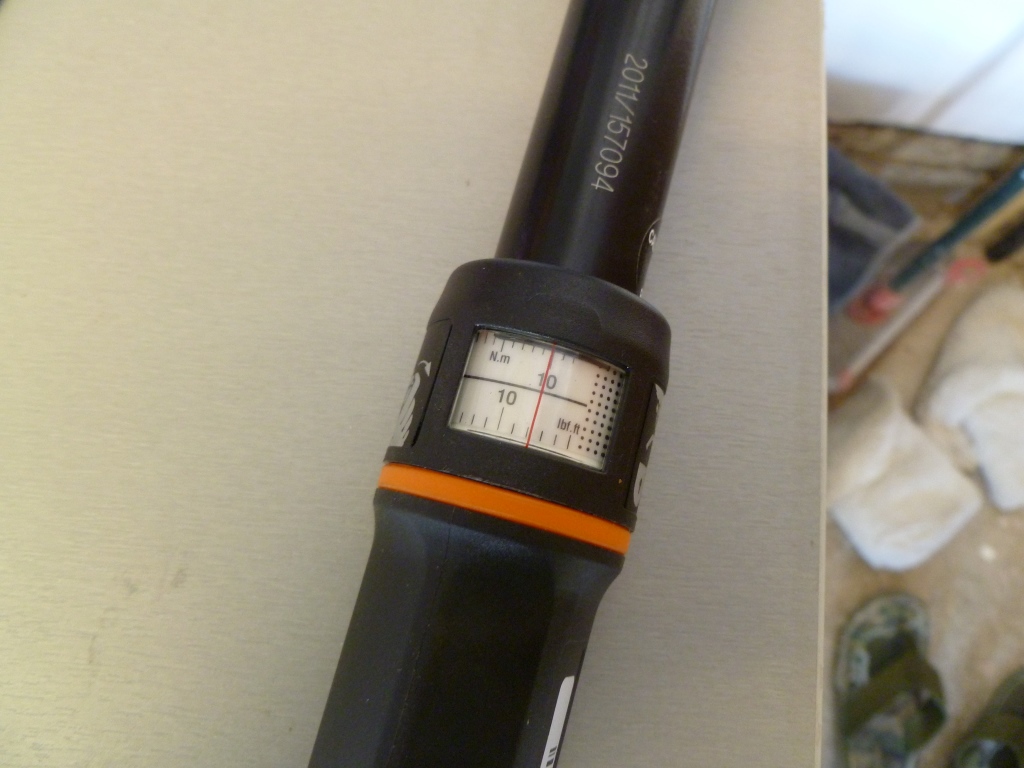
The tightening torque is 10Nm.

Finally refit the coil.

Repeat another seven times and refit the covers. After reconnecting the battery, don’t forget to wait 10 seconds with the ignition on before starting the engine (to allow the motor driven throttle bodies to calibrate).
I found that most of the bolts holding the engine bay side covers in place were in bad shape. Replacements are standard M5 button head flange bolts. You need eighteen of 20mm length, two of 30mm length and four of 50mm length. Order “Self Colour” type to get black ones.
Related posts:
Other posts in this category: Engine and Drivetrain
If you enjoyed this post why not subscribe to this blog for further updates? Simply enter your email address in the box at the bottom of this page. Your email address will not be shared.

Aldous
Do you need to be the typical Italian mechanic to perform this i.e. long arms and small hands. :~}
Absolutely! I’m only 5’8″ so have a small step to stand on whilst I reached in over the wing.
Hi Voicey, my F360 Modena has lowered suspension – its 100-105mm at the front and the roads in Perth WA mean most drives are torturous! Did you ever post anything about ride height adjustment? My car won’t see the track, I’d rather go nuts in someone elses…!! I’ve just changed shock absorber bushes and that’s only 15 months after the last change!
Cheers Pete
Hi Pete,
Try these two posts:
https://aldousvoice.com/2013/02/15/ferrari-360-active-suspension/
https://aldousvoice.com/2012/11/24/ferrari-360-suspension-geometry/
Cheers,
Aldous.