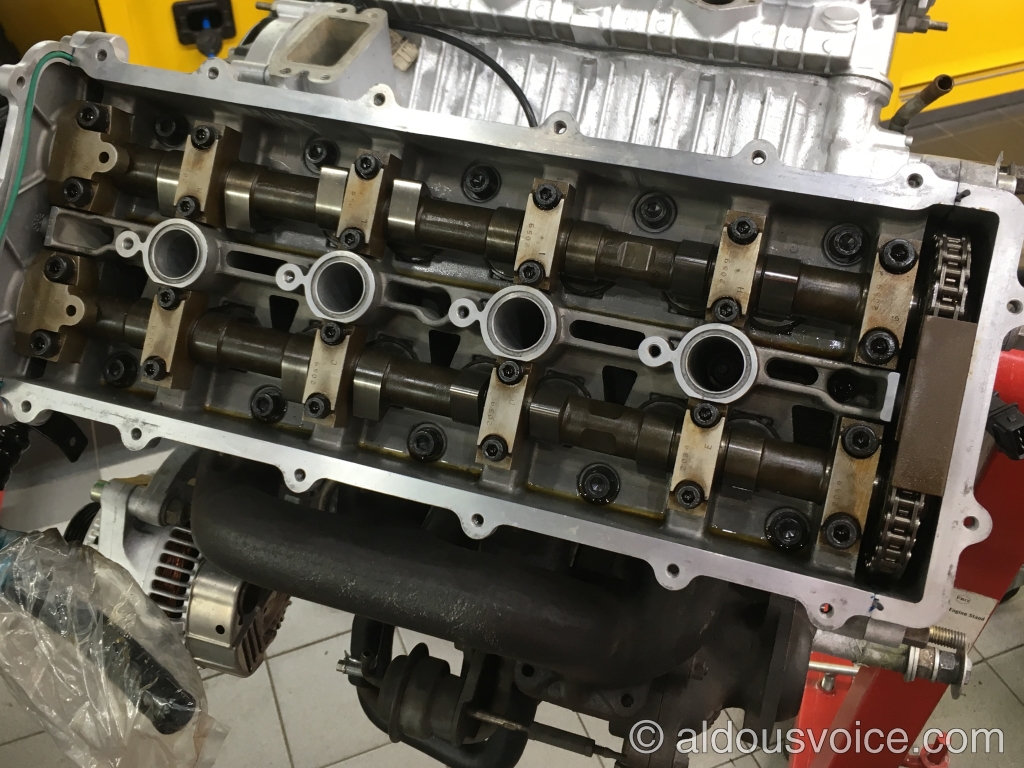
The twin turbo Maserati 3200 V8 can be a fantastic engine when correctly set up. Sadly, due low residual values, many cars have not been treated to the proper maintenance which means the engines are not performing at their best. One of the critical factors in determining correct running is the valve clearance. Improper clearance can lead to a noisy top end and even burnt exhaust valves. Maserati call for the clearances to be checked and adjusted every 10,000km but the reality is that this almost never happens due to the time (ie: cost) involved in the job.
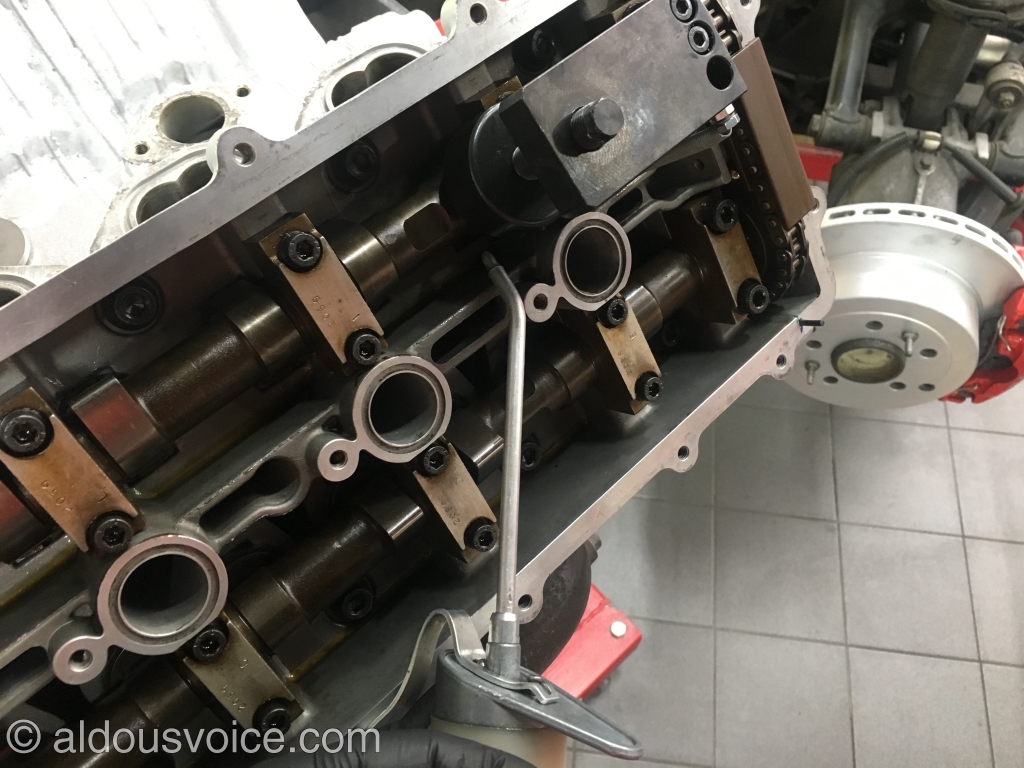
In order to check the clearances the cam covers need to come off – the engine doesn’t need to be removed the car though, this engine was out for a rebuild!
The clearances are checked two valves at a time. The engine needs to be rotated so that a pair of cam lobes are facing away from the valves:
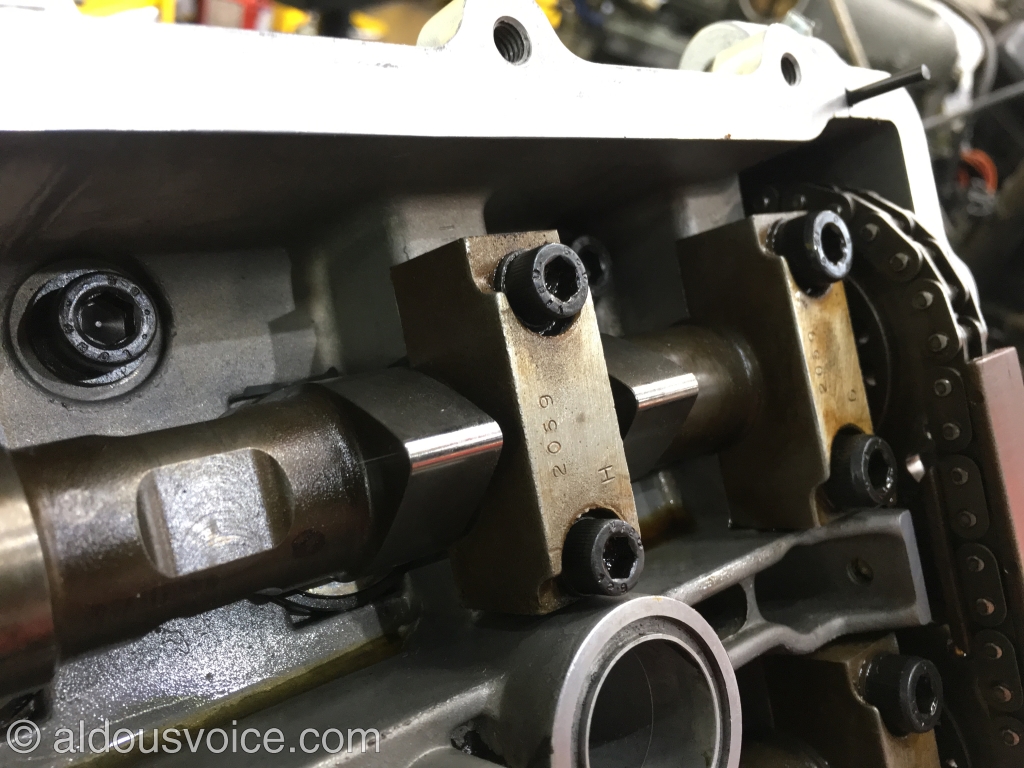
The tips of the cam lobes should be inspected for wear or damage. With the lobes in this position it is possible to insert feeler gauges between the cam and the bucket.
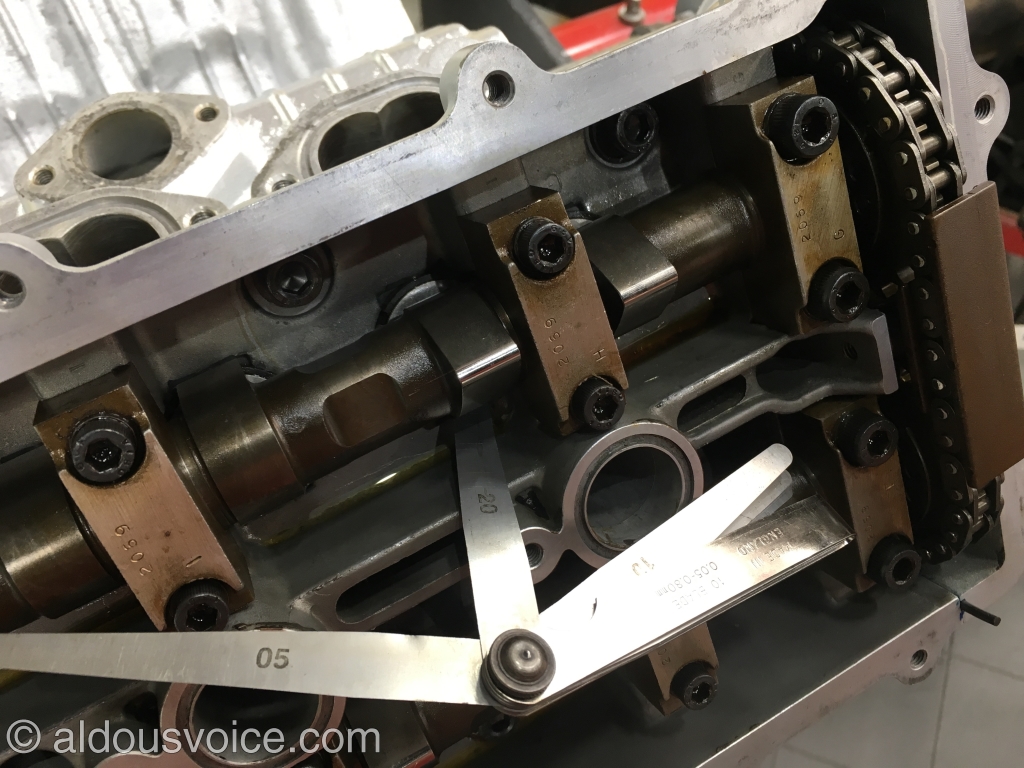
The stated clearances are as follows:
- Intake 0.20 – 0.24mm
- Exhaust 0.40 – 0.44mm
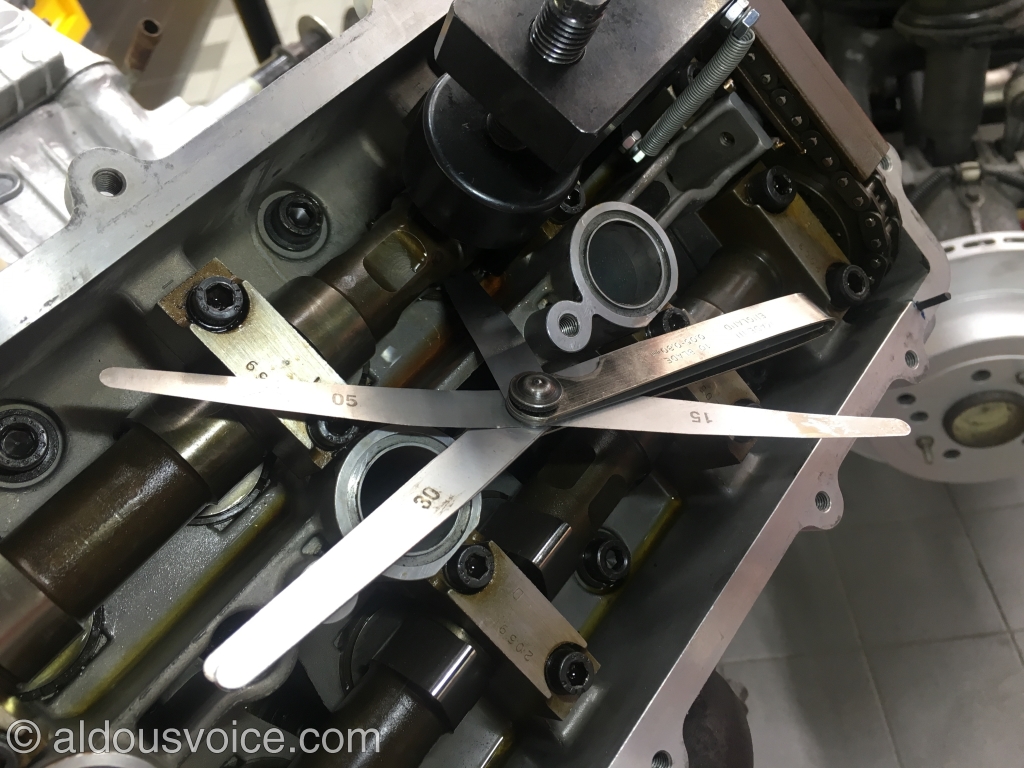
When sliding the gauge in the 0.20mm thickness should slide through the gap and the 0.25mm should not (for the intake – the same applies to the exhaust, 0.40mm should pass and the 0.45mm should not).
For this valve, the 0.15mm gauge passed but the 0.20mm could not. This meant that the clearance needed to be increased by a small amount.
The clearance is regulated by changing the thickness of the shim that sits on top of the bucket. In this case a thinner shim needed to be inserted.
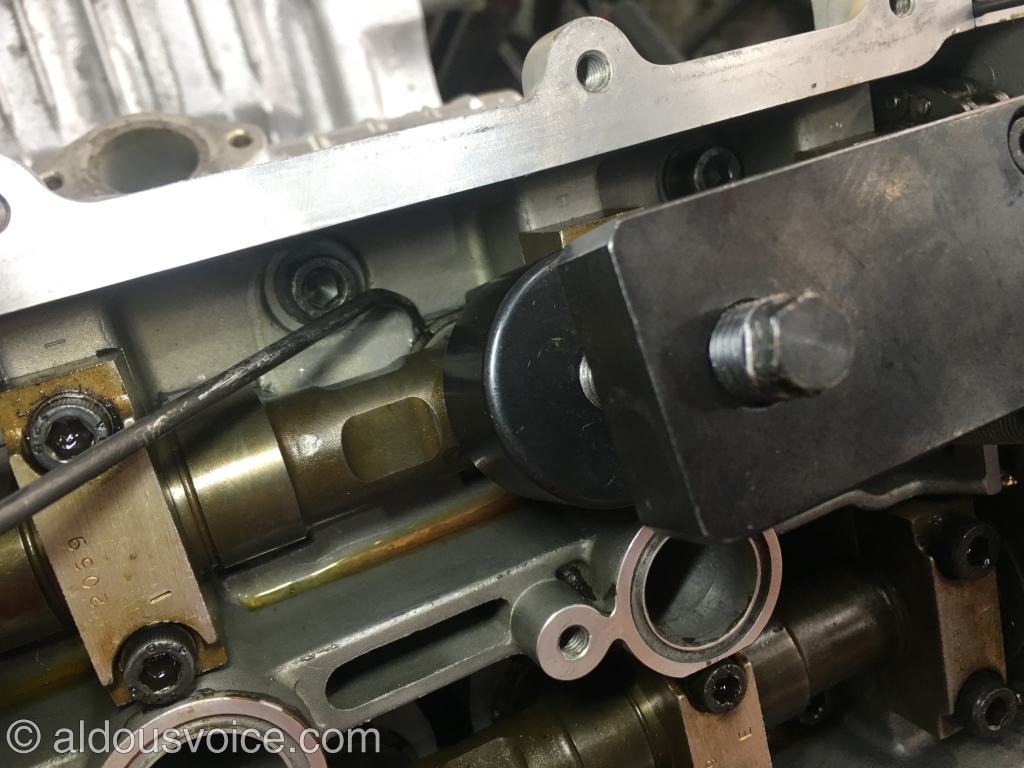
In order to remove the shim from the engine, the bucket needs to be held down. There are a few different methods to do this but I prefer to use the factory tool. Note that the bucket has been rotated into a specific position before it is pressed down.
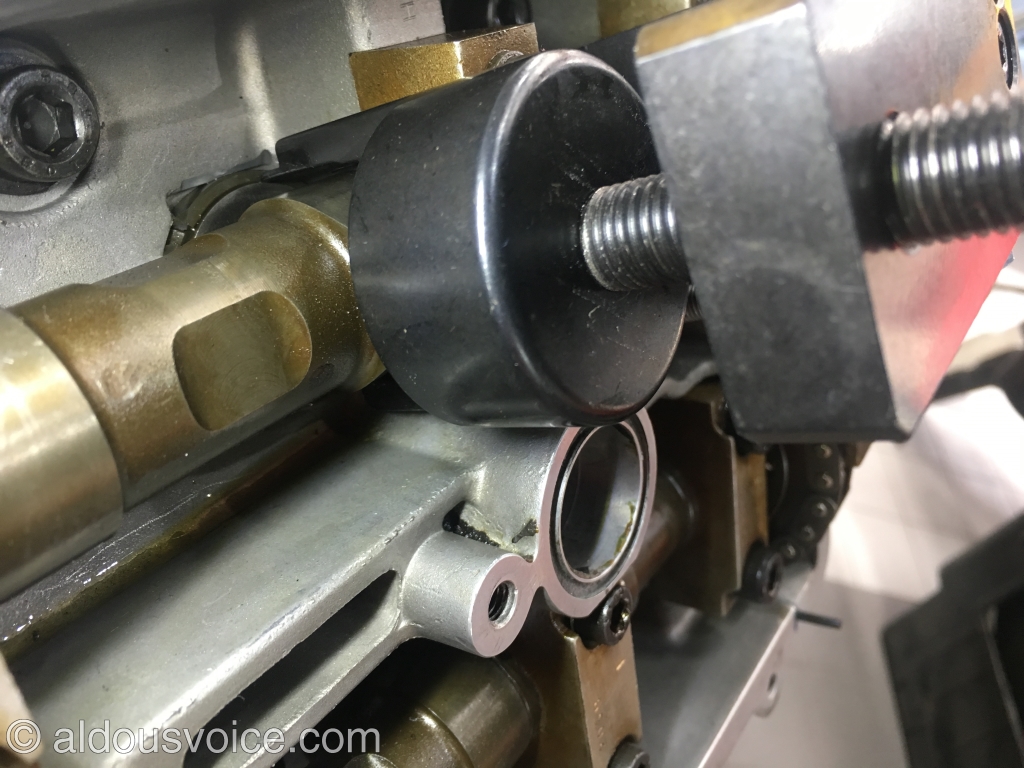
With the bucket held down the shim can be levered up with an angled pick (which is why the bucket is rotated so the groove is accessible).
Once the shim has been popped out of the bucket it can be lifted free with a magnet.

The shim can then be inspected for wear and damaged. Even if the clearance is correct, it is good practice to remove the shim so it can be checked.
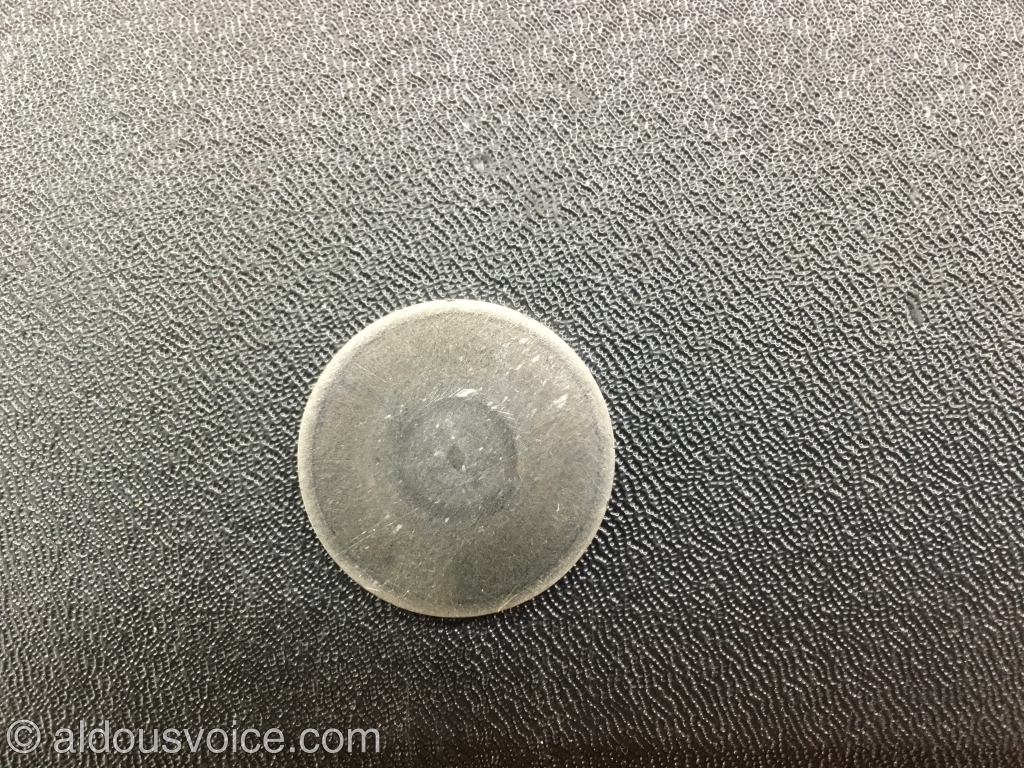
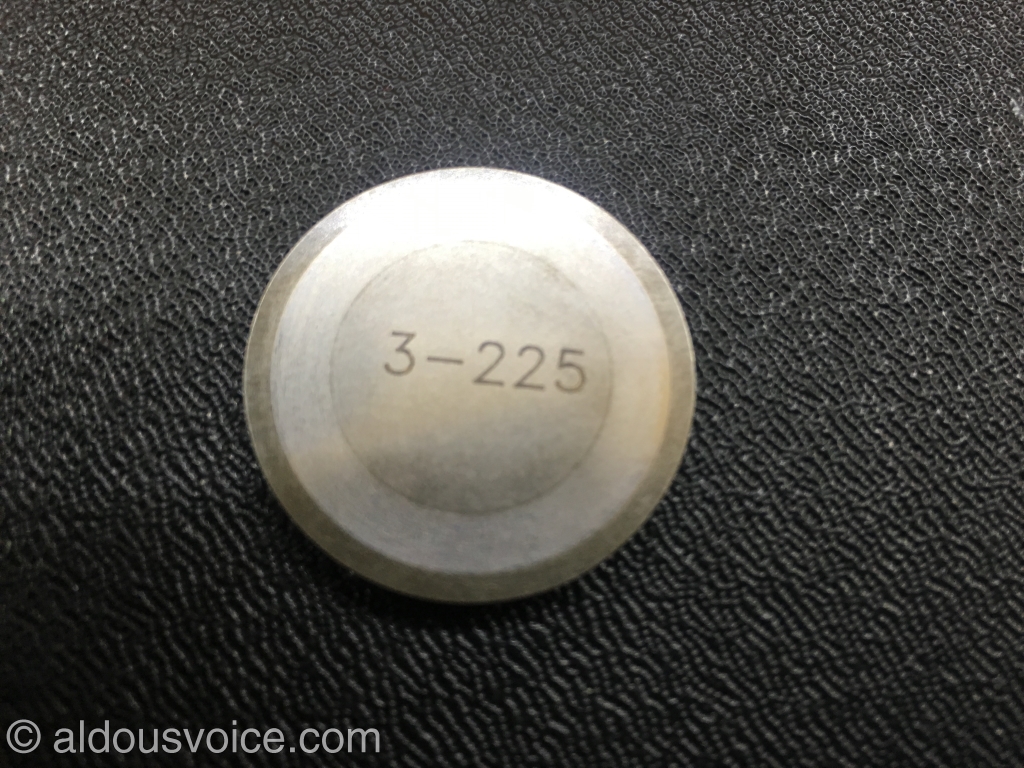
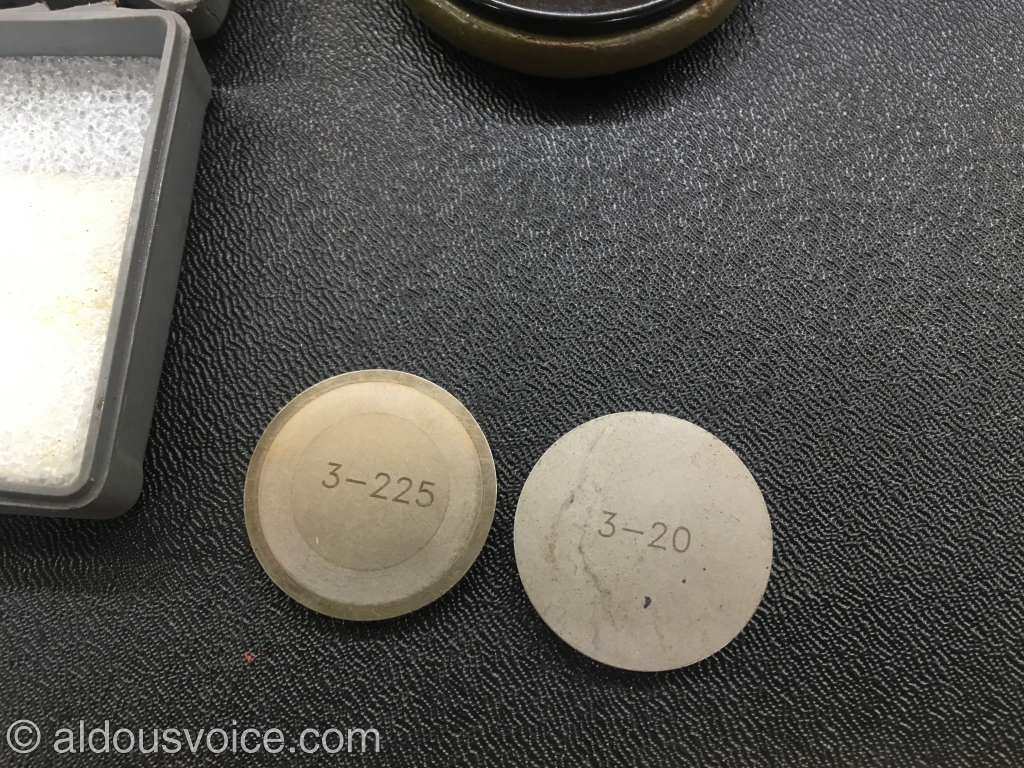
The thickness is printed on the underside of the shim.
The stated thickness should be verified with a micrometer.
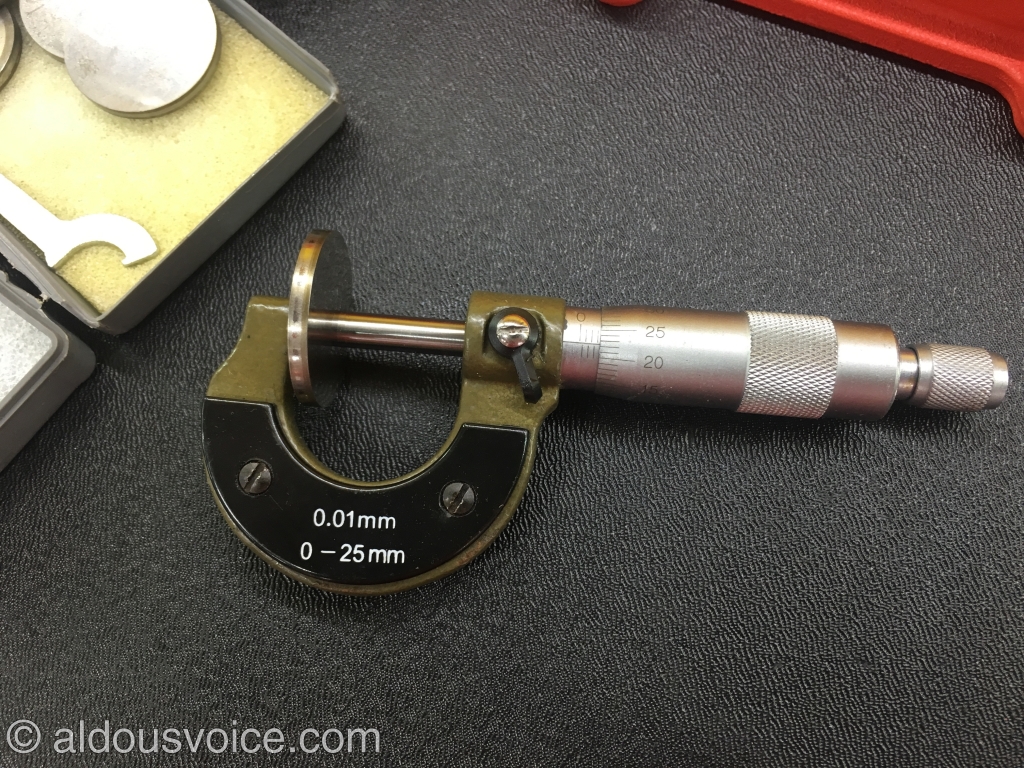
The shims are sized in 0.025mm steps and sold in packs of three. It’s worth carrying a few in stock…
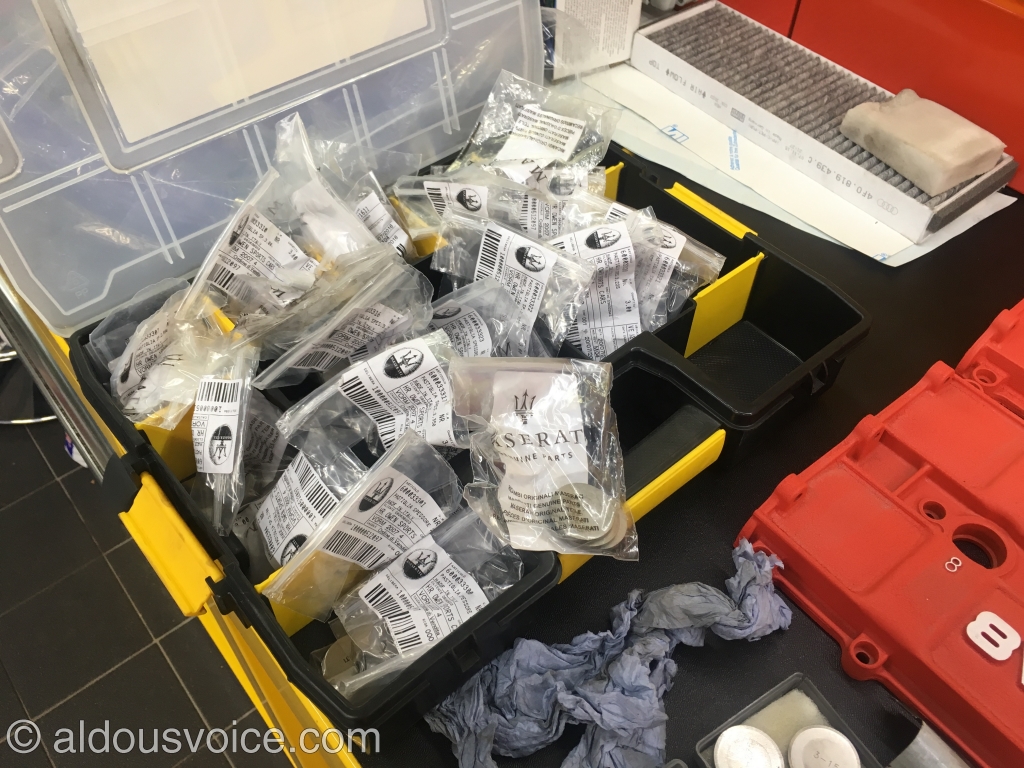
The refurbished cam covers for this engine can been seen above (another task worth doing during this job).
In this instance, I decided to go down just 0.025mm to 3.20 but was prepared to drop down to 3.175mm if needed.
The bucket and shim should be lubricated before it is inserted.
The bucket can then be released and the clearance verified with the gauges (this one was spot on after the first change).
Then all that’s needed is to repeat for the other 31 valves…
Other posts in this category: Engine and Drivetrain
If you enjoyed this post why not subscribe to this blog for further updates? Simply enter your email address in the box at the bottom of this page. Your email address will not be shared.
