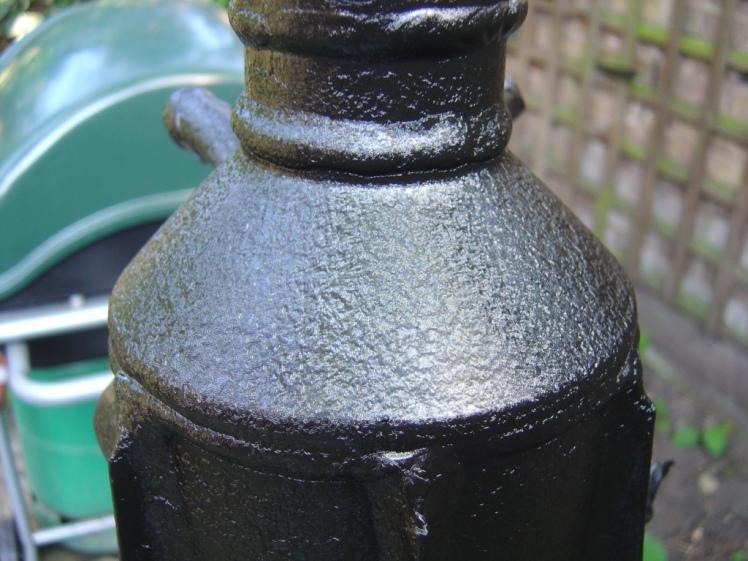
The OEM paint coating on the disareator is known to flake off. Fortunatly, an easy and cost effective solution is to repaint using the correct black wrinkle finish.
Here’s a pic of a sorry looking disareator, you can see that most of the paint has come off the top:
A small amount of engine oil must be drained from the system. Open the rear drain plug under the gearbox and drain out some oil.
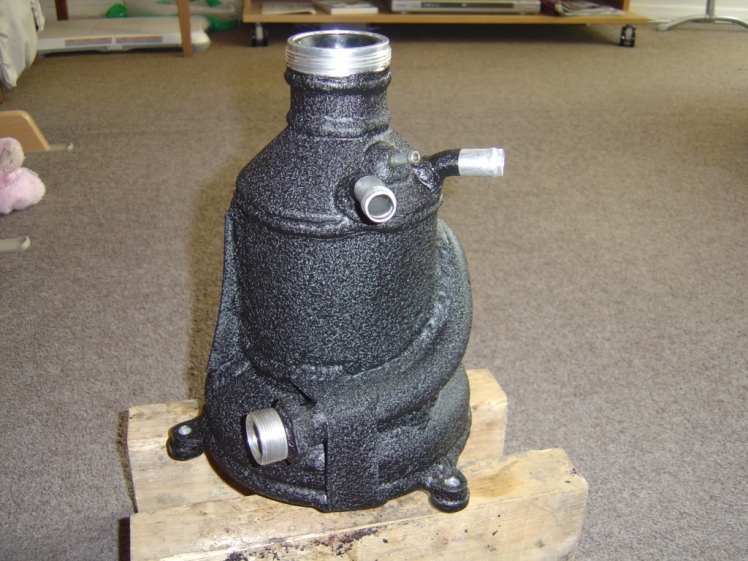
The disareator is held in place by three 13mm nuts located at the base. You also need to undo the two breather hoses and the thick oil line that goes to the oil cooler. Access is improved by moving the coolant tank out of the way but this is not necessary in order to remove. Here is a picture of a disareator on the bench – you can see the mounting points.
As the oil system is now open to the elements it is good practice to cover the opening.
The paint is easily removed using a chemical paint stripper.
Once all the paint is off, the inside and outside need to be fully cleaned and degreased. The surface should be keyed by rubbing down with wire wool.
Mask up the threads and parts that you don’t want painted. The wrinkle paint is best applied warm so let the disareator bask in the sun for a while.
It requires three thick coats:
After a few minutes in the sun the wrinkles start to appear.
For the best results, leave the paint to cure in a warm place for a week. Here’s what you should be left with once the masking has been removed. Re-fit to the car and don’t forget to top the oil up.


Are there any seals or gaskets that need replacing when this part is refitted? if so, do you have part numbers?
Hi Jonathan. Yes there is a large o-ring that it sits on, part number 176388. You may be able to re-use your old one but the seal is very cheap so it would be prudent to change it.
A note on the chemical paint stripper: In the EU, paint strippers sold to the general public have been watered down to the point that they no longer work. However, if you search around you can buy “trade only” paint strippers that work very well. I can recommend Starchem Synstrip – look for it on eBay.
Aldous
Exactly what does this part do? The name would suggest de-aeration of the oil — if so is that necessary because the engine has a dry sump?
Thanks
Alan
It removes the air from the oil. The oil is sent from the oil cooler, presumably with some air in it. There are a few baffles in the disareator which must separate the two. Directly below the disareator is the oil pump – I guess this pump is like any other and doesn’t work well pumping air.
A wet sump oil pump would be immersed in oil and thus the returning oil doesn’t matter if it has air in it.
Cheers…
Thanks for that explanation. I wonder how the air gets in there in the first place. I guess the scavenger pump in the sump could introduce it.
Alan